Works
Blog
-
Ceramic ashtray
![]()
-
Shoes Rack
-
Jean Wallet
-
The Emotional Utilitarian
-
Design Museum
-
Christo early works Exhibition
-
Numeric Skate Demo
-
The British Museum
-
Pitt rivers Museum
- Flax craft central
- Kate lecture
- LCC stiching tutorial
-
BOX by Max Lamb
-
Sheila Hicks: infinite potential
- Instagram viewing 1
- V&A Museum
- CCW MA graduation exhibition
- Scarf knitting
- Natural History Museum
- Tate Morden Museum
- The British Museum 2
- The Egyptian Museum
- Banksy Exhibition
- Tea table
- Cap making
- Unit 1 exhibition
- Remake shoes
- Antony Gormley Exhibition
- Tate Britain
-
Newspaper Ceramic
![]()
- Aromatherapy tray
- Kettle’s Yard
-
Paper samples for unit 2
![]()
- The Fitzwilliam Museum
- How to analyze the case
-
Woodcuts
![]()
- Collect 2024
-
Ceramic extrusion
![]()
- Tony’s cardboard space
- Tony’s tour London
- Ceramic London 2024
-
Wheel-throw learning
![]()
![]()
- CSM shows 2024
- Tony’s tour East London
- Portland Carving tour
- FUMI Casa al mare
![]()
- Silicone Molding in summer break
- London Transportation Museum
- Dongyang Chinese furniture market
- Prototype redoing for previous work
- Jingdezhen visiting
![]()
- London Design Festival 2024
- Hang for Fun lamp
![]()
![]()
- Emotion Breaker stool
![]()
- Reverse Grind table
![]()
Yusen
Info
Previous works by Yusen have delved deeply into themes of functionality, sustainability, and humanization. Yusen’s practice highlights a curiosity about cultural influences and their potential to inform modern design approaches, blending cultural resonance with innovative environmental solutions.
25. Cap making
object to object
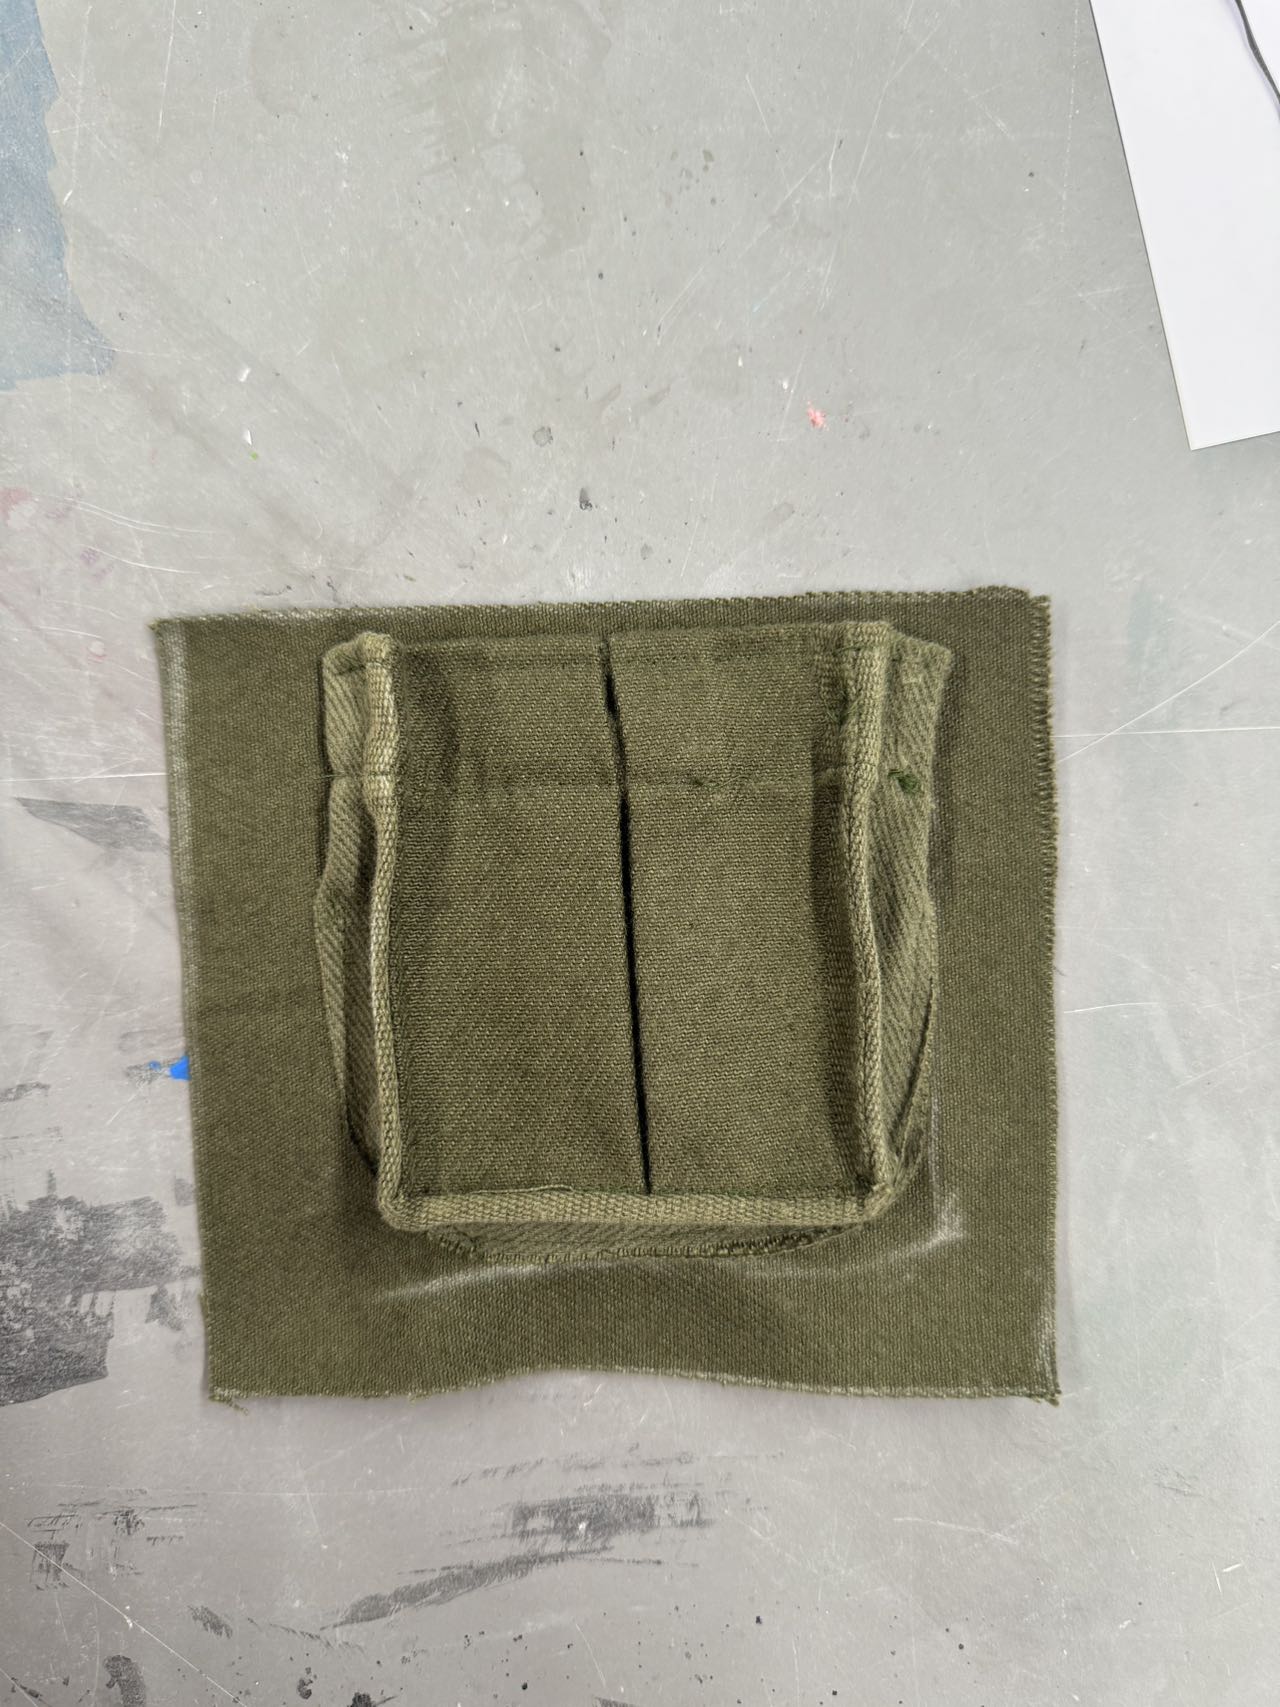
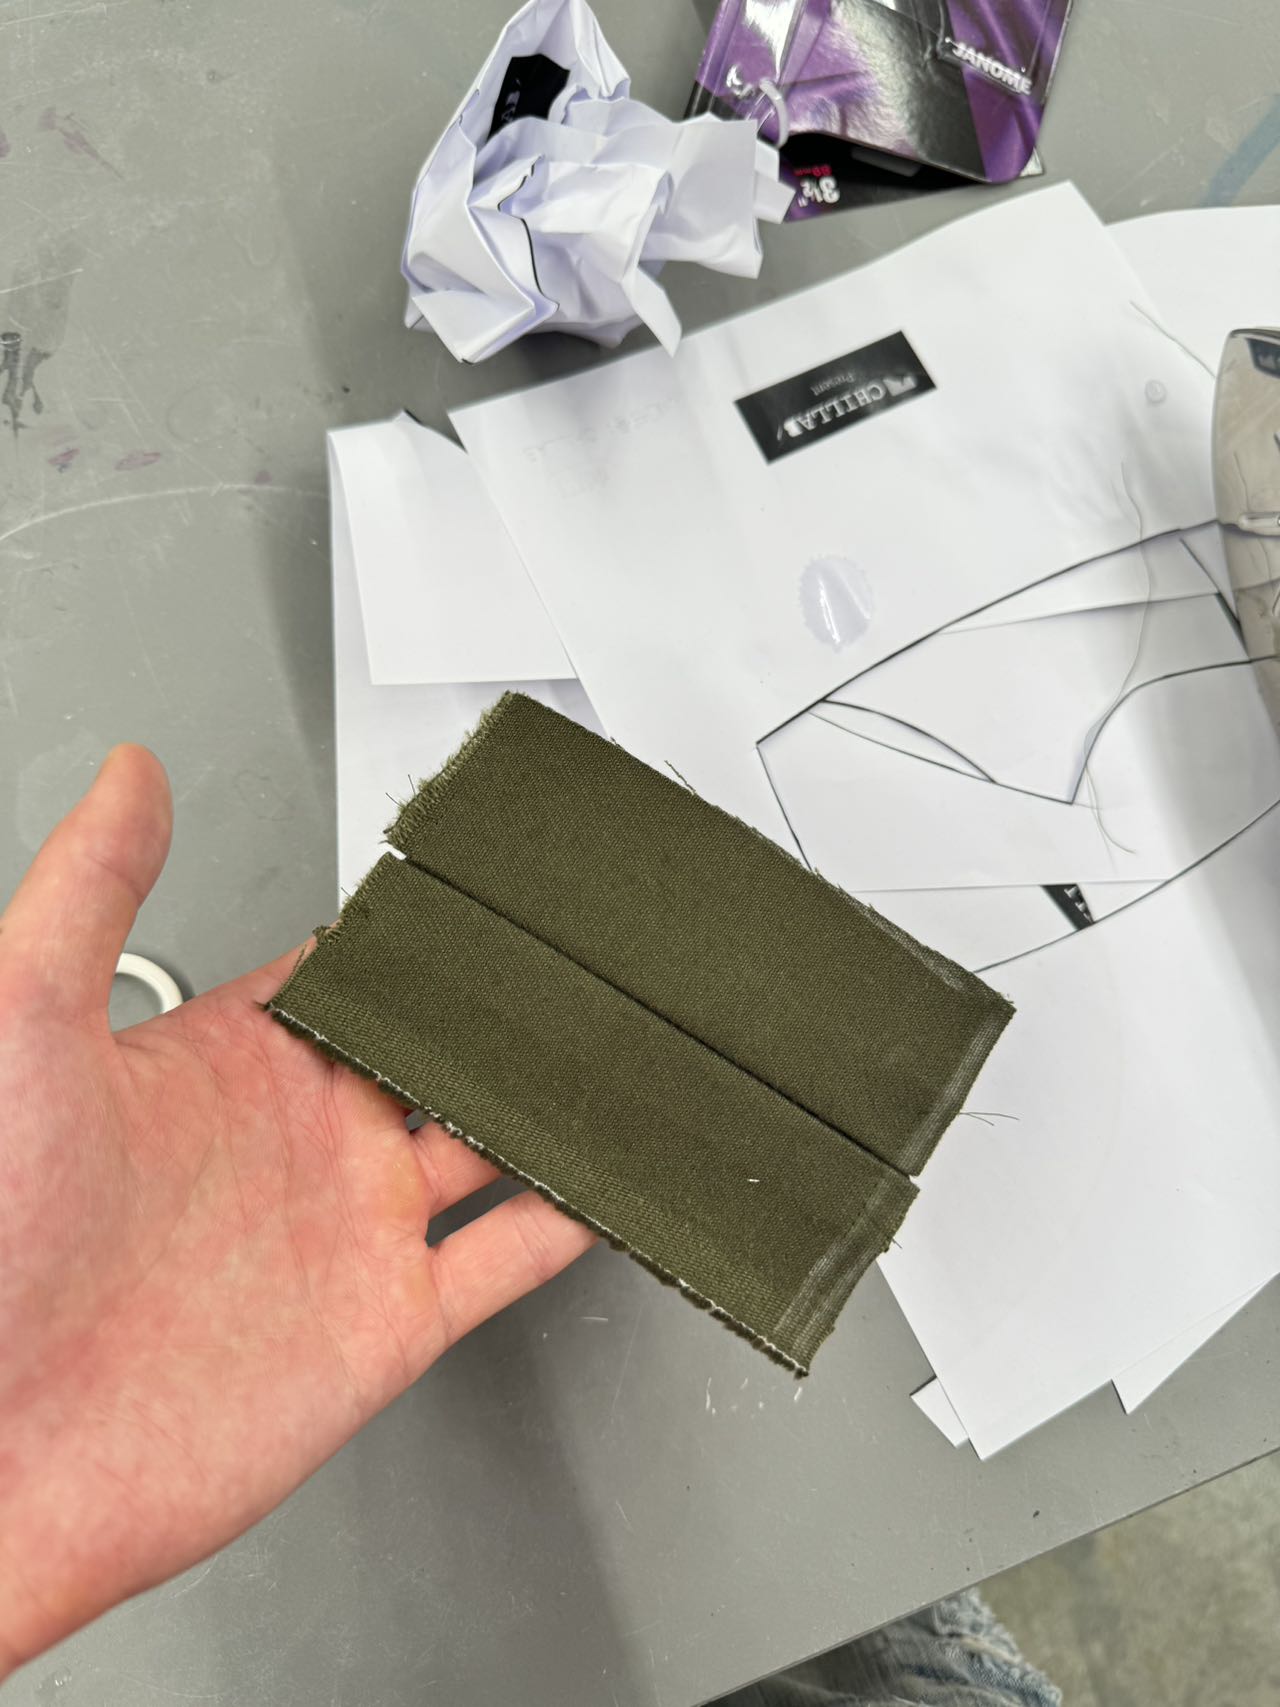
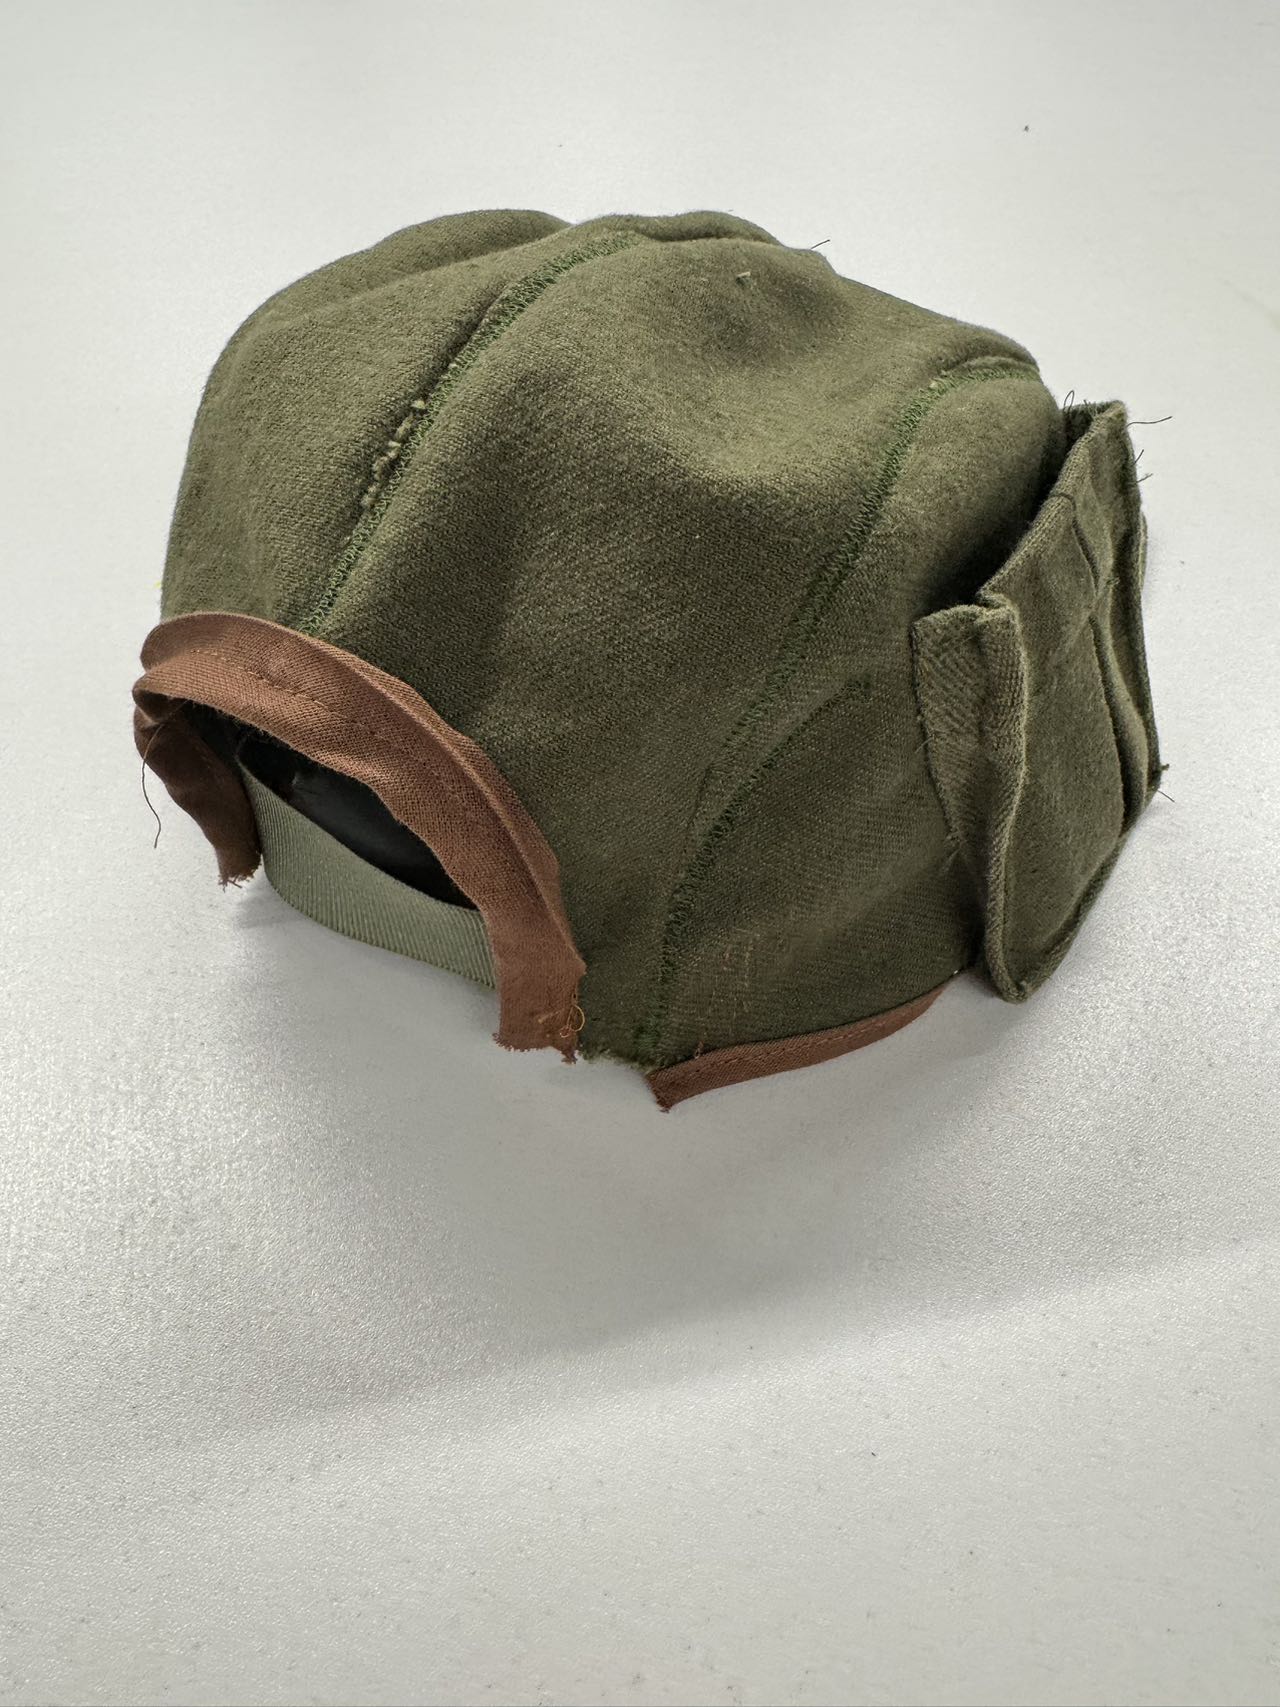


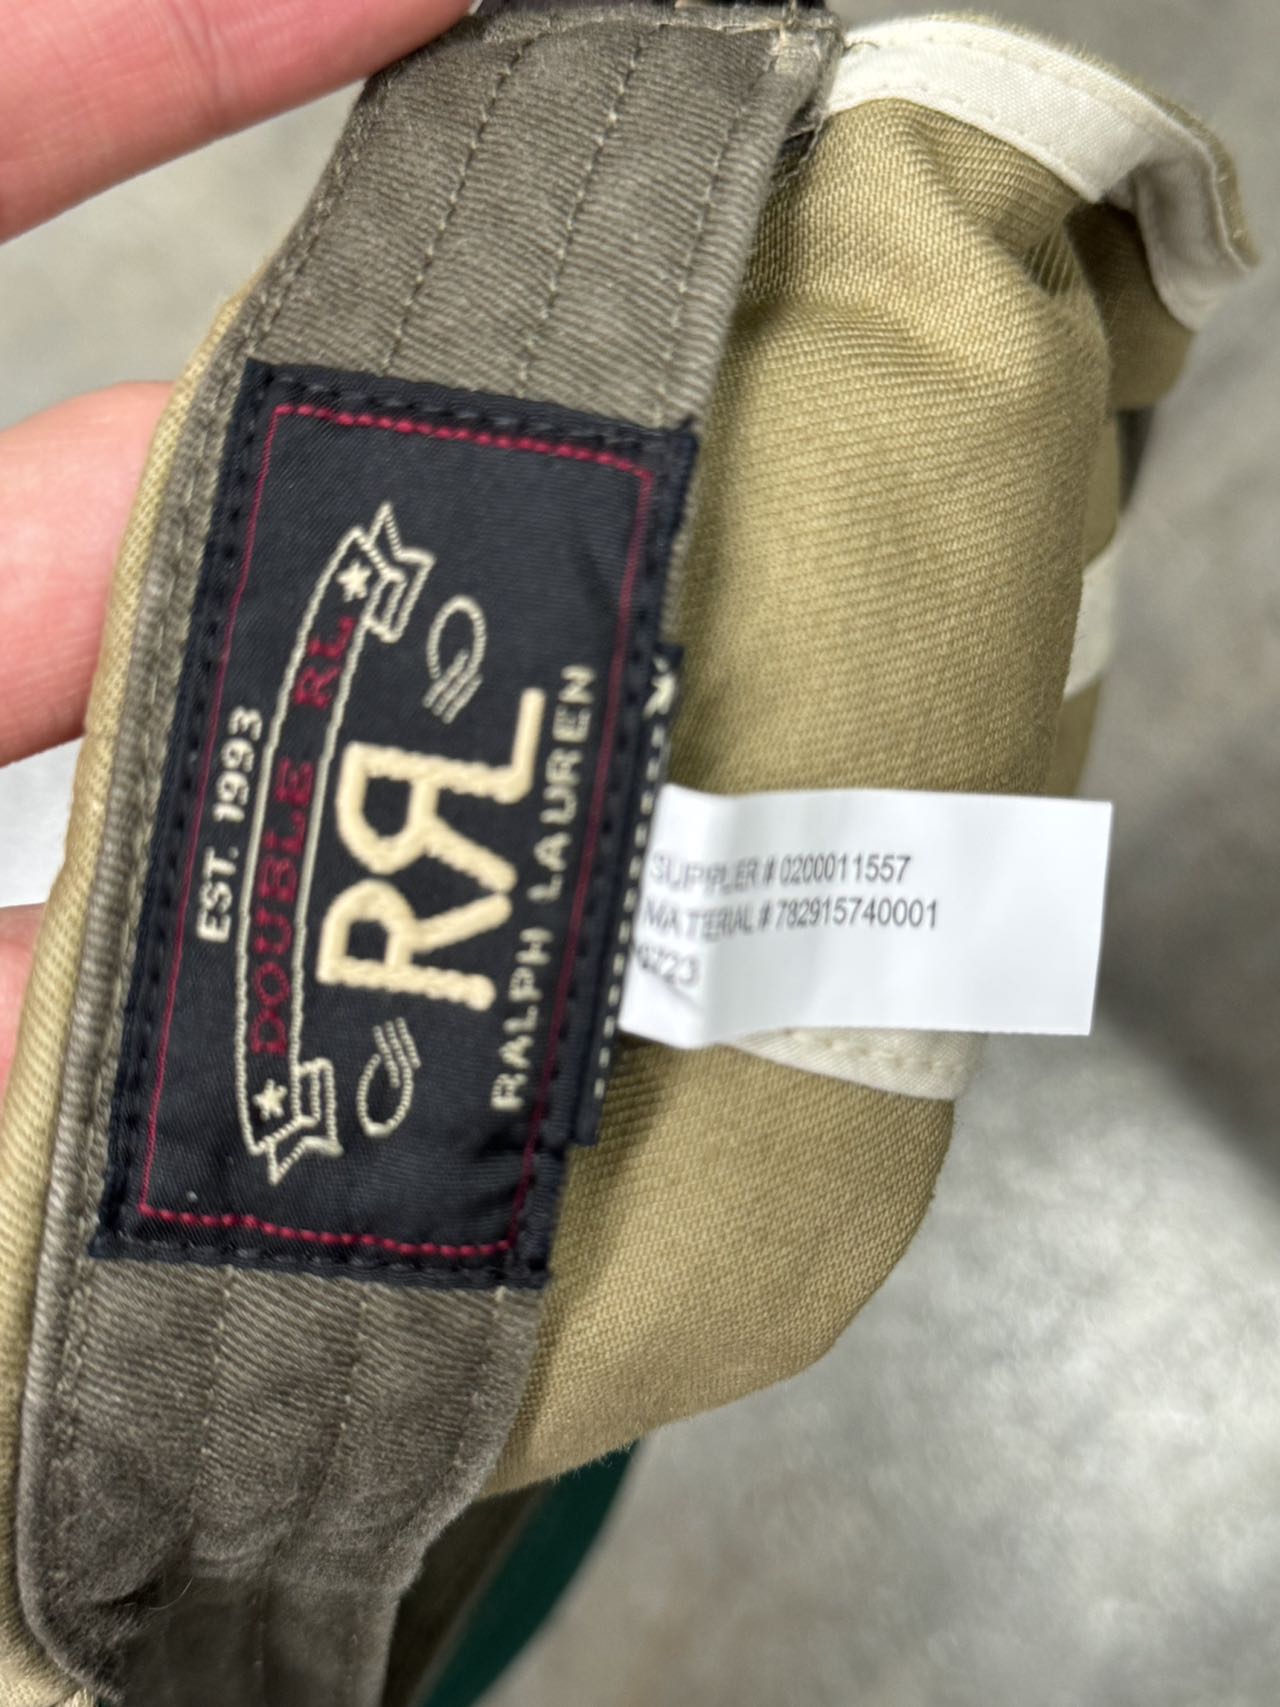
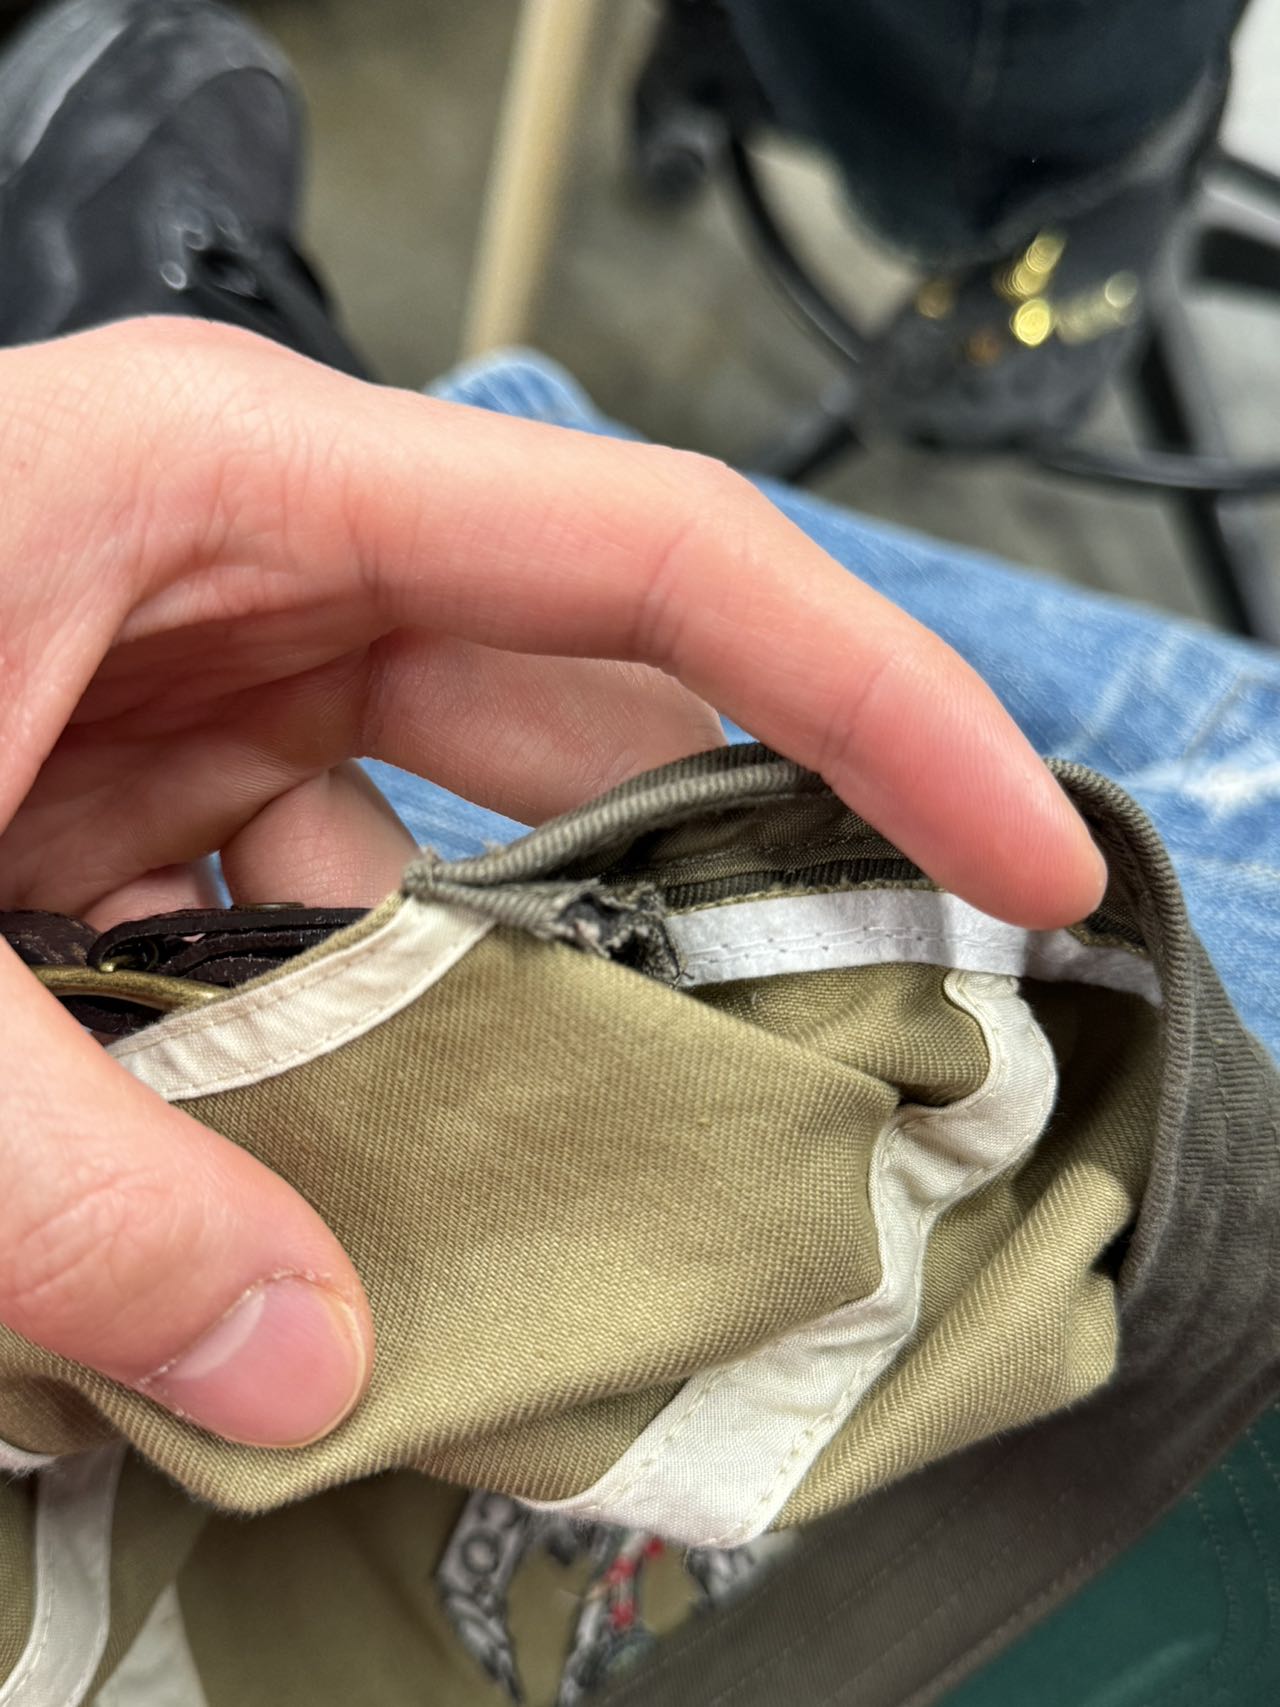

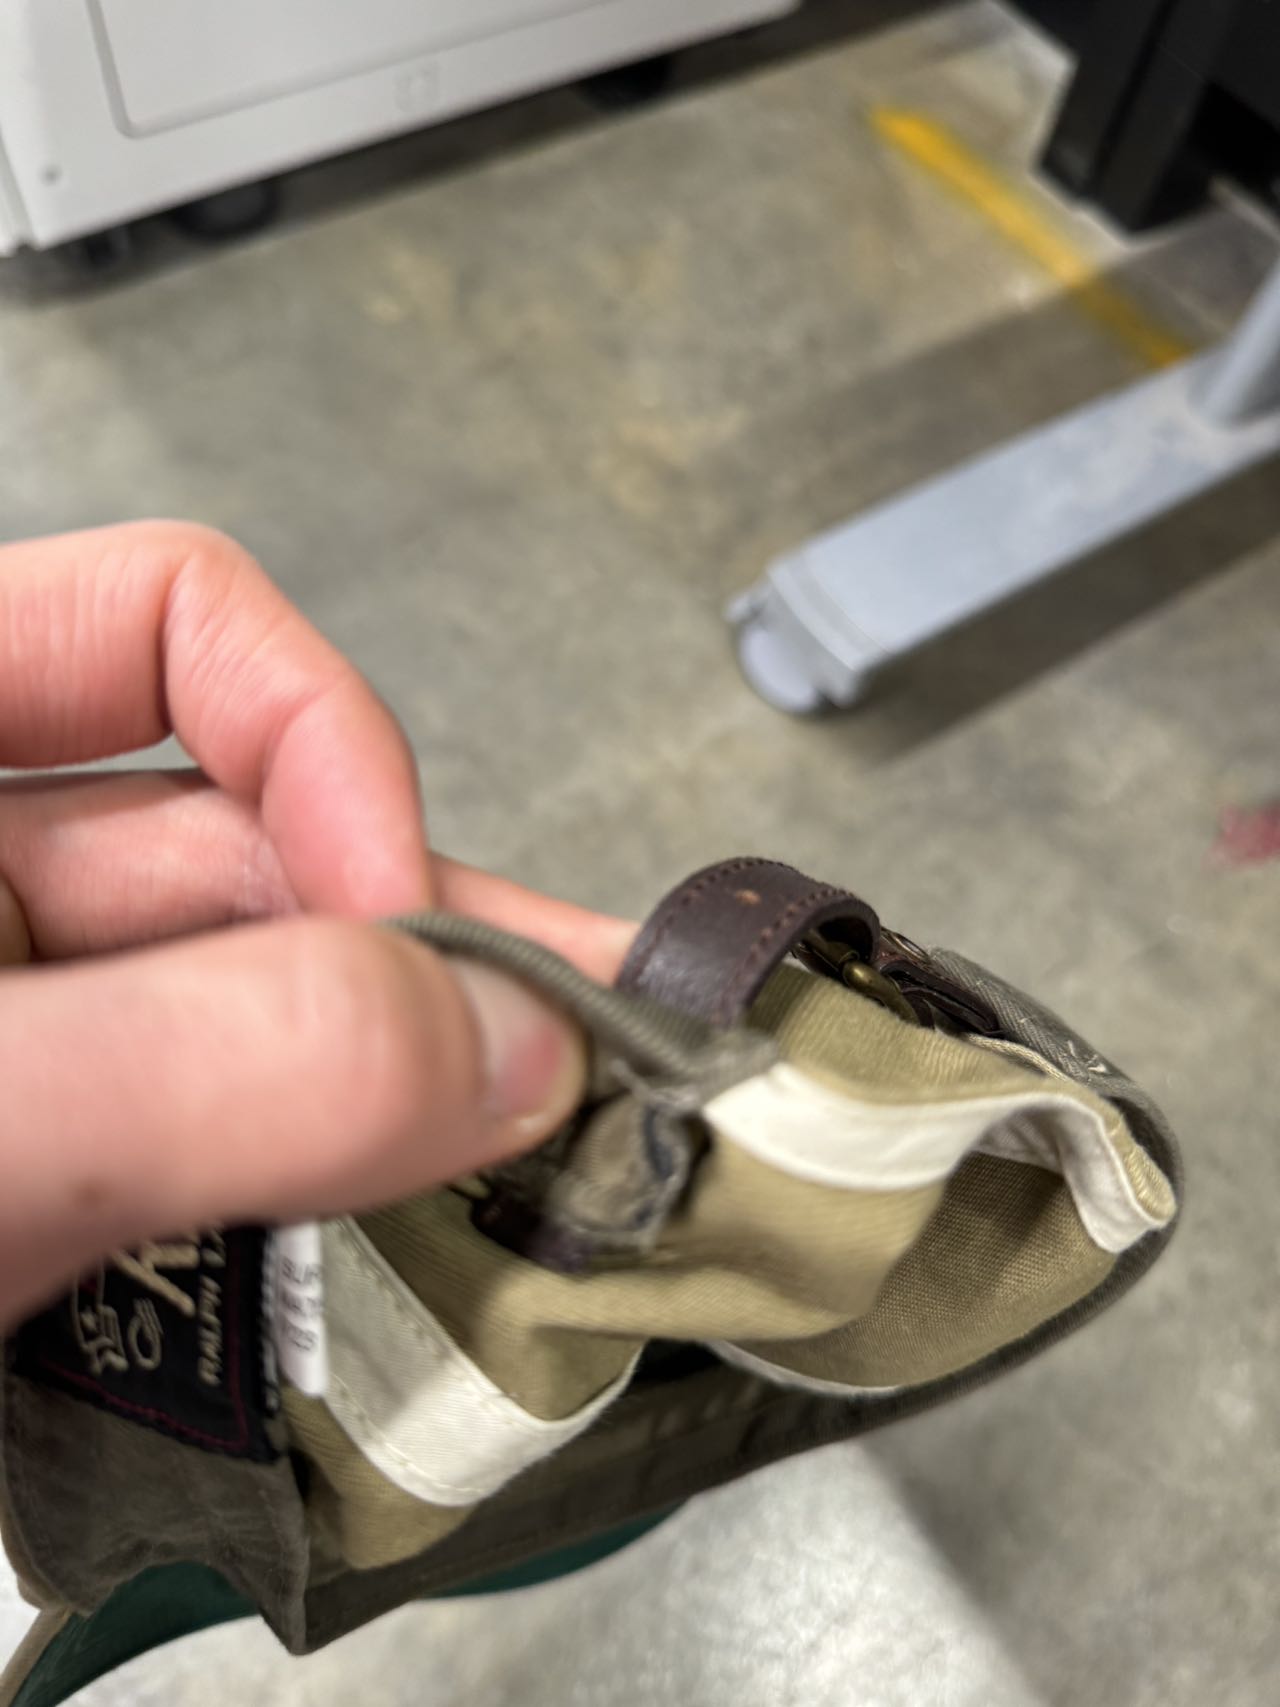
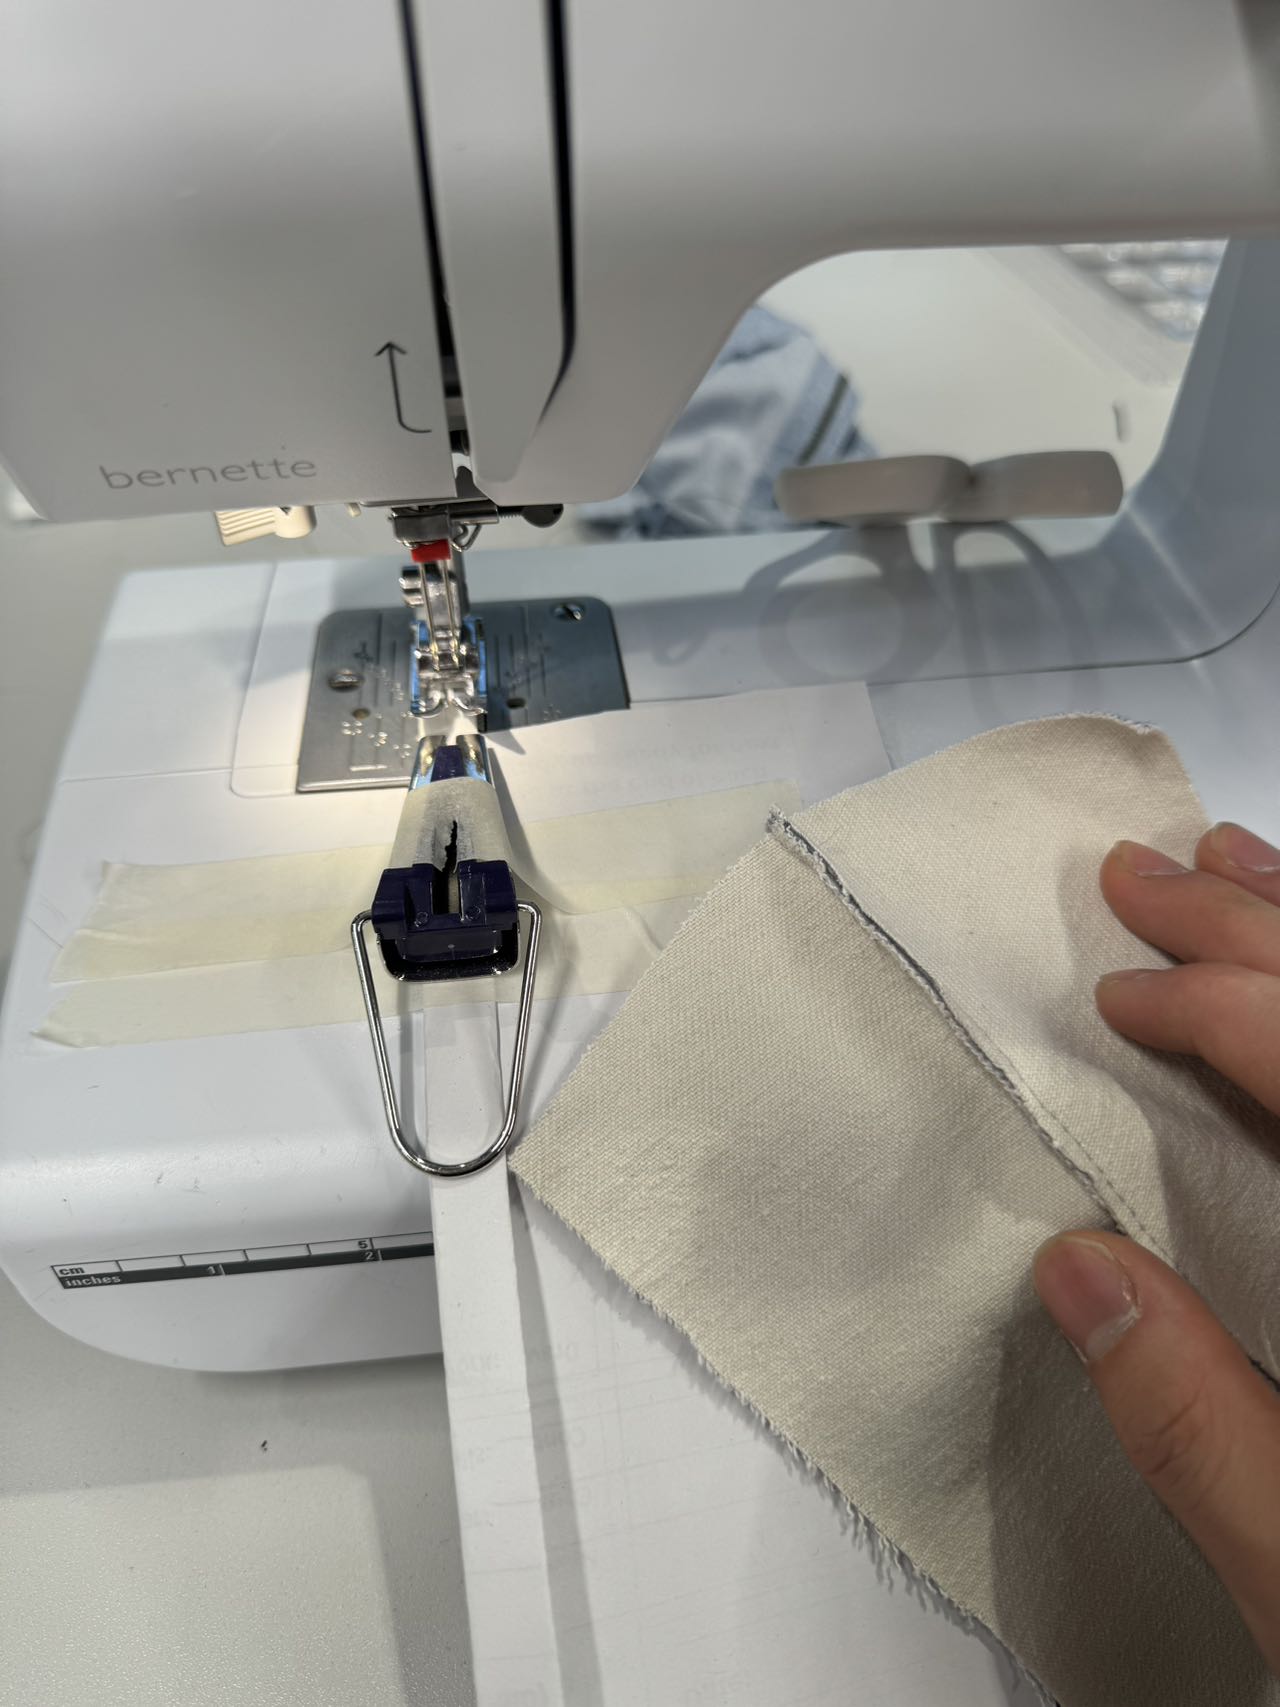
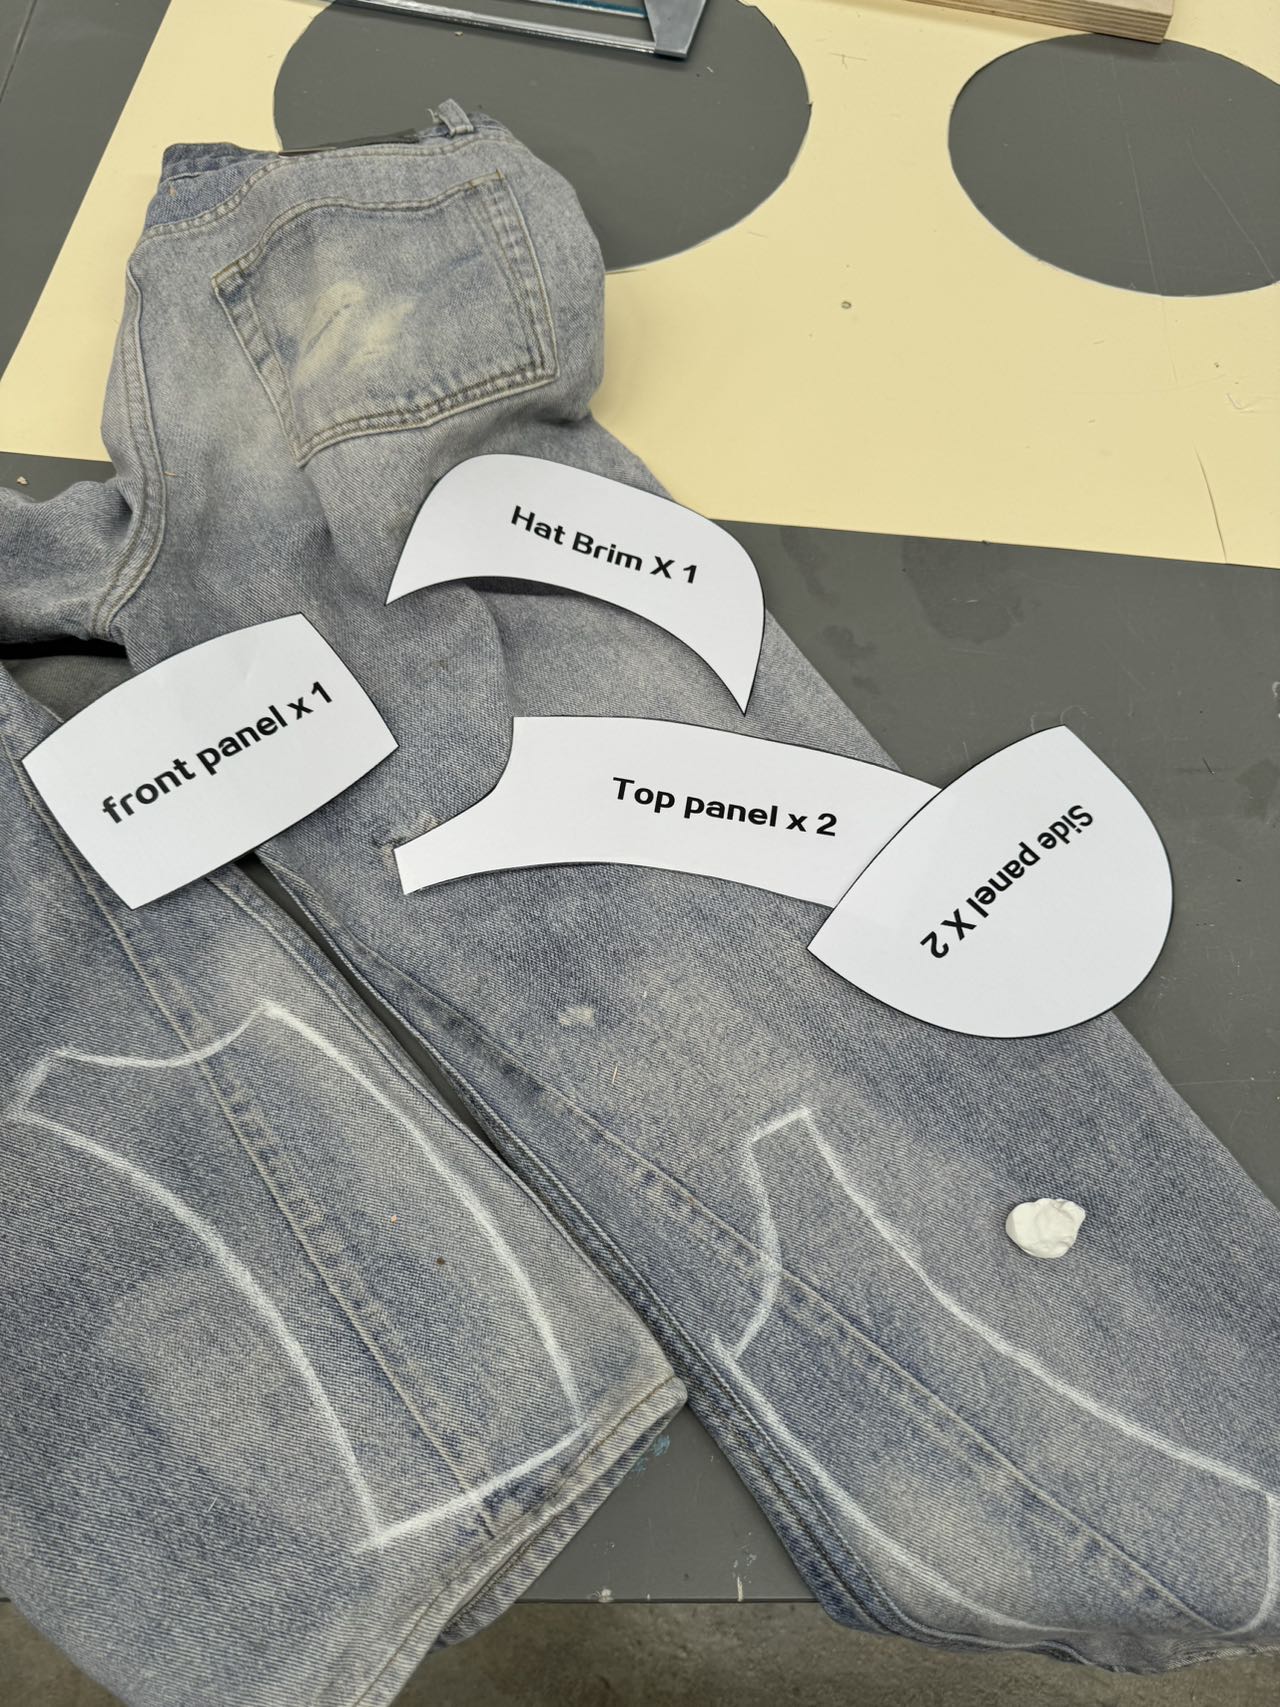

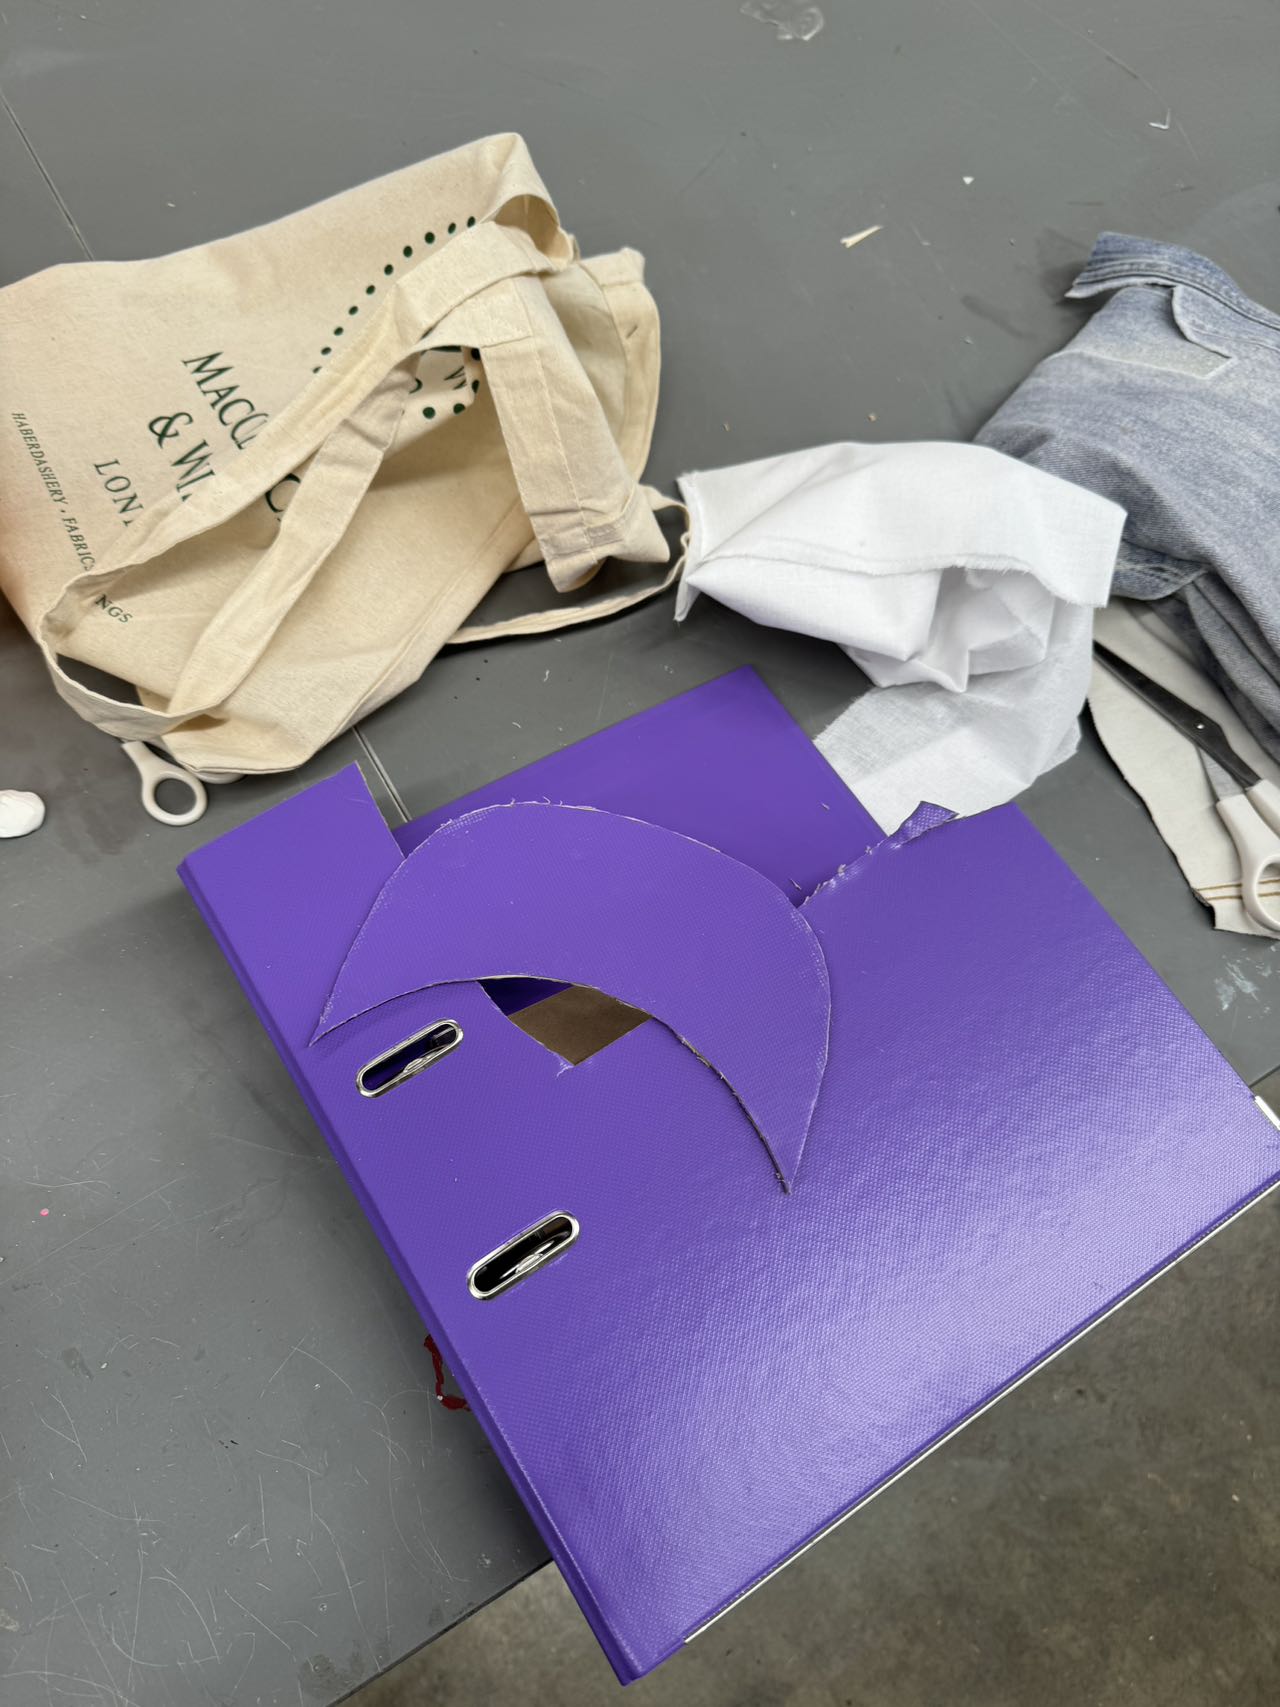
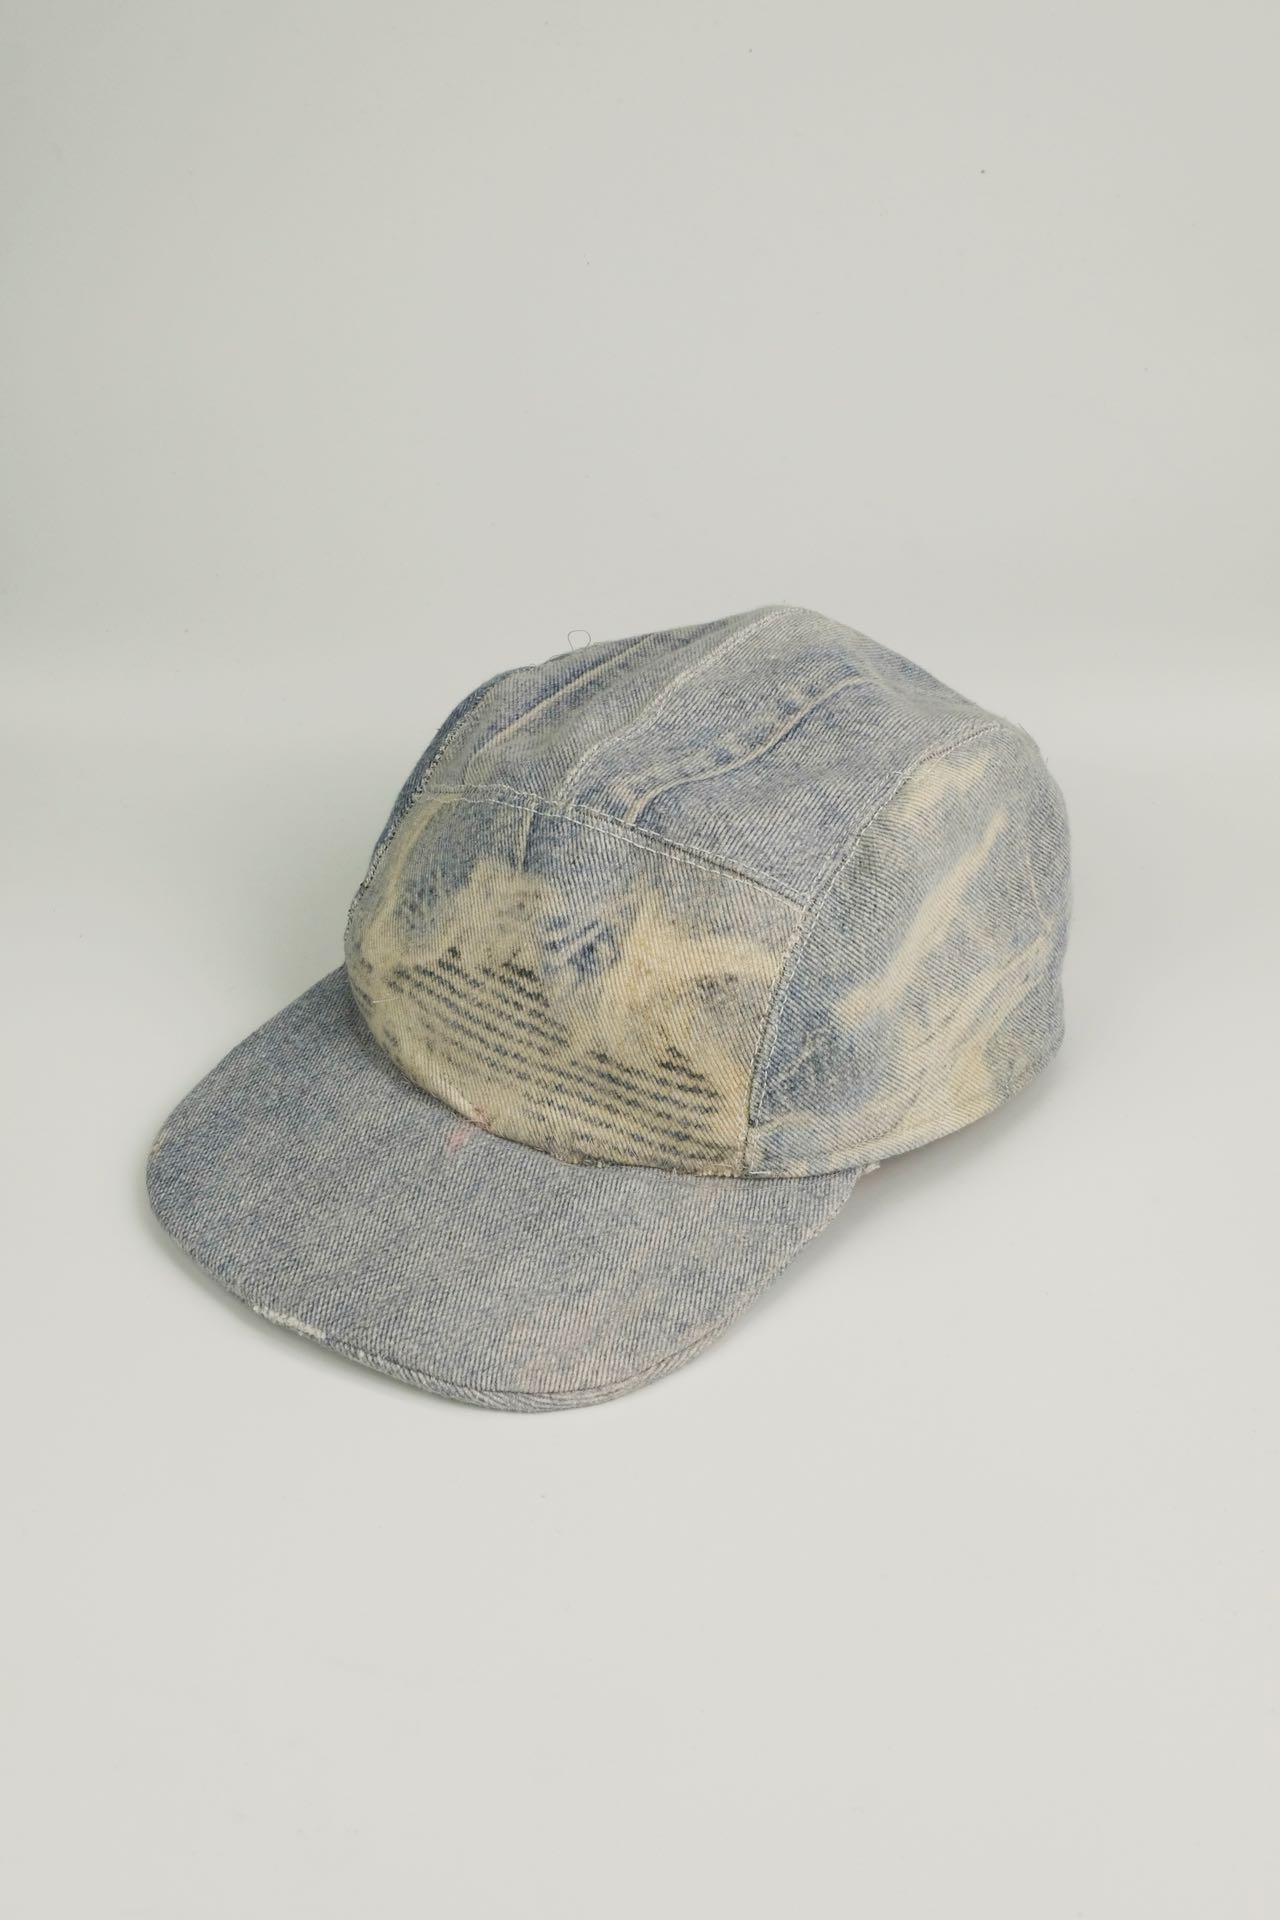

 This hat is pretty good overall, but the only thing that dissatisfies me is the curvature of the brim. I don't know how to bend and shape it. Maybe I can think of it next time I make it.