Works
Blog
-
Ceramic ashtray
![]()
-
Shoes Rack
-
Jean Wallet
-
The Emotional Utilitarian
-
Design Museum
-
Christo early works Exhibition
-
Numeric Skate Demo
-
The British Museum
-
Pitt rivers Museum
- Flax craft central
- Kate lecture
- LCC stiching tutorial
-
BOX by Max Lamb
-
Sheila Hicks: infinite potential
- Instagram viewing 1
- V&A Museum
- CCW MA graduation exhibition
- Scarf knitting
- Natural History Museum
- Tate Morden Museum
- The British Museum 2
- The Egyptian Museum
- Banksy Exhibition
- Tea table
- Cap making
- Unit 1 exhibition
- Remake shoes
- Antony Gormley Exhibition
- Tate Britain
-
Newspaper Ceramic
![]()
- Aromatherapy tray
- Kettle’s Yard
-
Paper samples for unit 2
![]()
- The Fitzwilliam Museum
- How to analyze the case
-
Woodcuts
![]()
- Collect 2024
-
Ceramic extrusion
![]()
- Tony’s cardboard space
- Tony’s tour London
- Ceramic London 2024
-
Wheel-throw learning
![]()
![]()
- CSM shows 2024
- Tony’s tour East London
- Portland Carving tour
- FUMI Casa al mare
![]()
- Silicone Molding in summer break
- London Transportation Museum
- Dongyang Chinese furniture market
- Prototype redoing for previous work
- Jingdezhen visiting
![]()
- London Design Festival 2024
- Hang for Fun lamp
![]()
![]()
- Emotion Breaker stool
![]()
- Reverse Grind table
![]()
Yusen
Info
Previous works by Yusen have delved deeply into themes of functionality, sustainability, and humanization. Yusen’s practice highlights a curiosity about cultural influences and their potential to inform modern design approaches, blending cultural resonance with innovative environmental solutions.
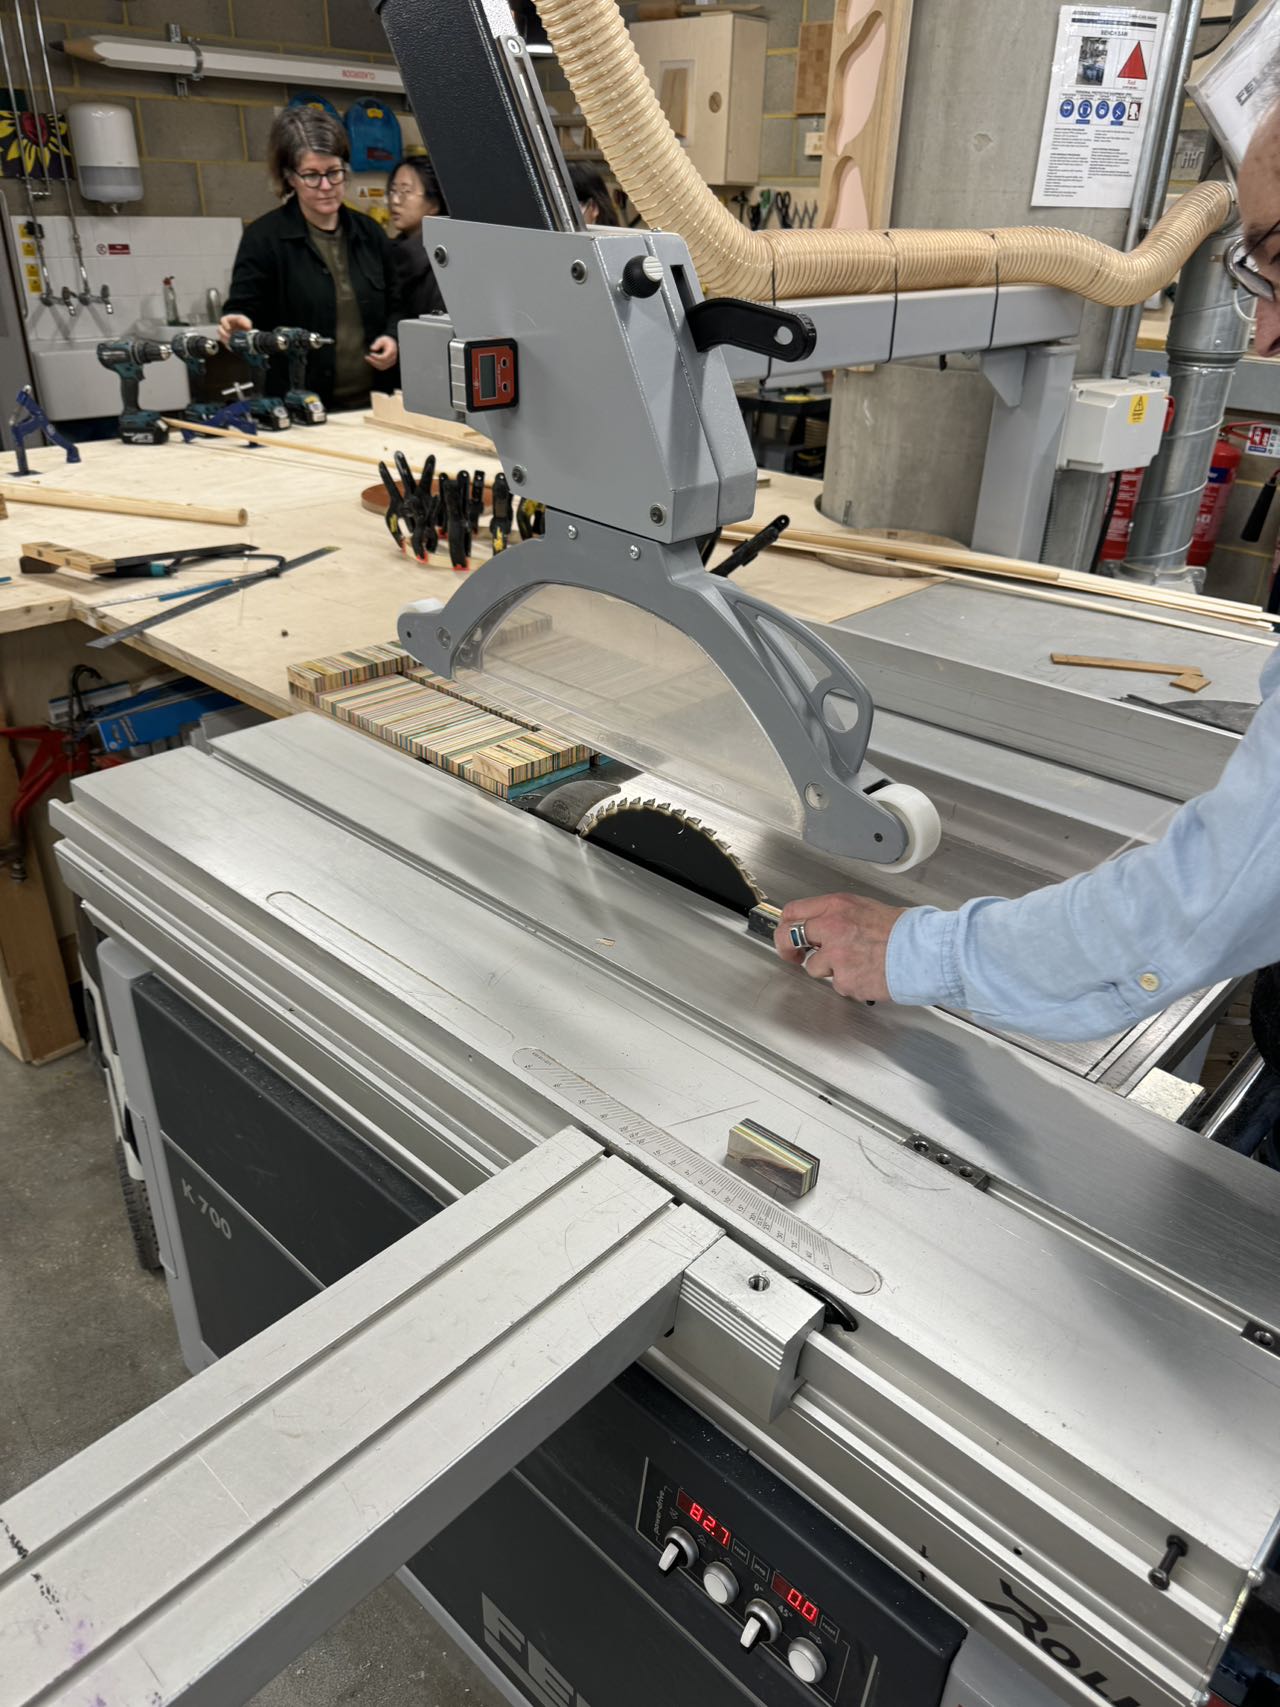
24. Tea table
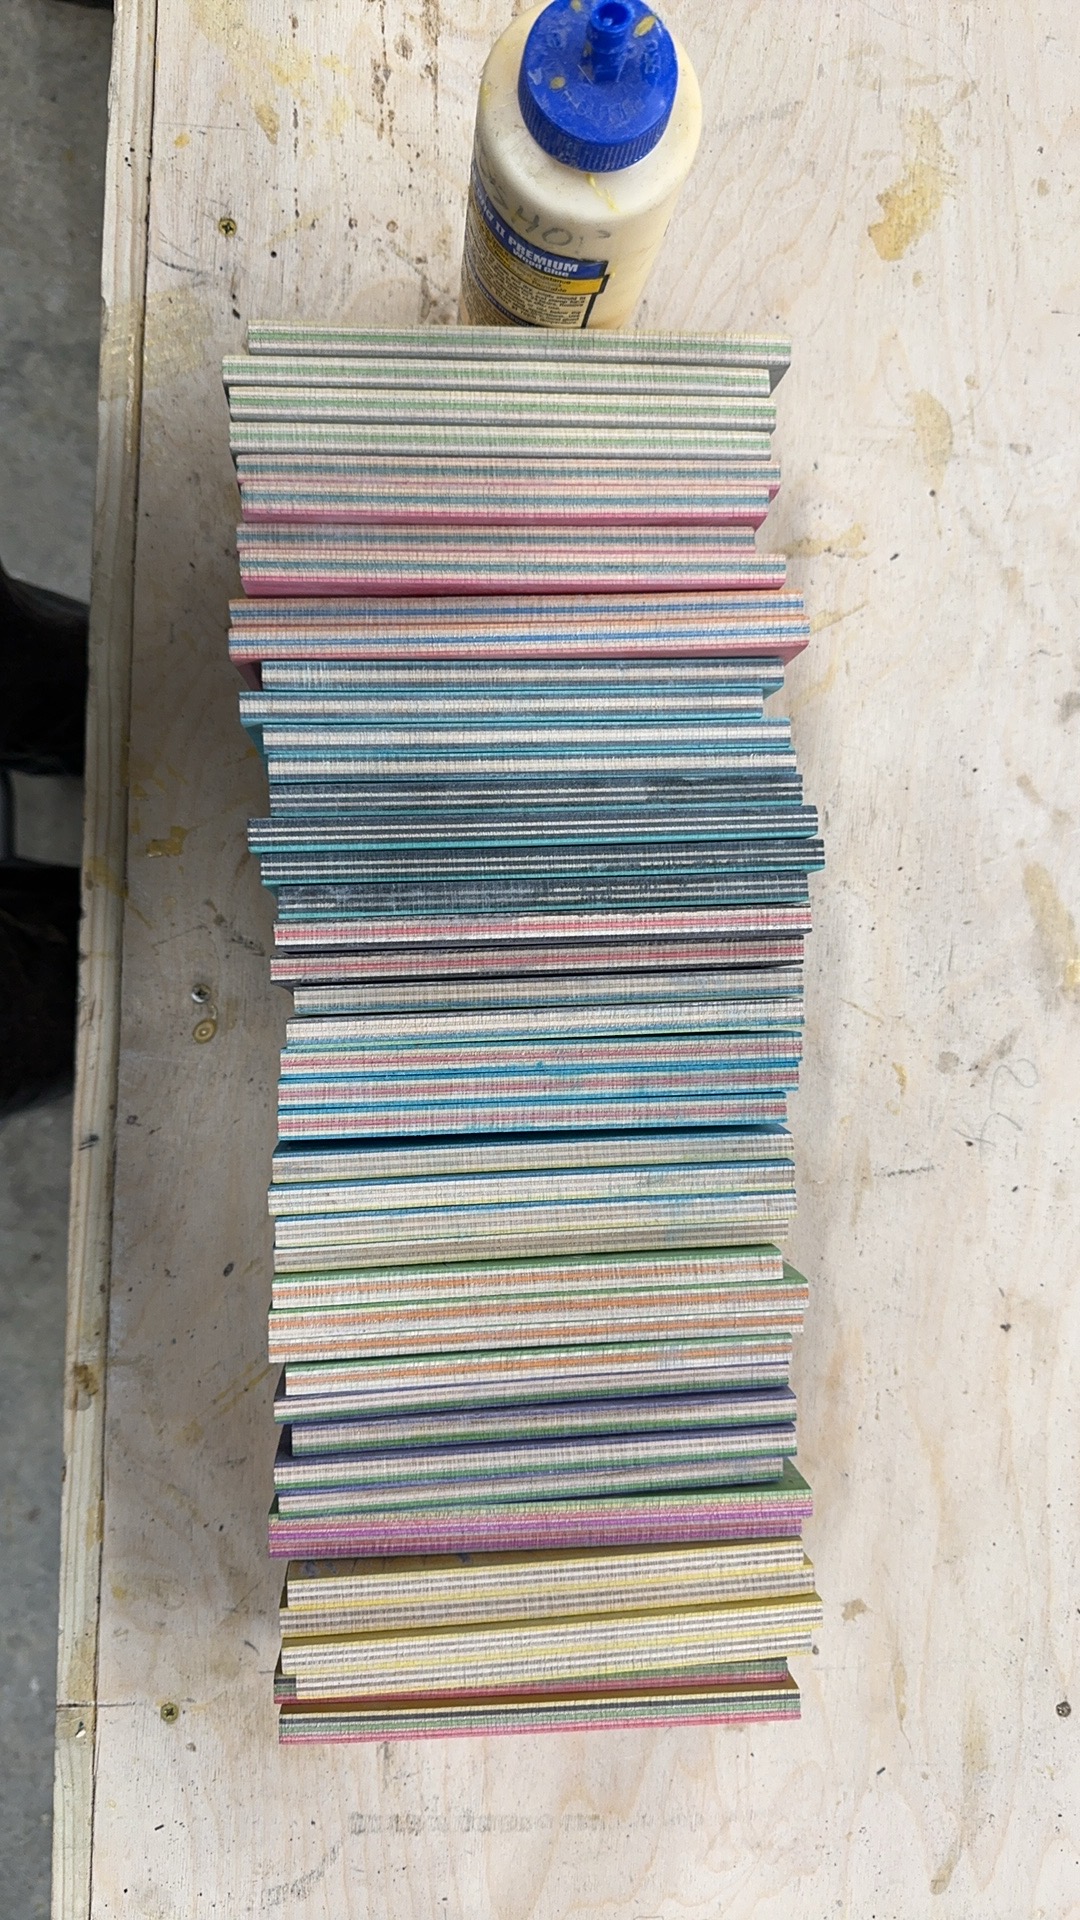
Object to object
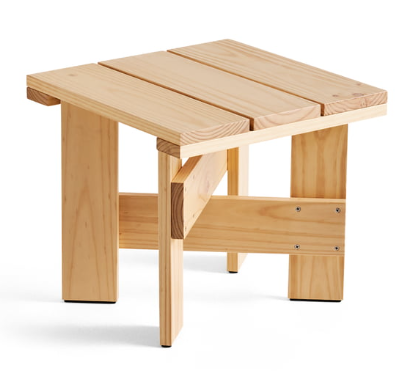


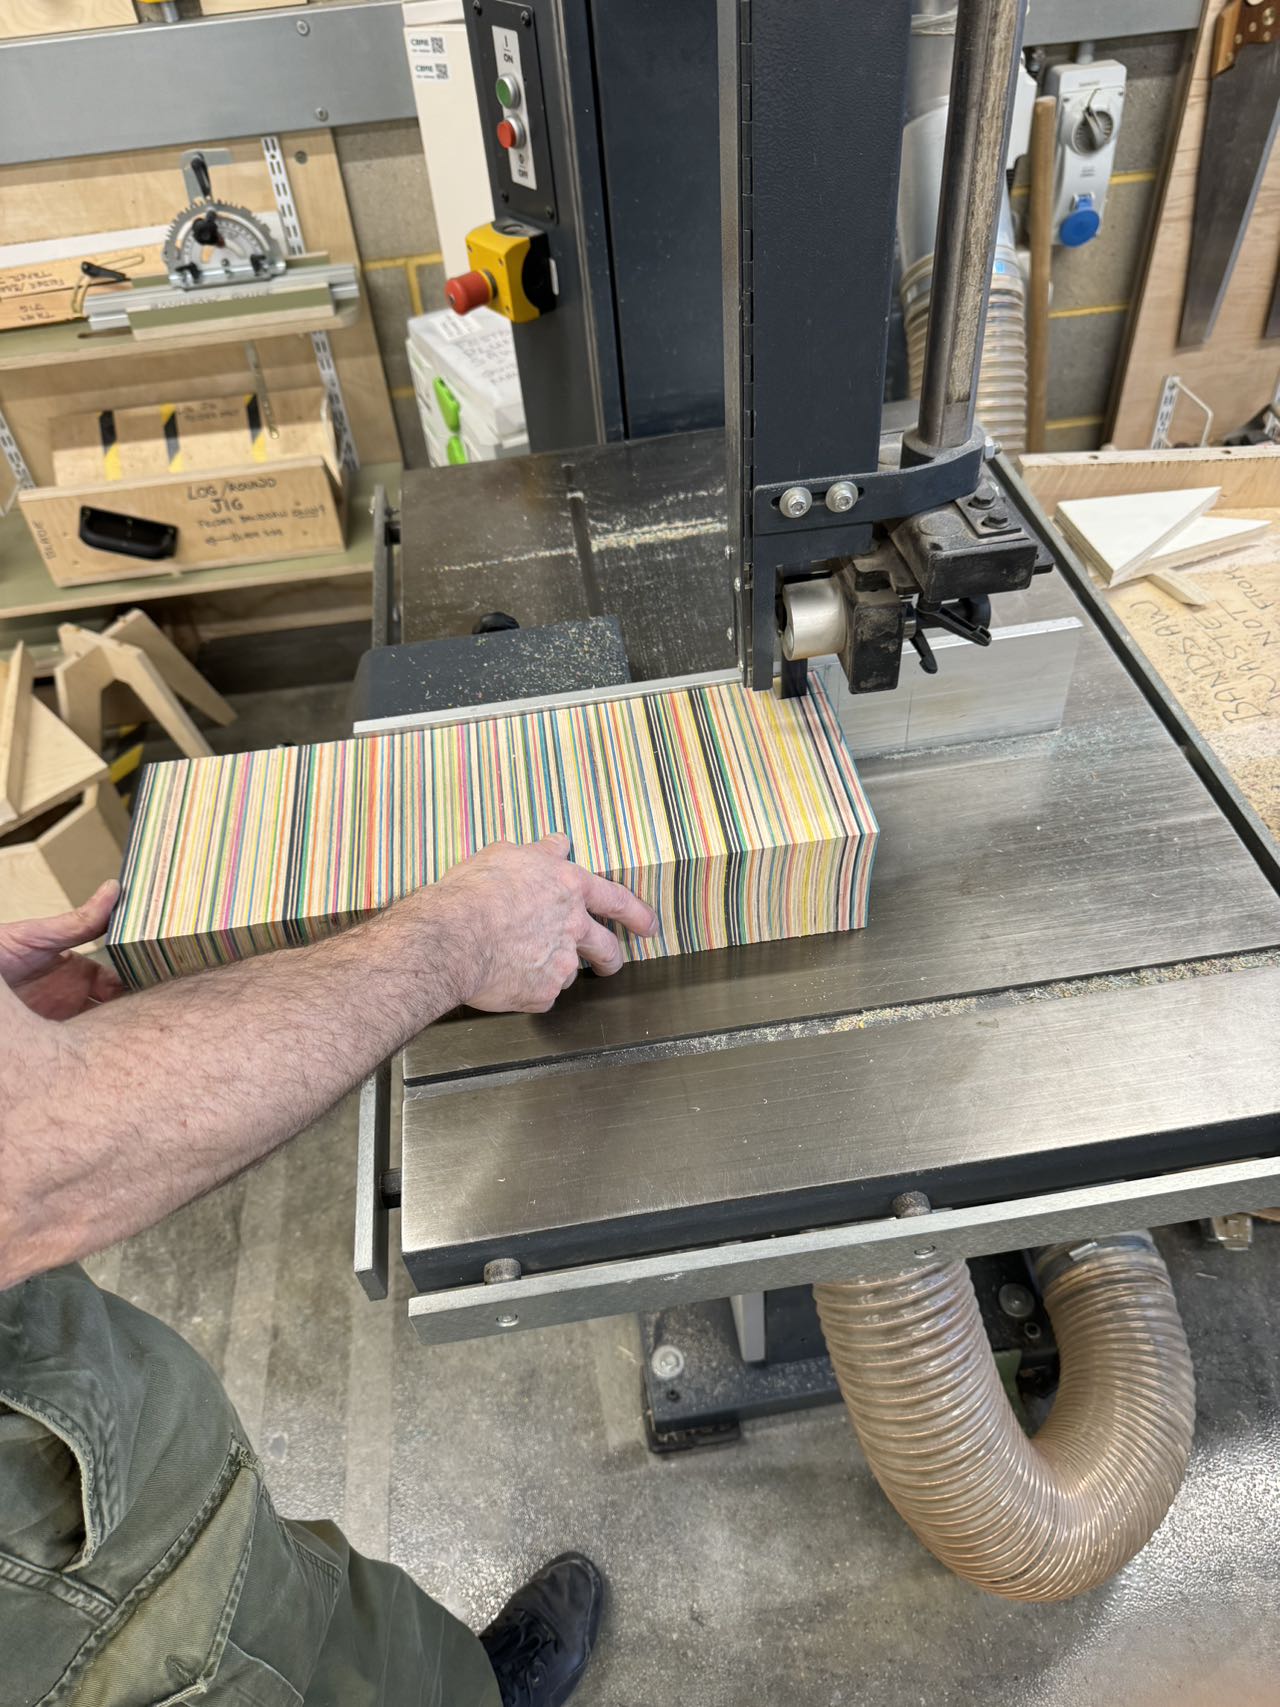
Regarding the first piece of Object to Object, the one I want to respond to is the Hay Crate side table designed by Gerrit Rietveld. Then use the scrap board to make it. This is in line with the direction I want to research, sustainable design.
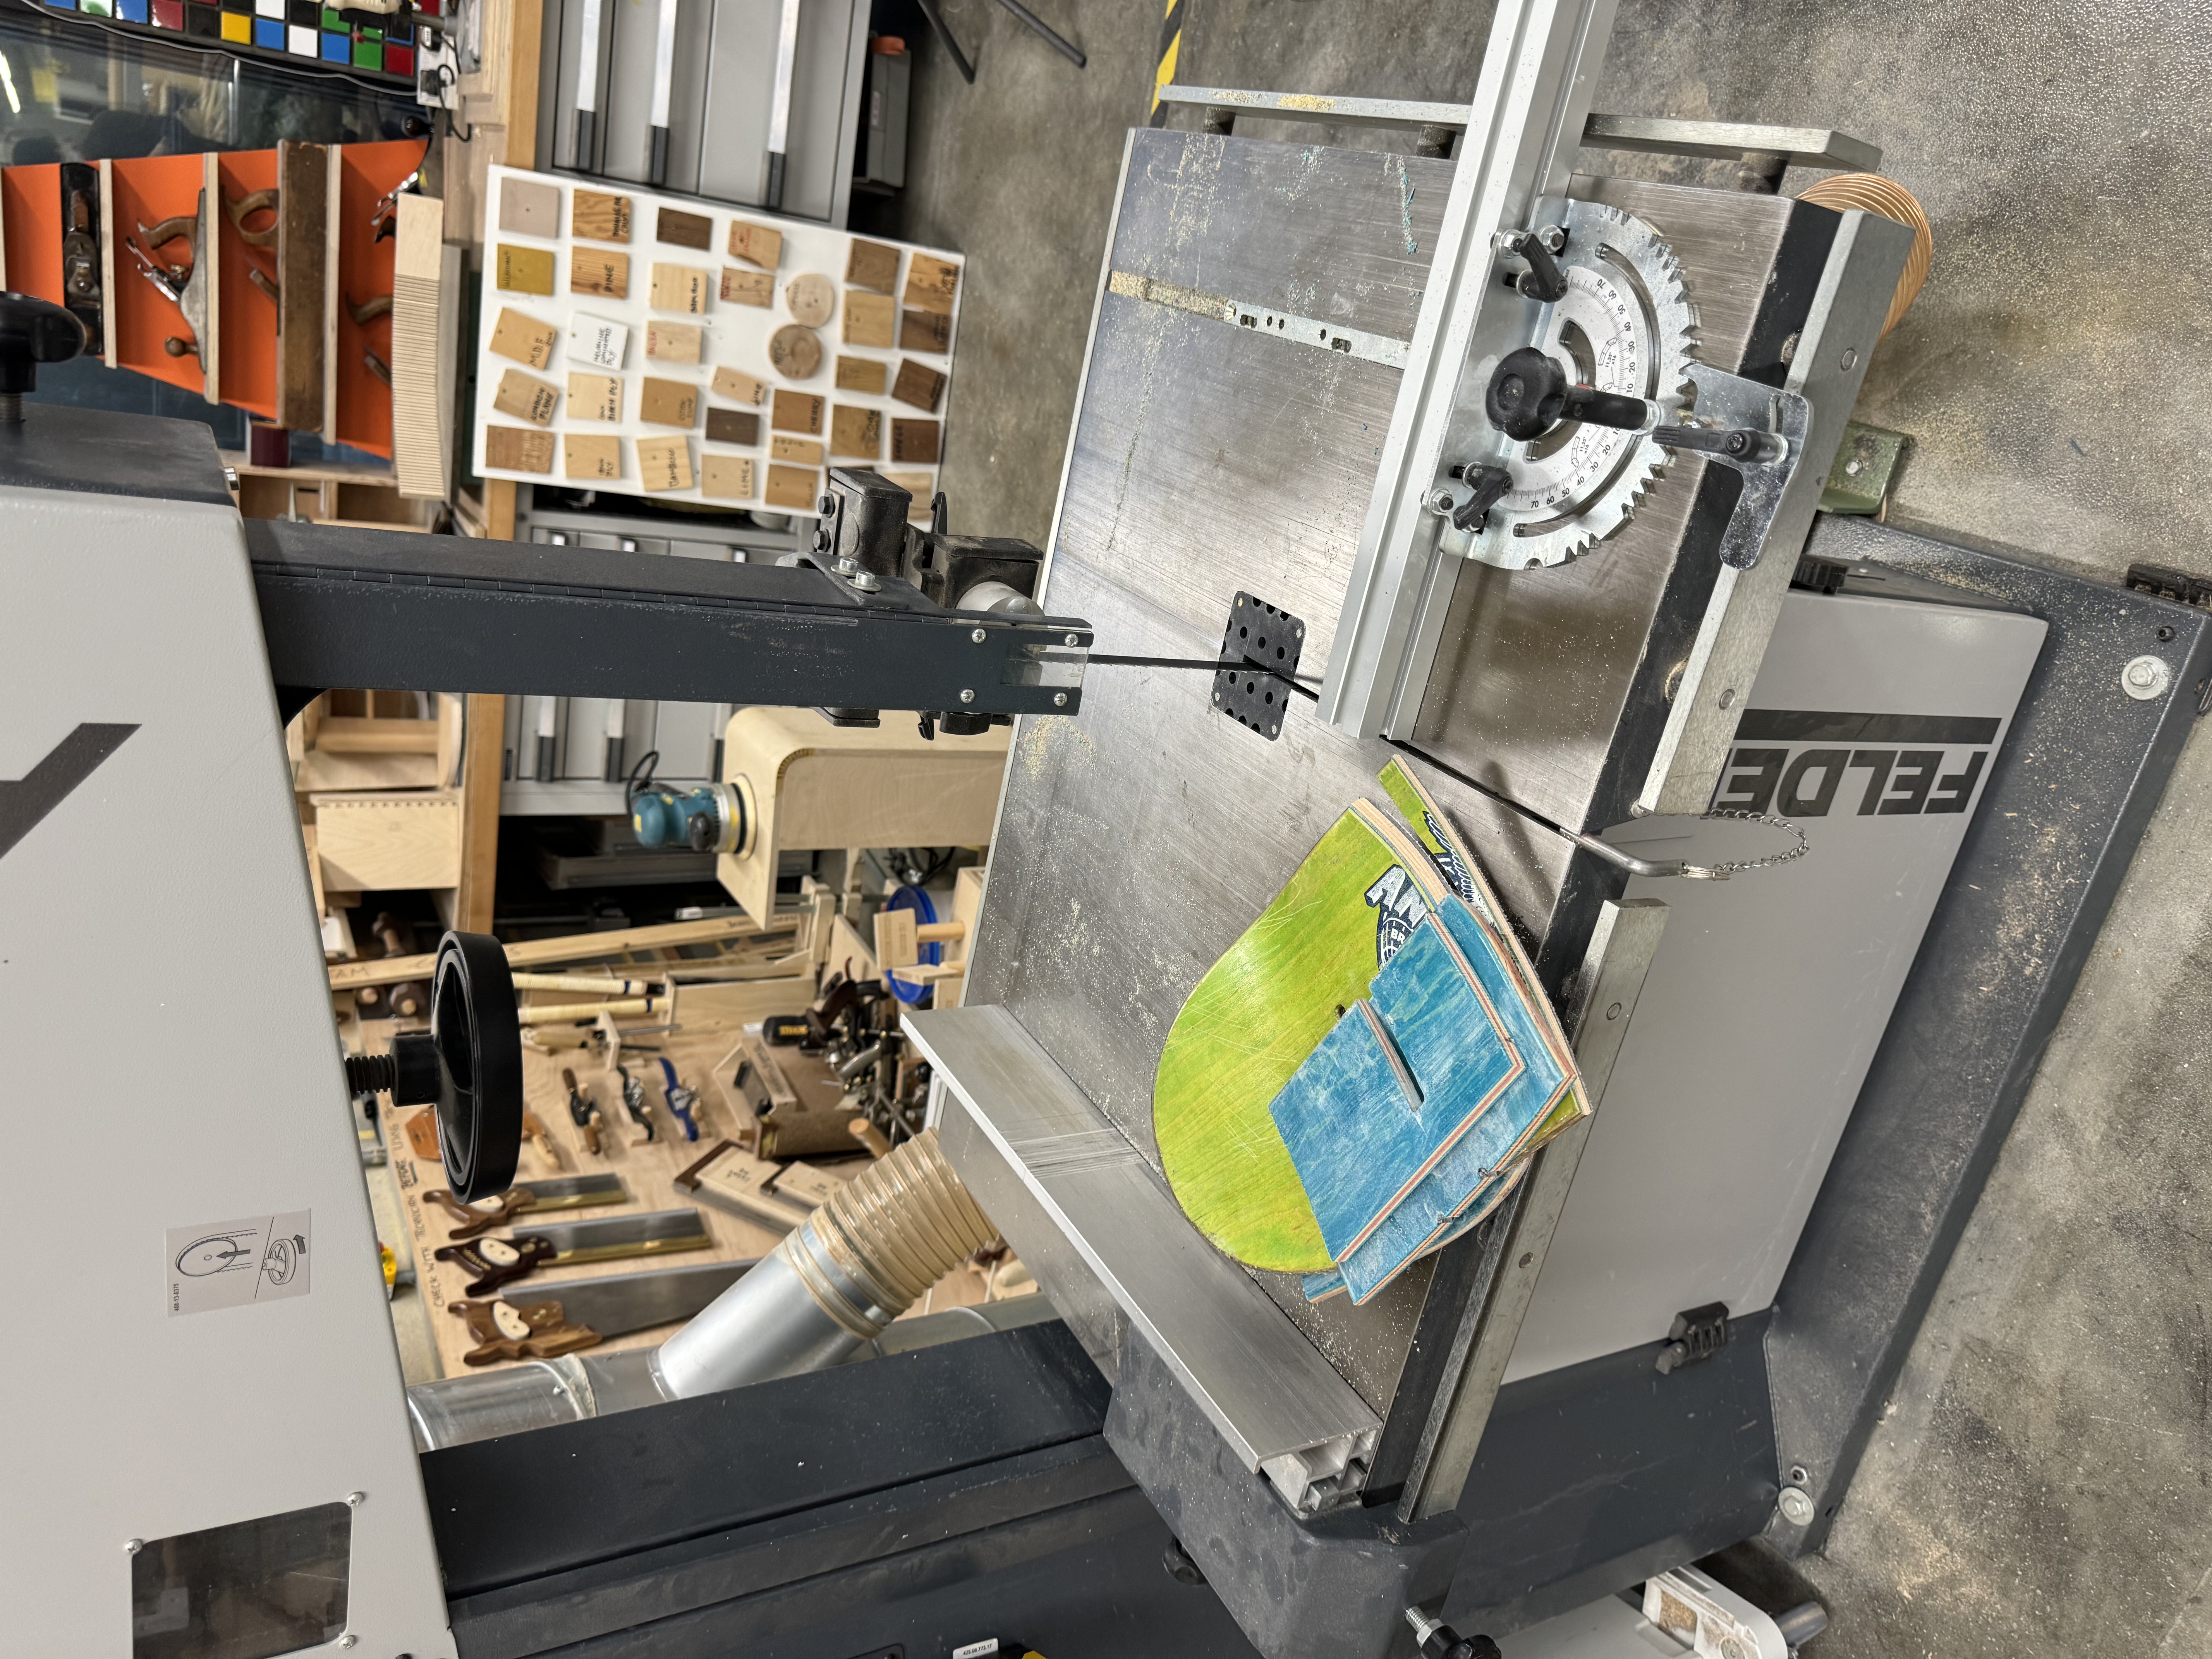
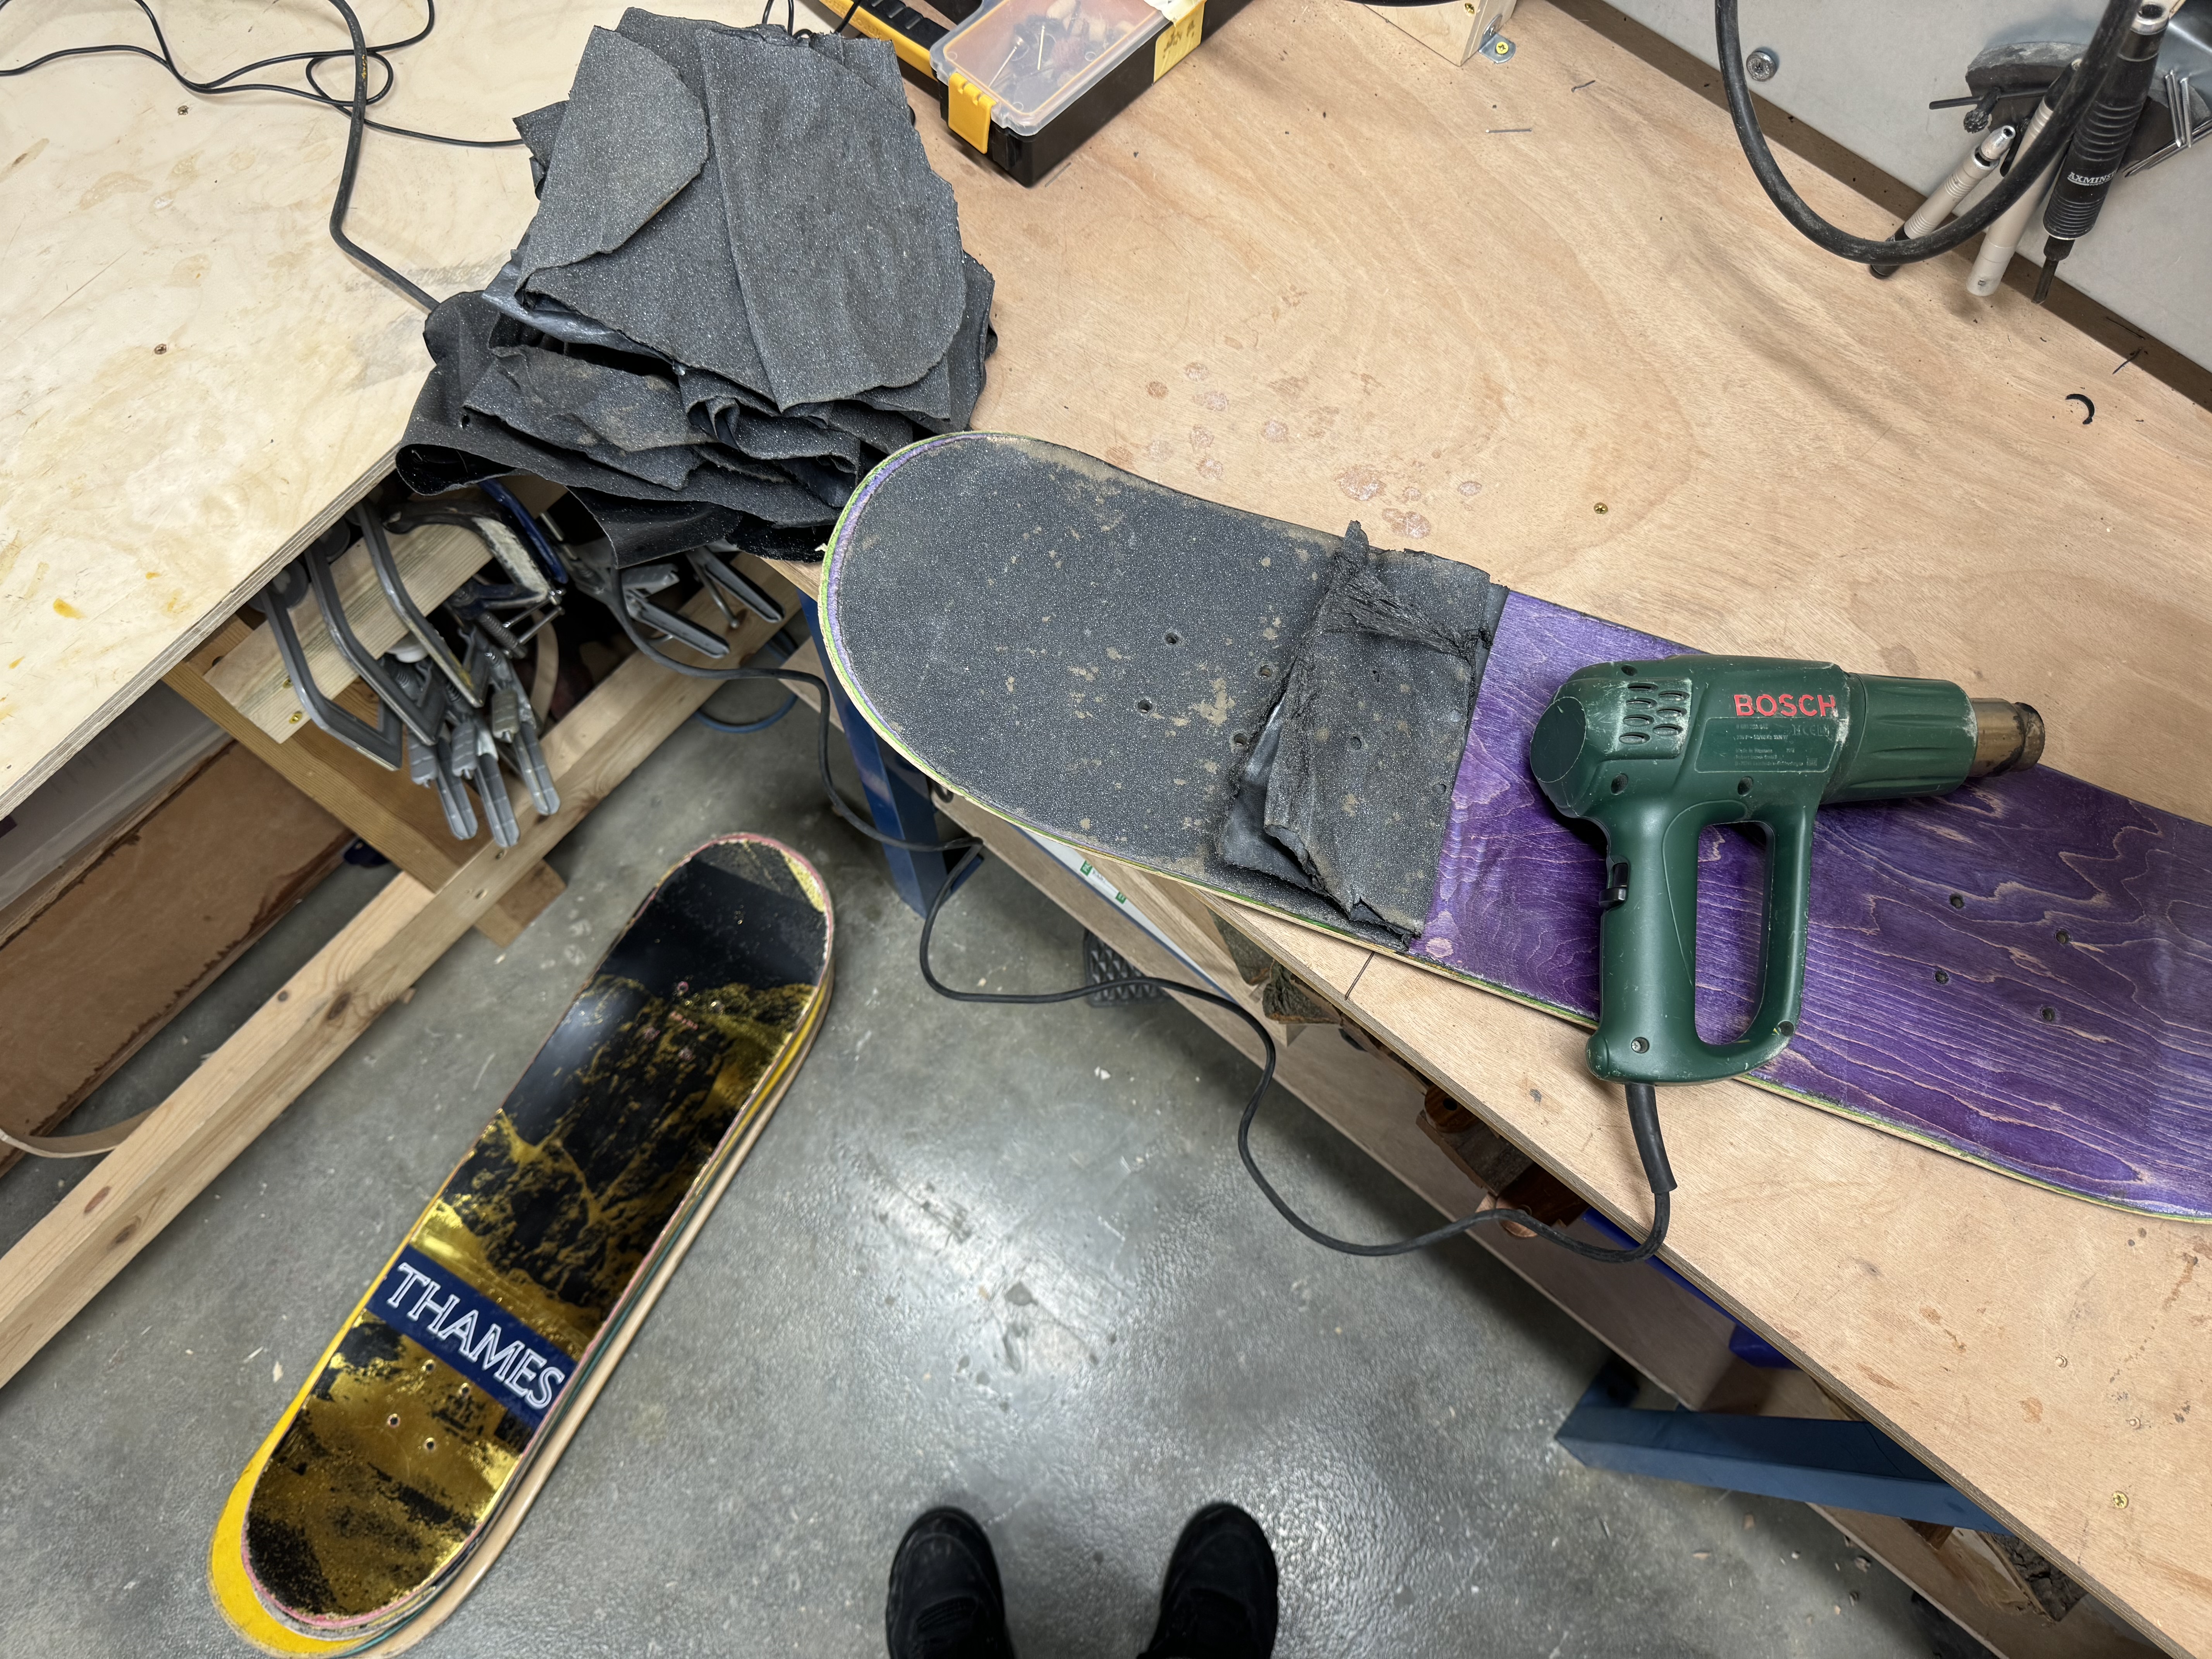 The first step was to remove the griptape. This step took me about an hour and a half to remove the
griptape
from 8 boards. When blowing the heat gun, do not blow it vertically, otherwise the hot air will blow on you. It needs to be blown at an angle and not for too long, because blowing for too long will melt the
griptape
. Blow about 30cm in one go and you can just tear it off. If you blow too much, it will easily cool down early.
The first step was to remove the griptape. This step took me about an hour and a half to remove the
griptape
from 8 boards. When blowing the heat gun, do not blow it vertically, otherwise the hot air will blow on you. It needs to be blown at an angle and not for too long, because blowing for too long will melt the
griptape
. Blow about 30cm in one go and you can just tear it off. If you blow too much, it will easily cool down early. 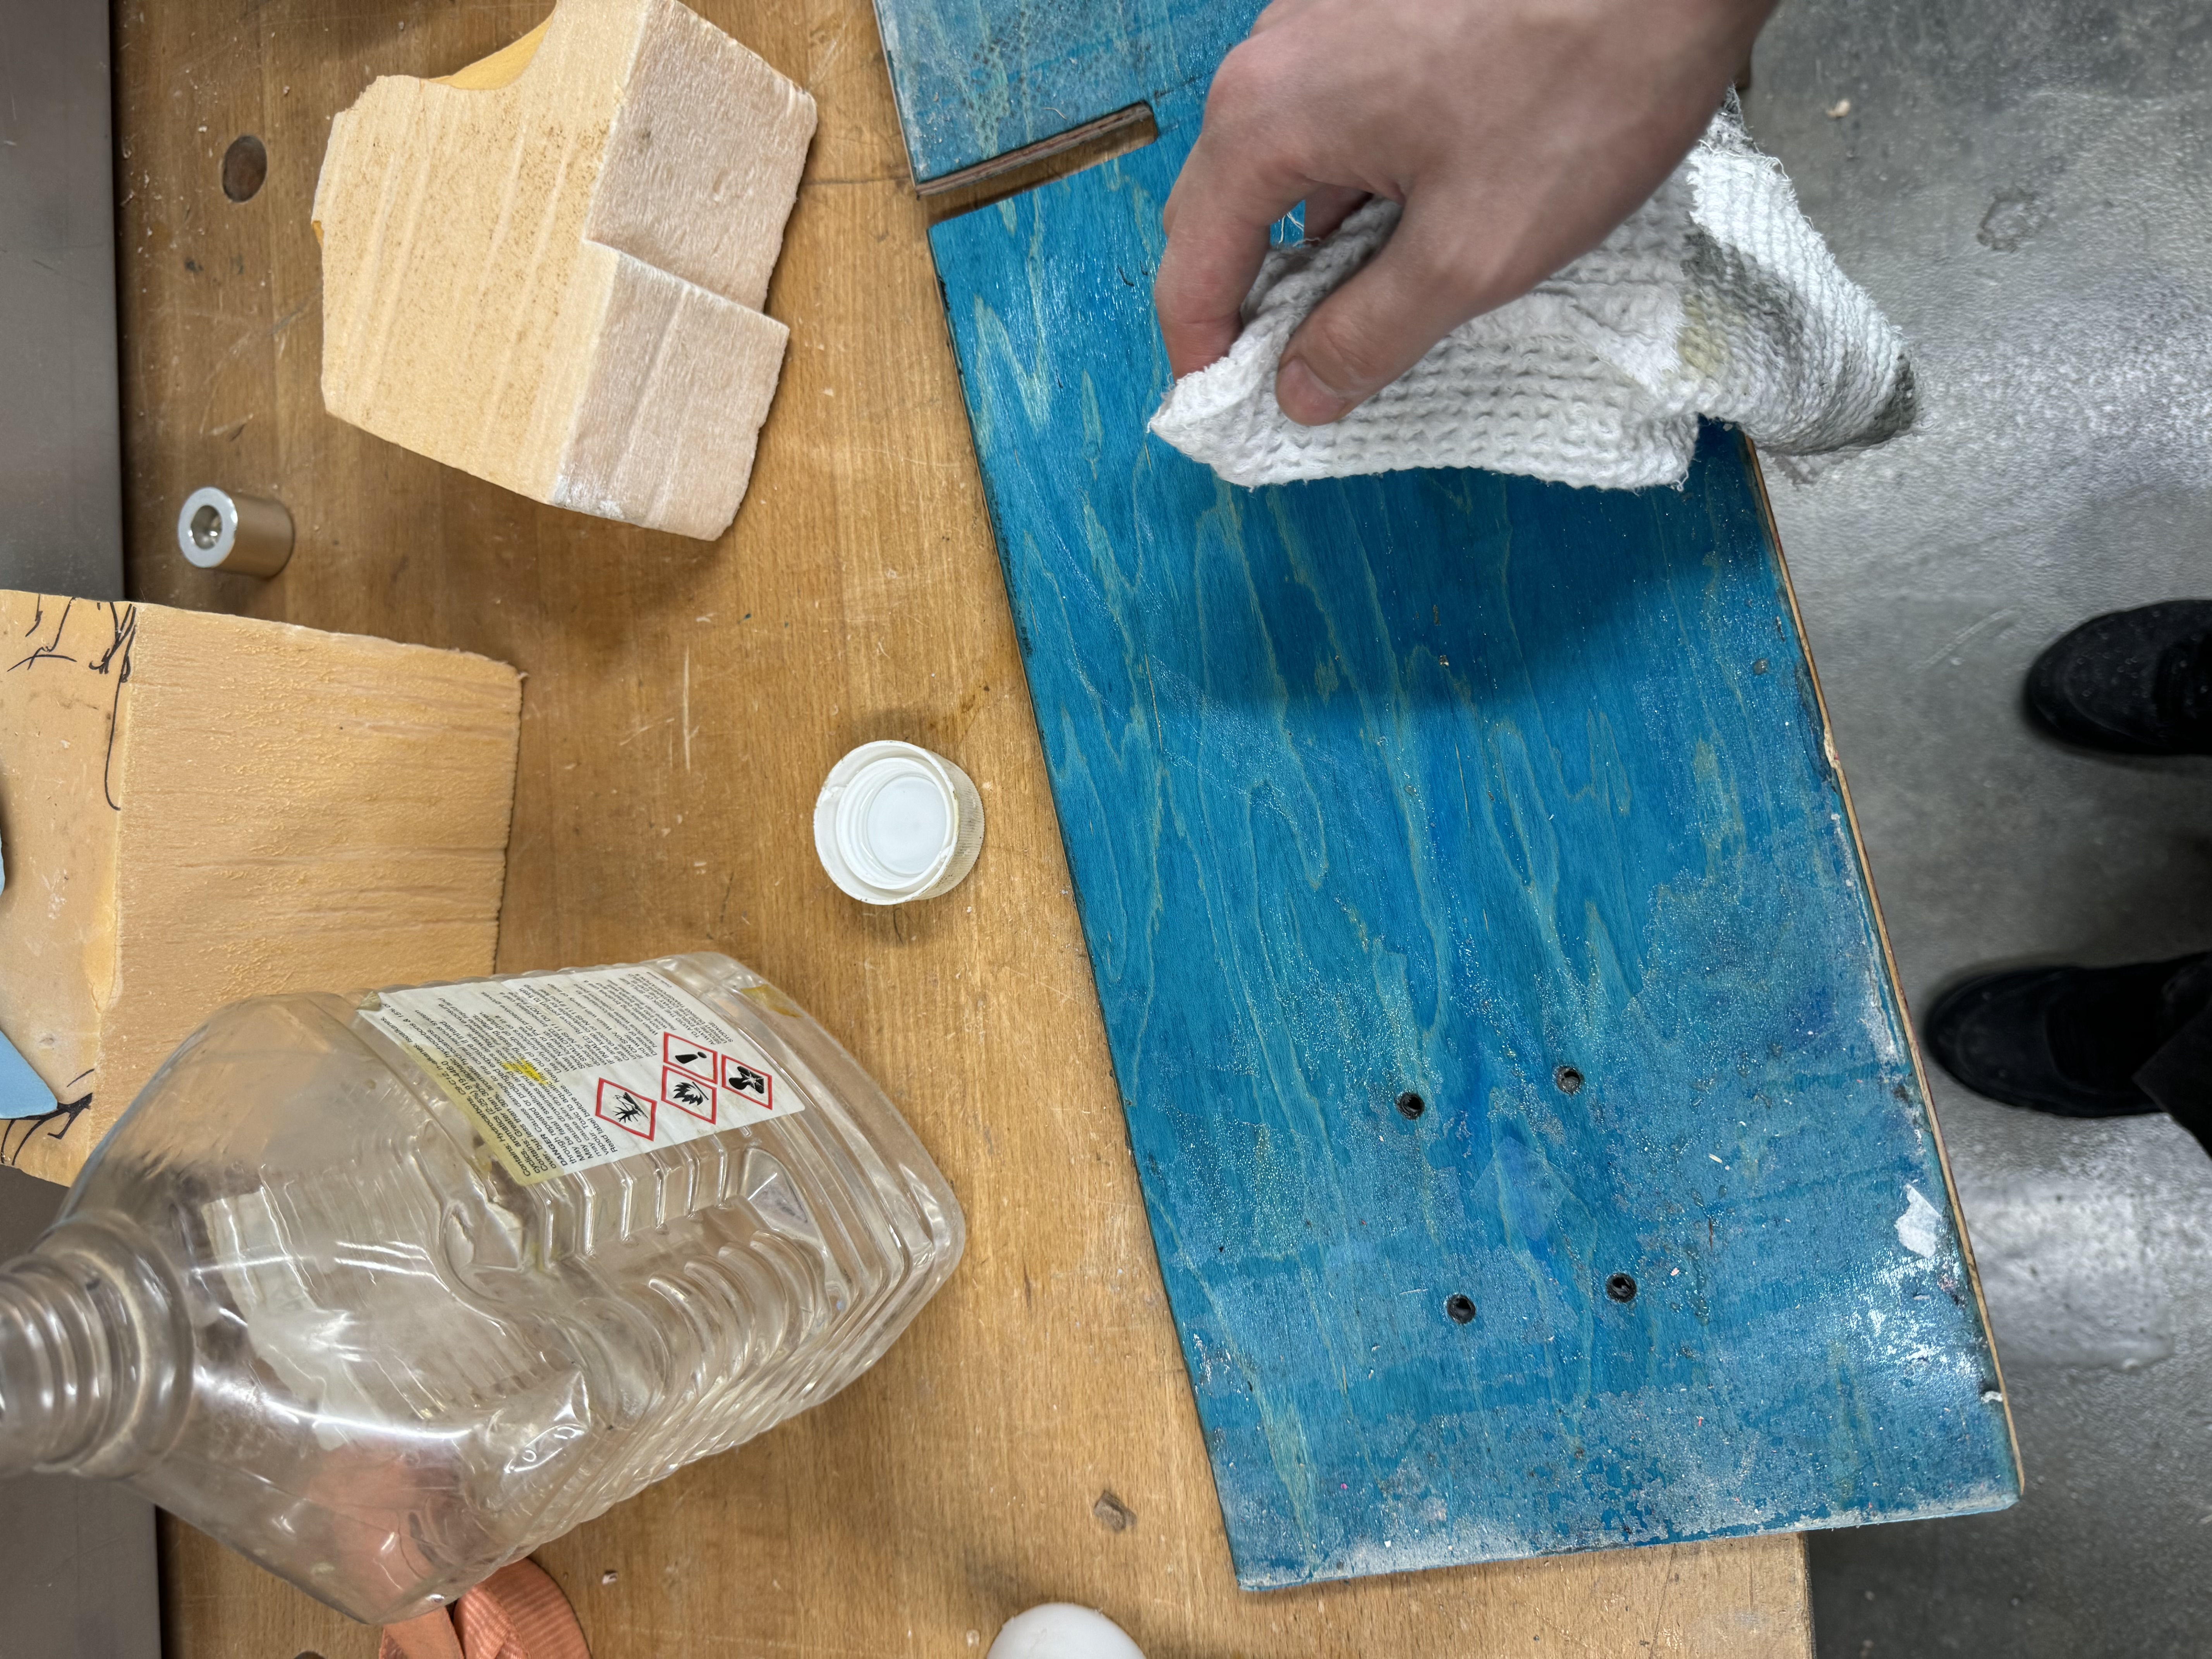


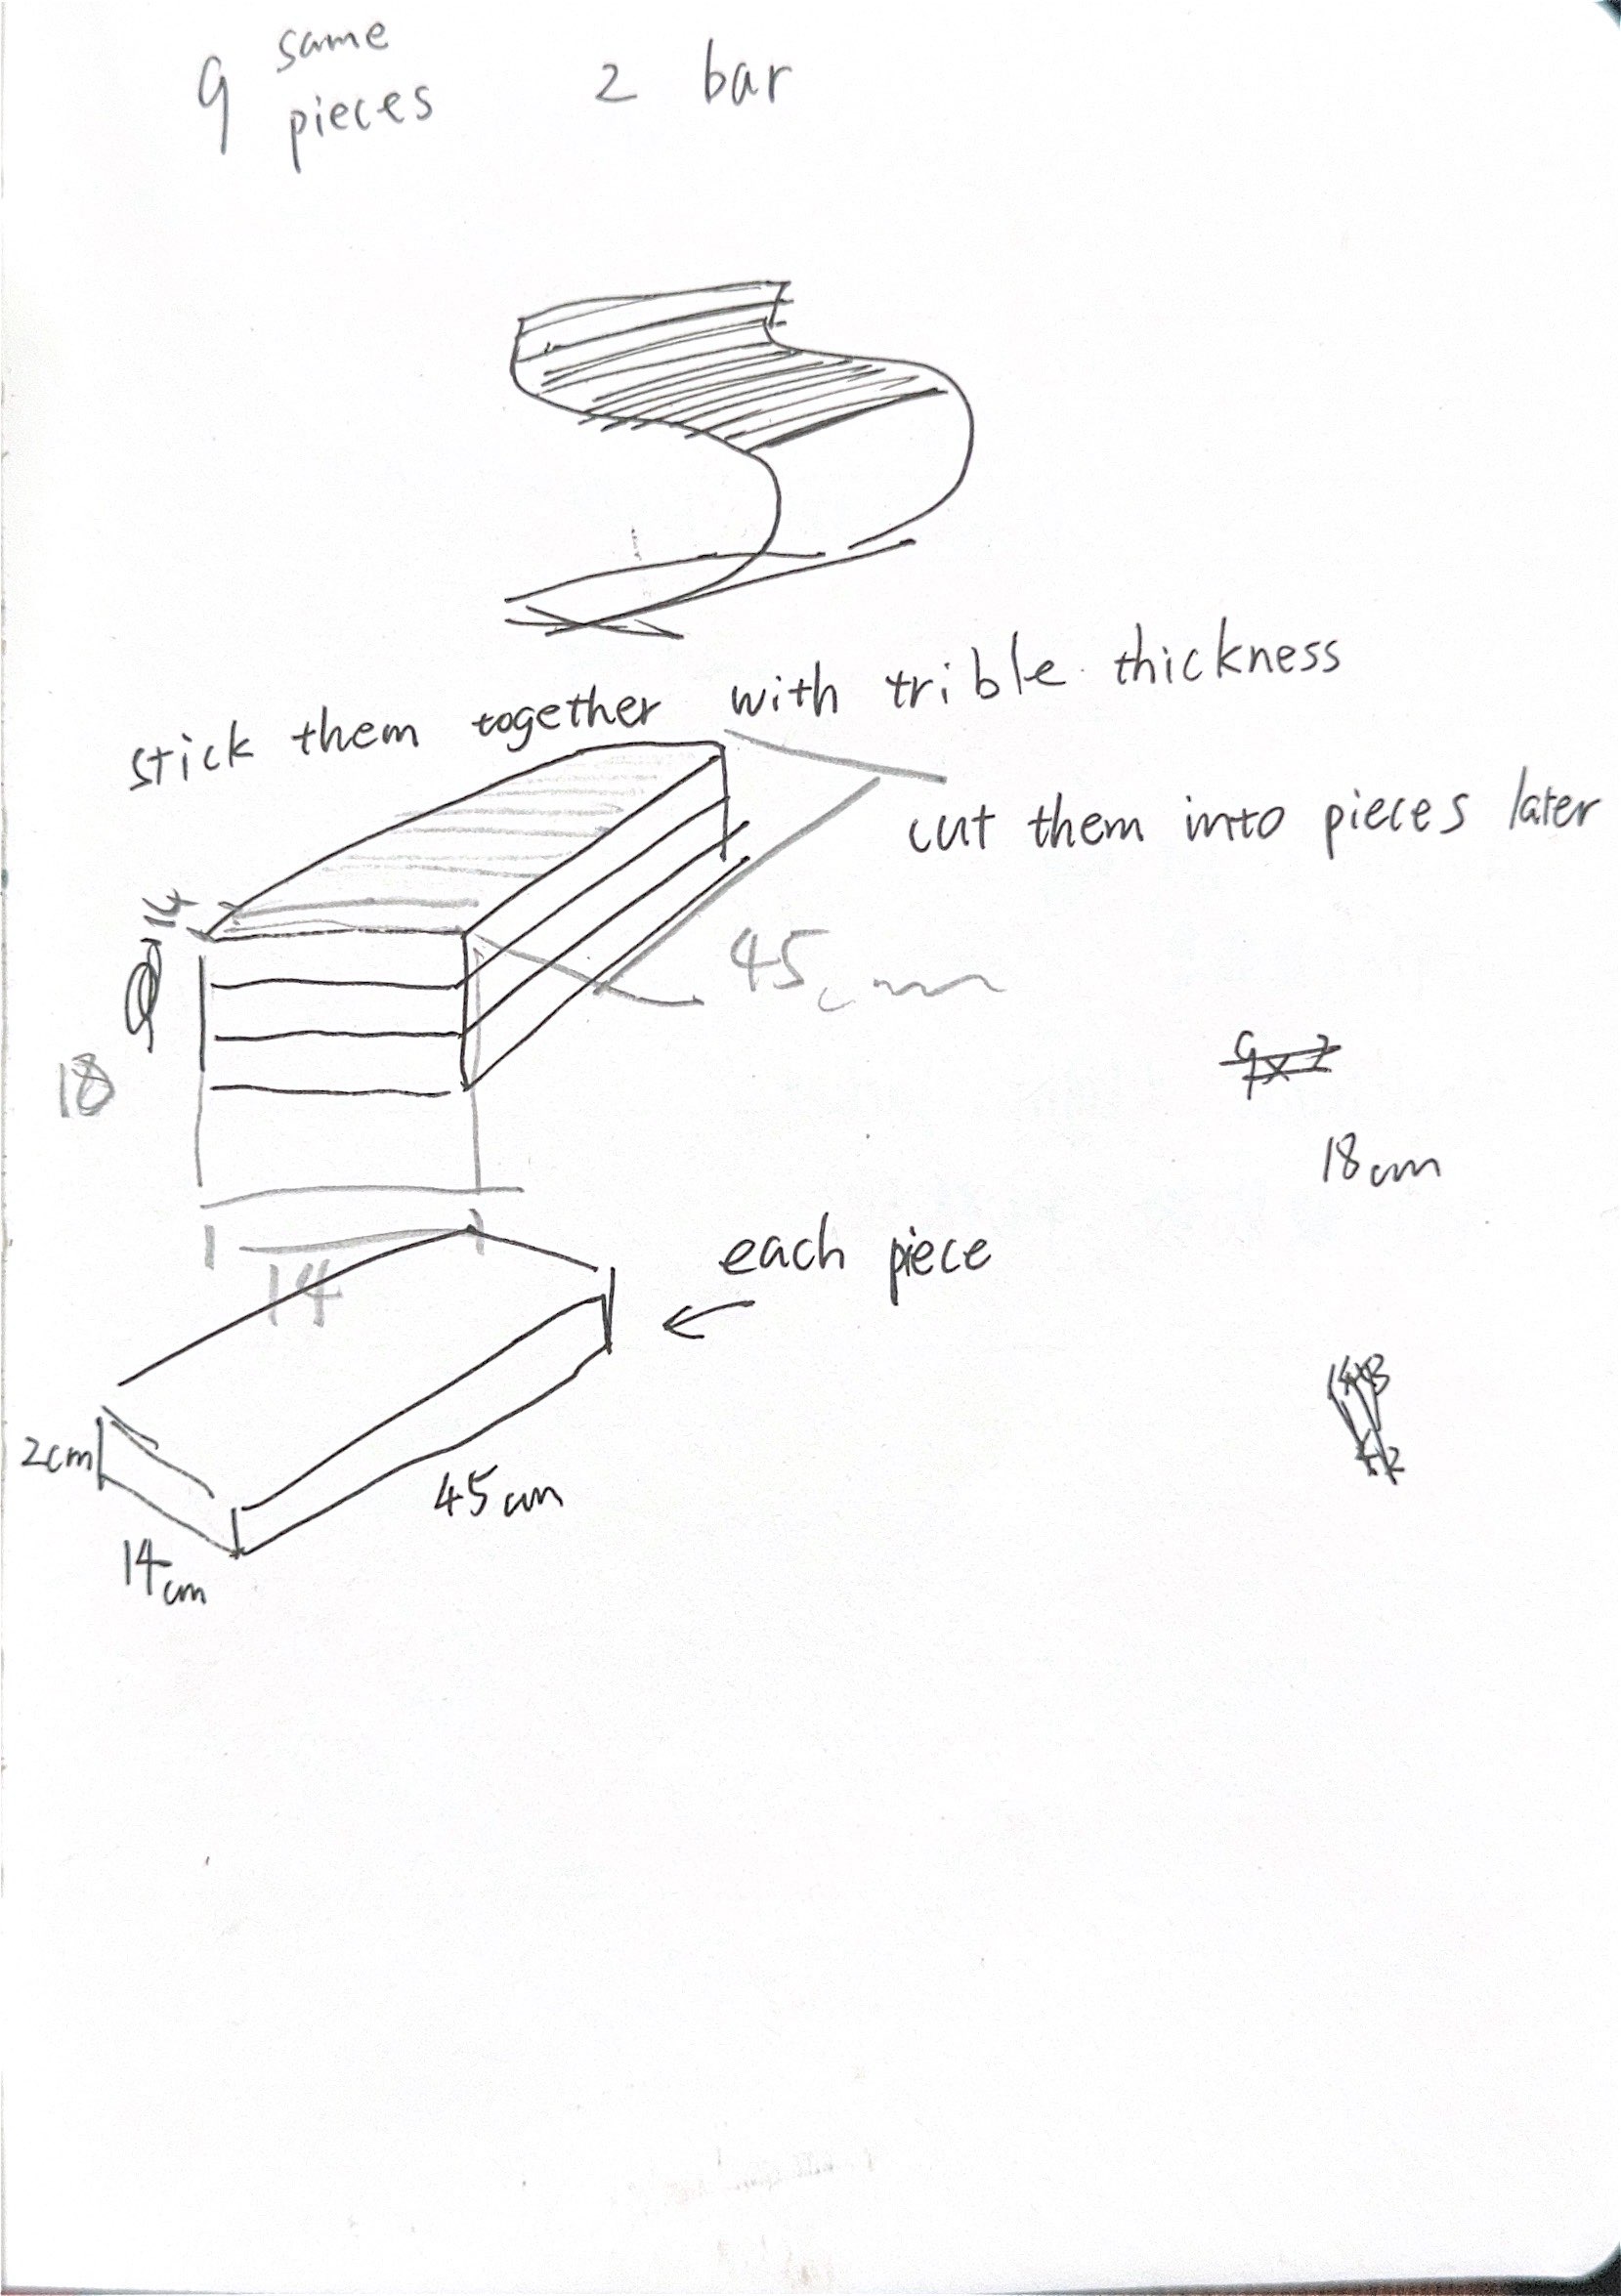


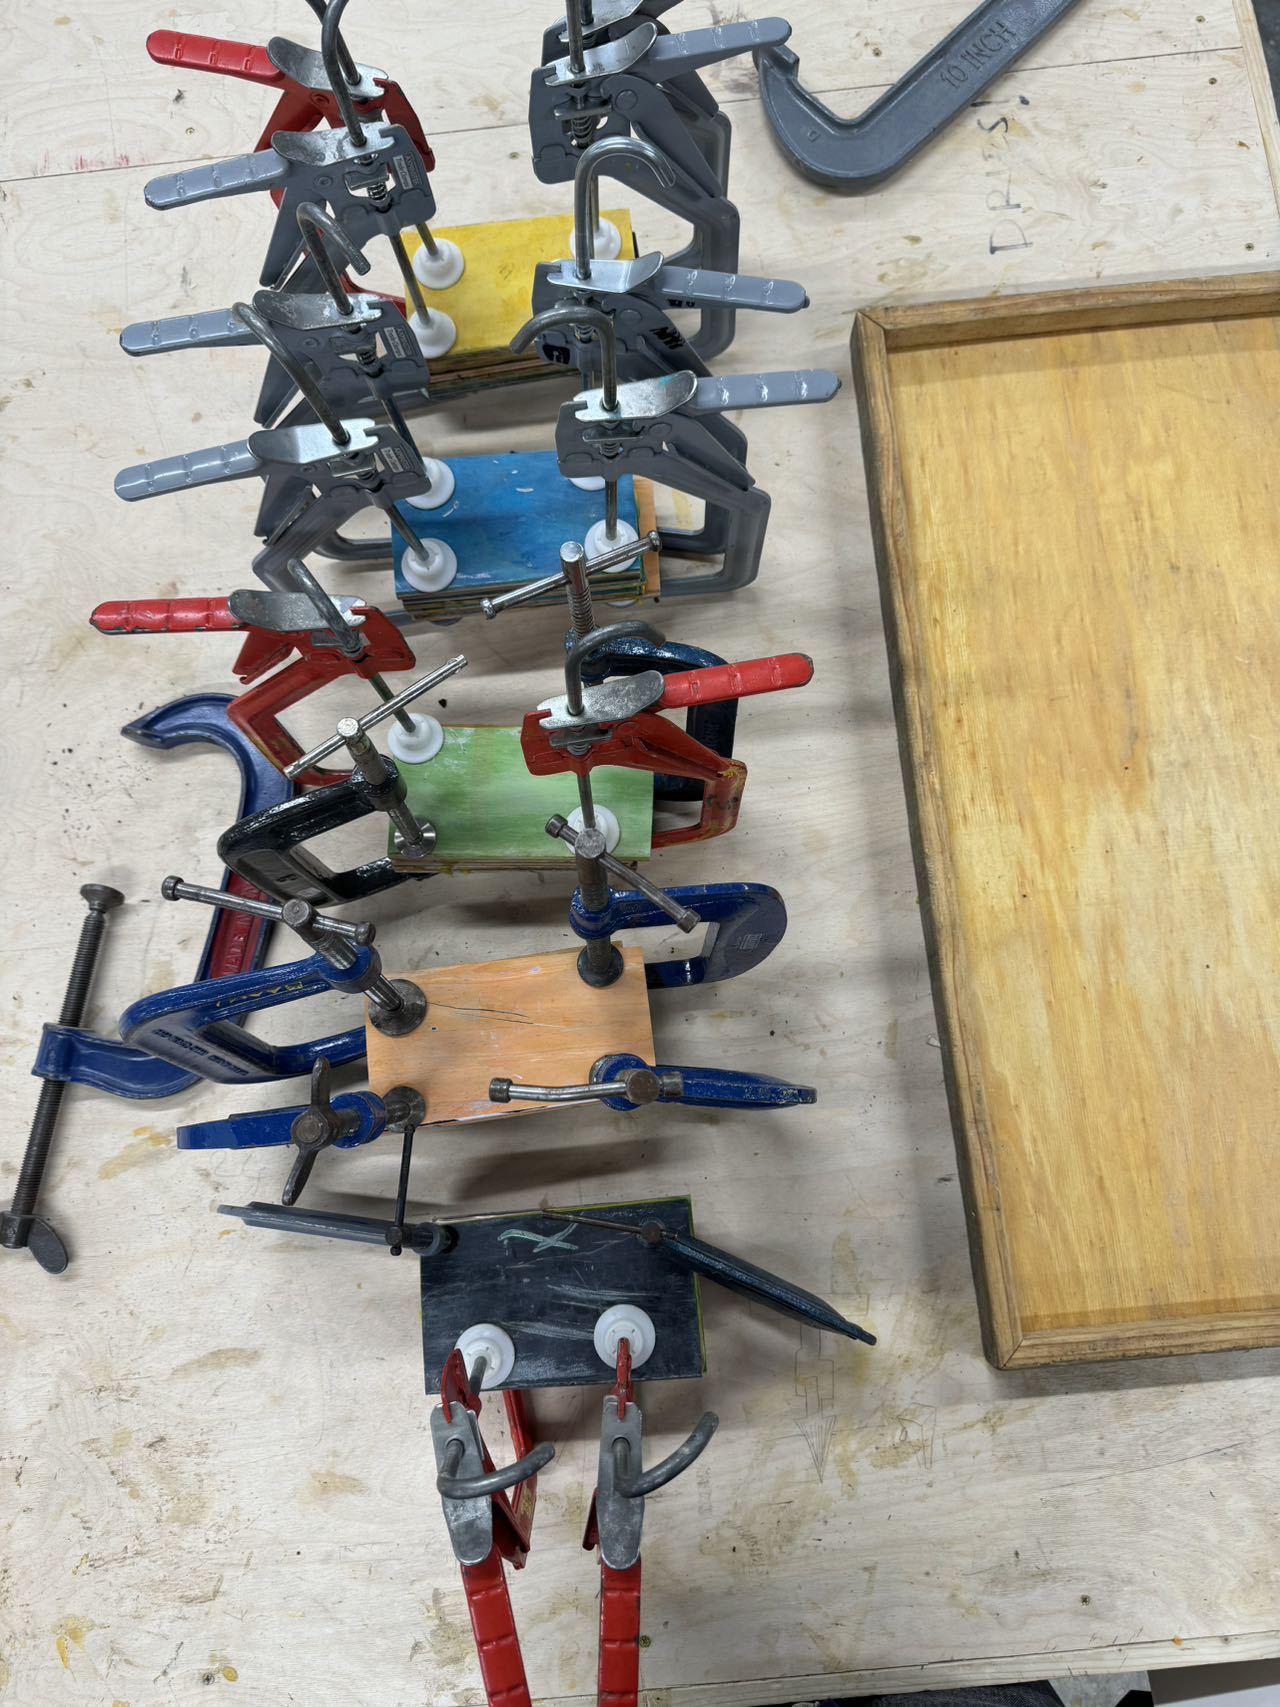

Later, the wooden block broke many times due to my early operating errors. I also made the mistake of gluing the wood, I put a heavy weight on it and when the glue was completely dry, the block and table were glued together. I should have removed the weight while the glue was still wet. Moreover, the clamp is not better the harder it is. Too much force will cause the wooden block to shift.


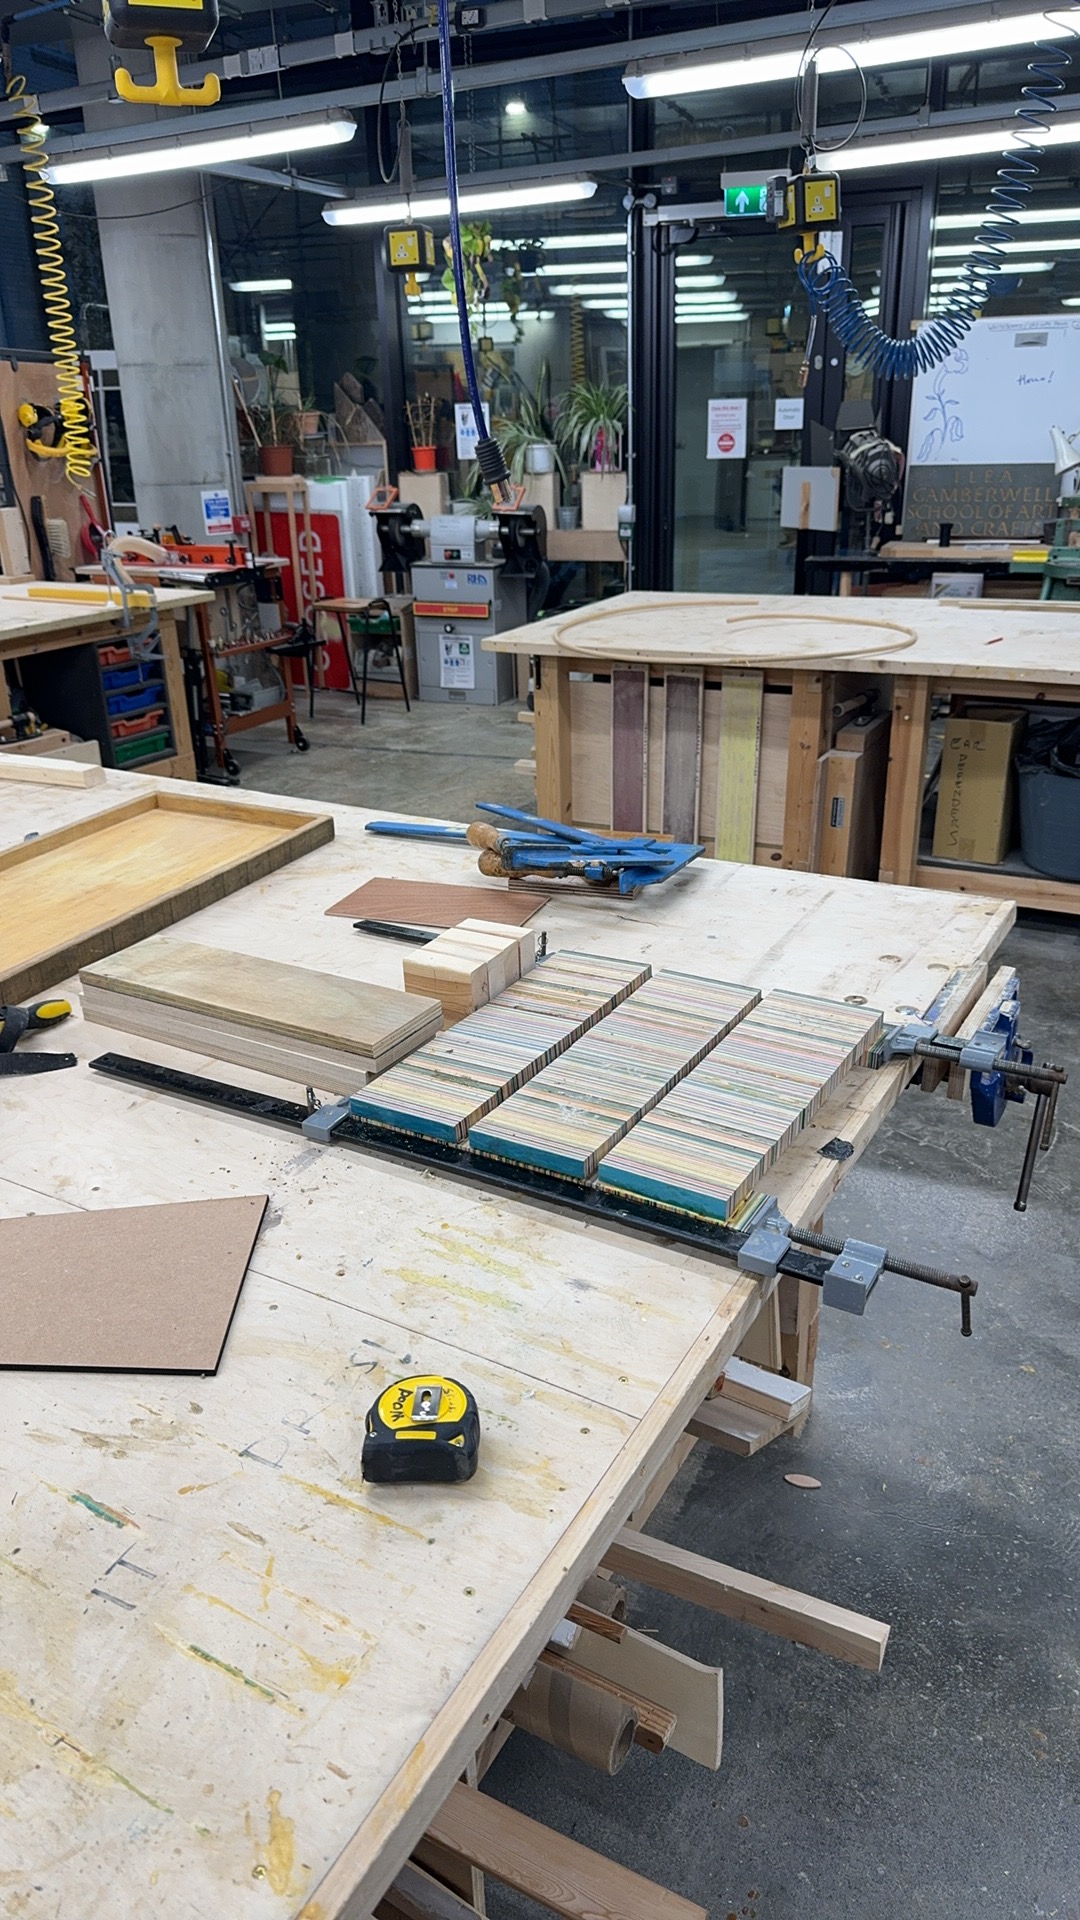
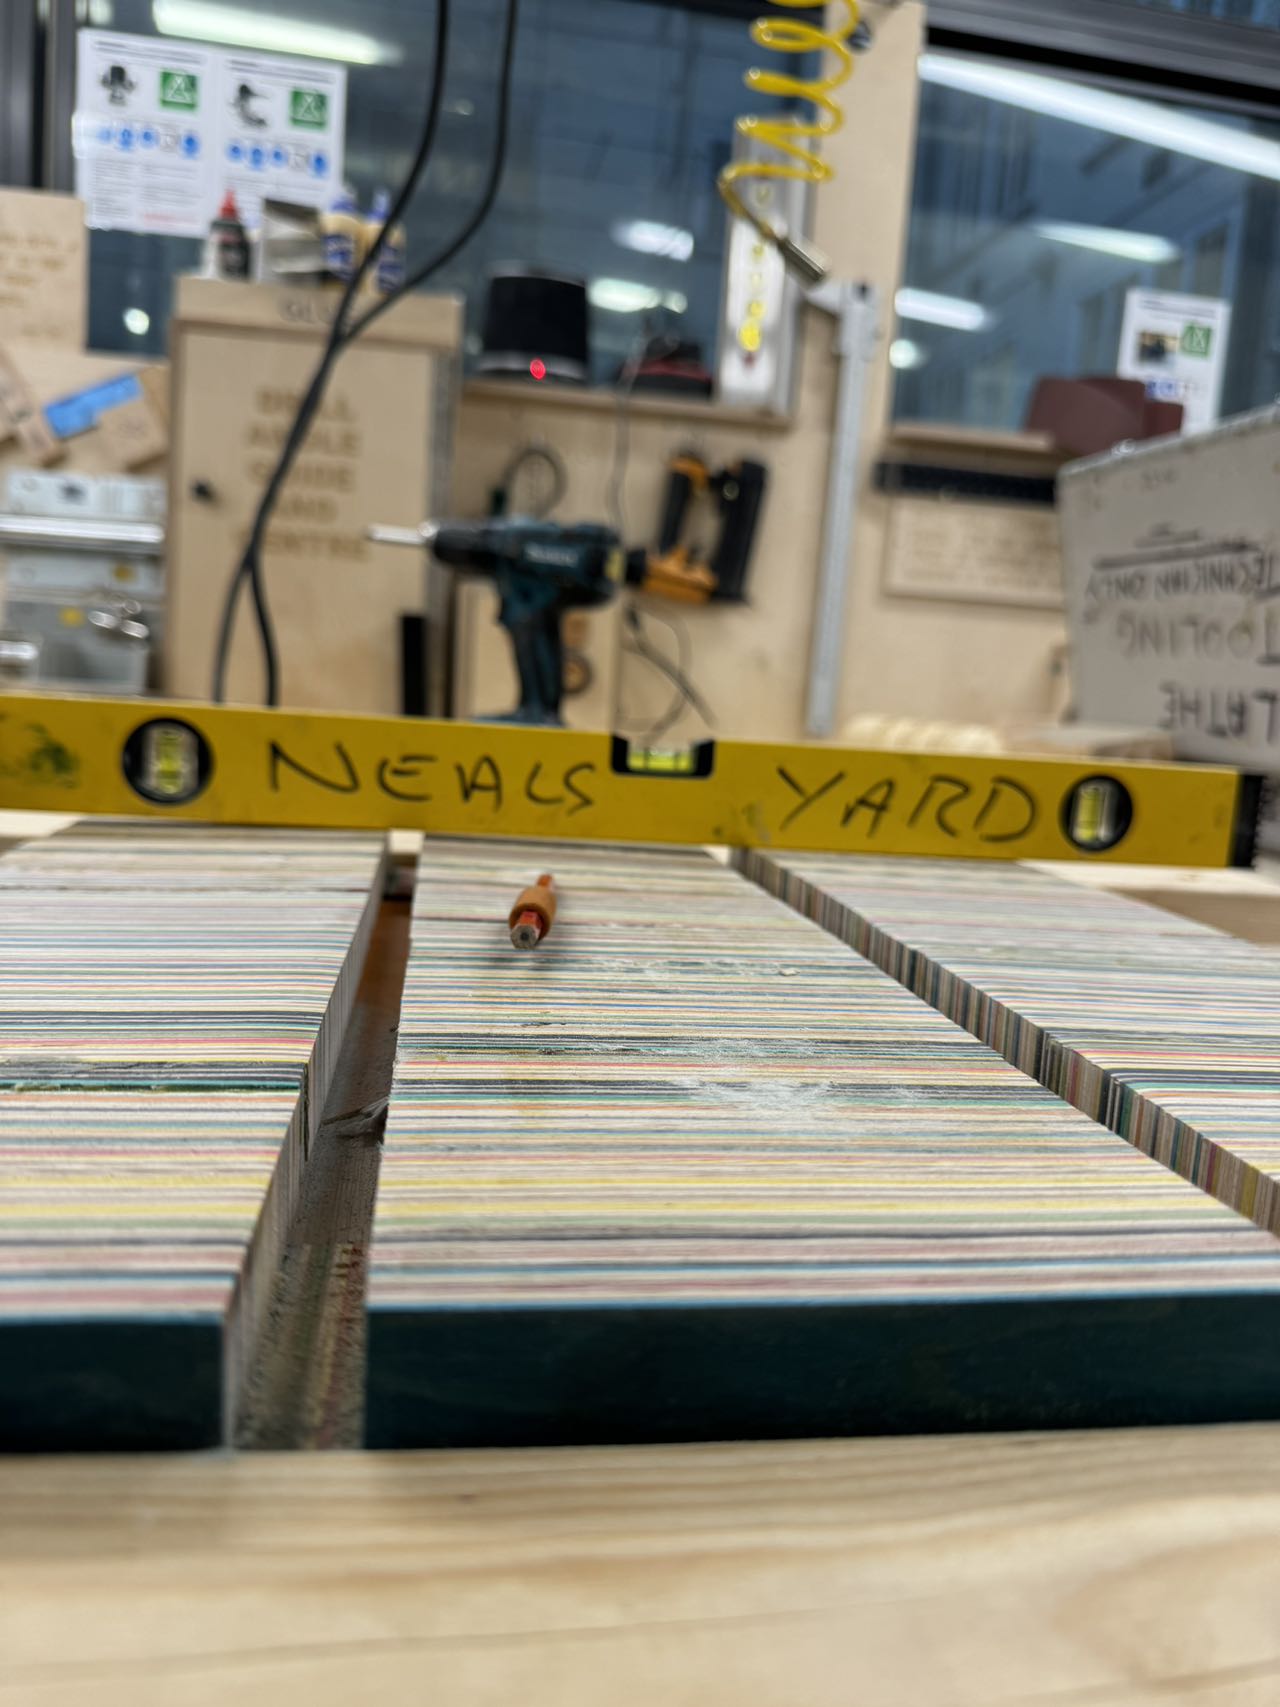

 I jointed the legs with triangle blocks, screws and glue. I don't think I'm right at this step. The pieces of wood that help join should be rectangular. When I used screws to connect the triangular wooden blocks, the table legs shifted because the force was applied obliquely. The pieces broke again before joining them, so next time I should slap on structurally reinforcing boards as soon as possible after gluing, like the one in the middle.
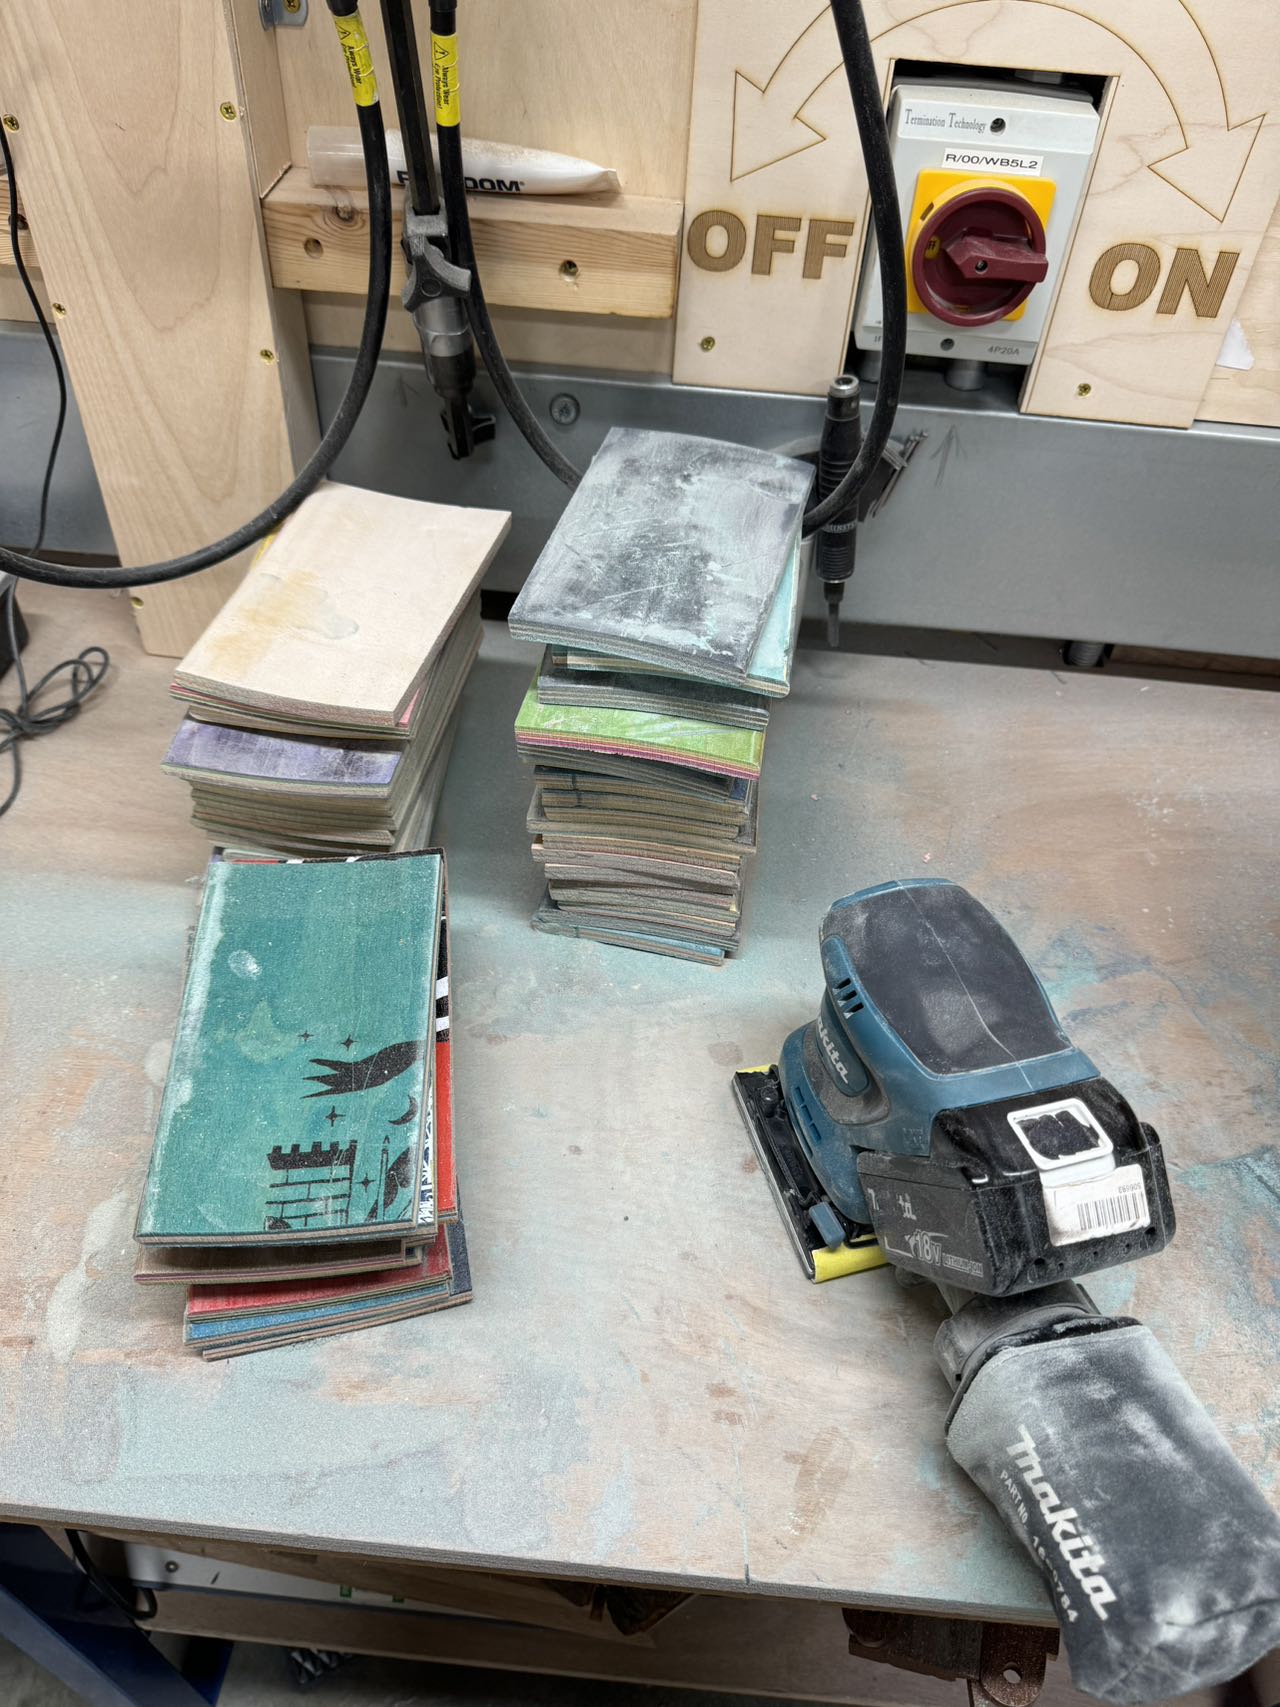
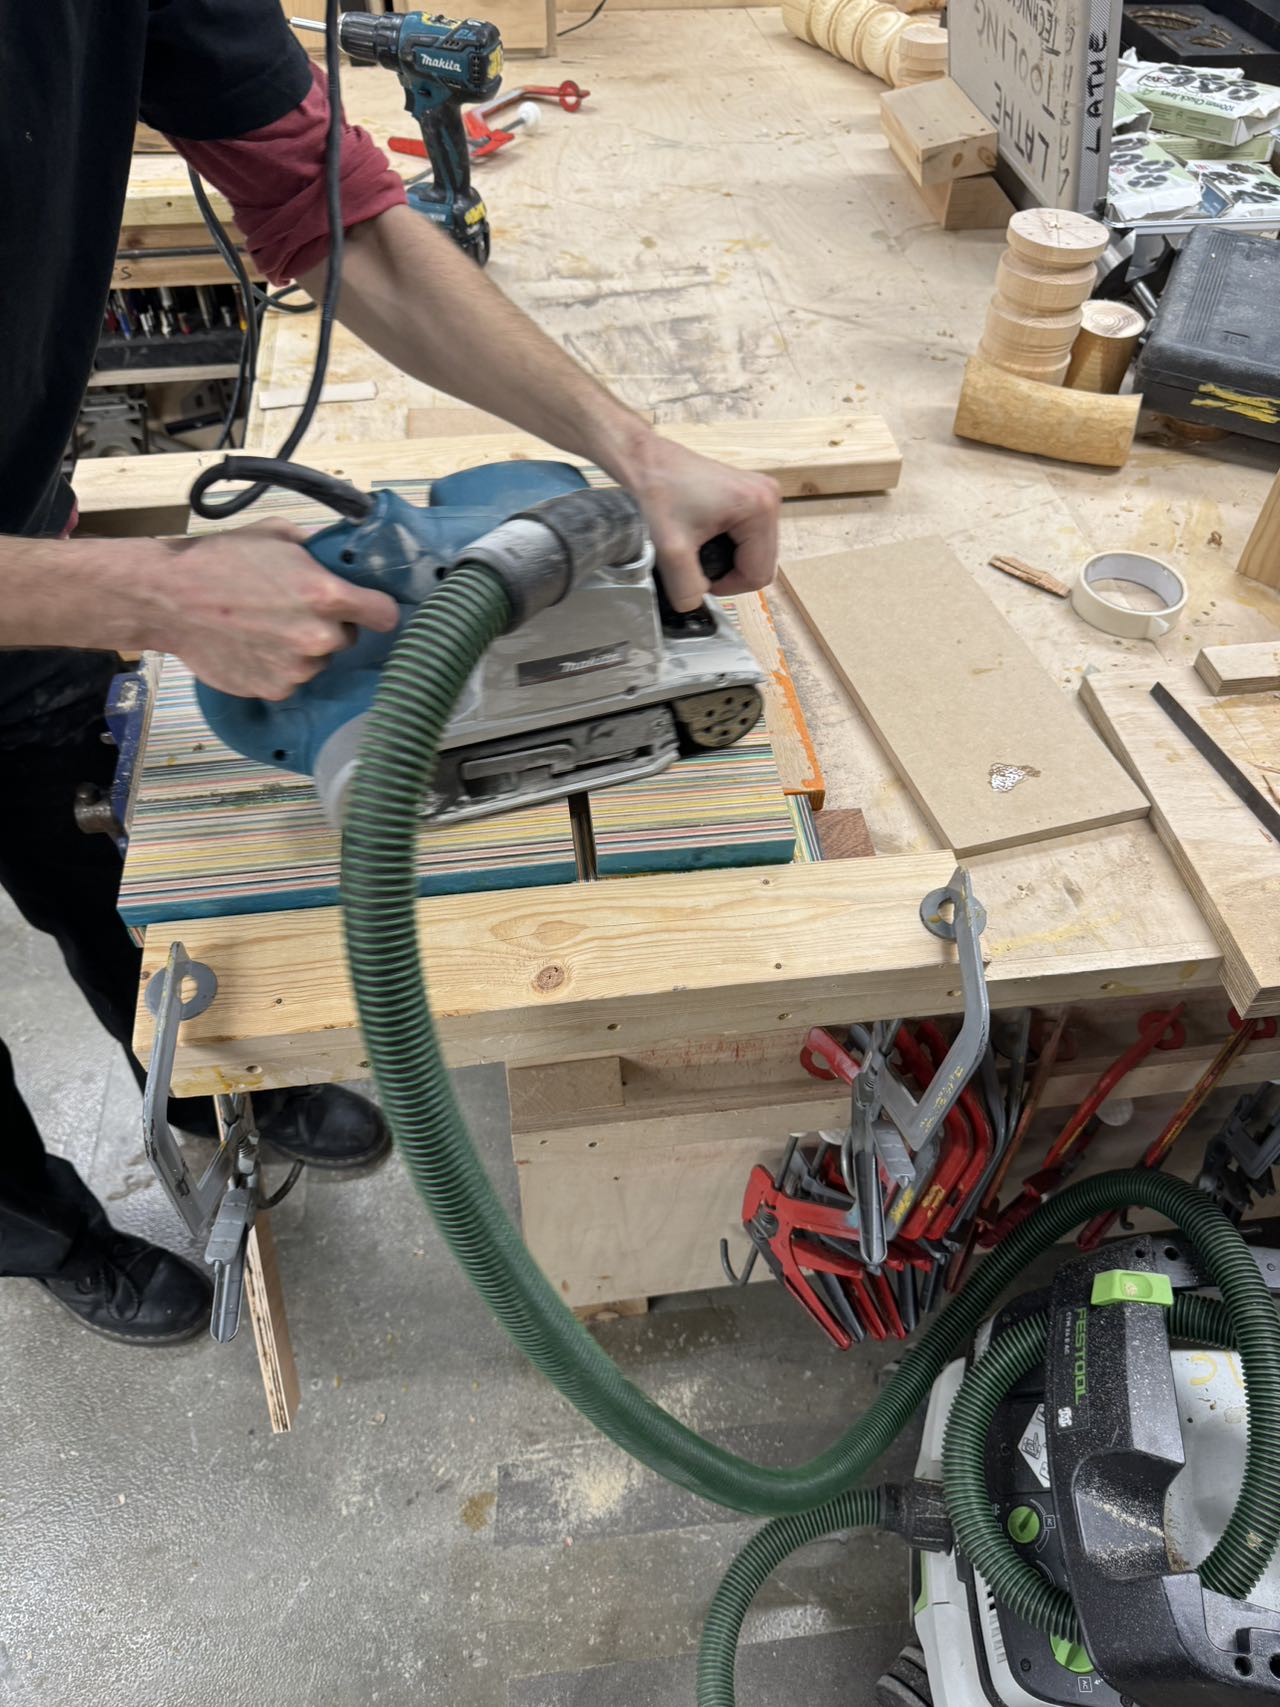
 Finally, I sanded the table top further and oiled it. When I wipe, I shoud wipe against the grain so that there will not be oil trace left. I should have vacuumed up all the dust before applying oil.
 Through this desktop production, I finally got a rough idea of how much time it would take me to make a finished product using abandoned decks.