Works
Blog
-
Ceramic ashtray
![]()
-
Shoes Rack
-
Jean Wallet
-
The Emotional Utilitarian
-
Design Museum
-
Christo early works Exhibition
-
Numeric Skate Demo
-
The British Museum
-
Pitt rivers Museum
- Flax craft central
- Kate lecture
- LCC stiching tutorial
-
BOX by Max Lamb
-
Sheila Hicks: infinite potential
- Instagram viewing 1
- V&A Museum
- CCW MA graduation exhibition
- Scarf knitting
- Natural History Museum
- Tate Morden Museum
- The British Museum 2
- The Egyptian Museum
- Banksy Exhibition
- Tea table
- Cap making
- Unit 1 exhibition
- Remake shoes
- Antony Gormley Exhibition
- Tate Britain
-
Newspaper Ceramic
![]()
- Aromatherapy tray
- Kettle’s Yard
-
Paper samples for unit 2
![]()
- The Fitzwilliam Museum
- How to analyze the case
-
Woodcuts
![]()
- Collect 2024
-
Ceramic extrusion
![]()
- Tony’s cardboard space
- Tony’s tour London
- Ceramic London 2024
-
Wheel-throw learning
![]()
![]()
- CSM shows 2024
- Tony’s tour East London
- Portland Carving tour
- FUMI Casa al mare
![]()
- Silicone Molding in summer break
- London Transportation Museum
- Dongyang Chinese furniture market
- Prototype redoing for previous work
- Jingdezhen visiting
![]()
- London Design Festival 2024
- Hang for Fun lamp
![]()
![]()
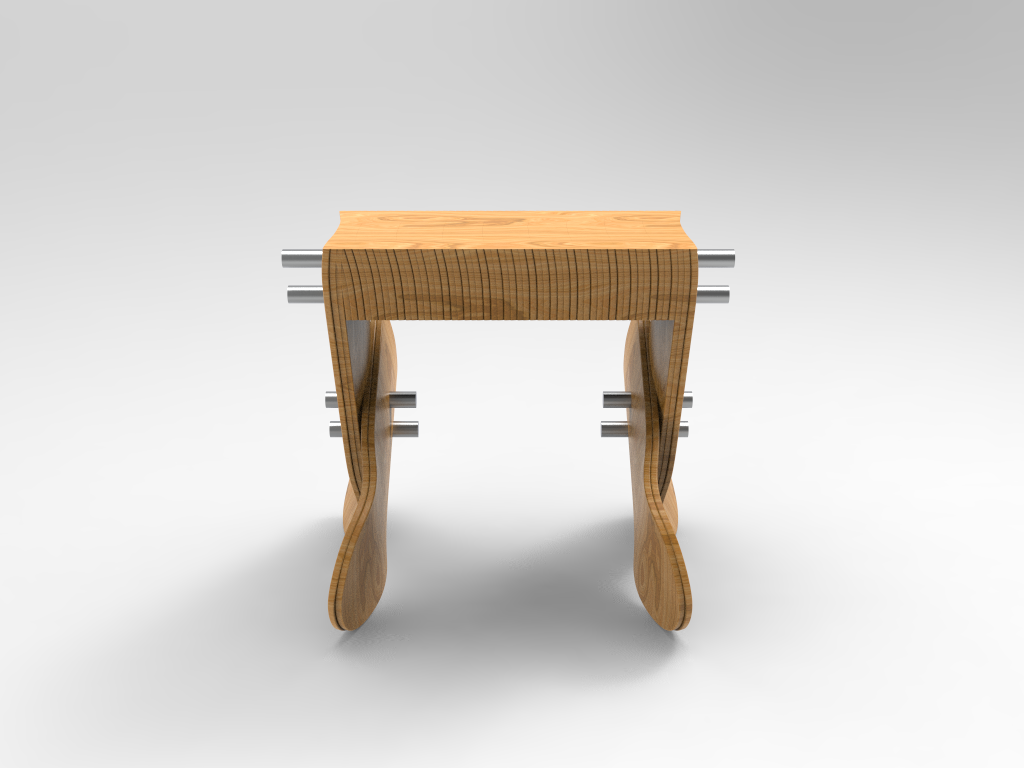
- Emotion Breaker stool
![]()
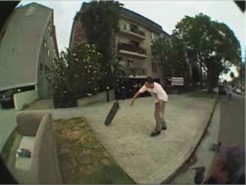
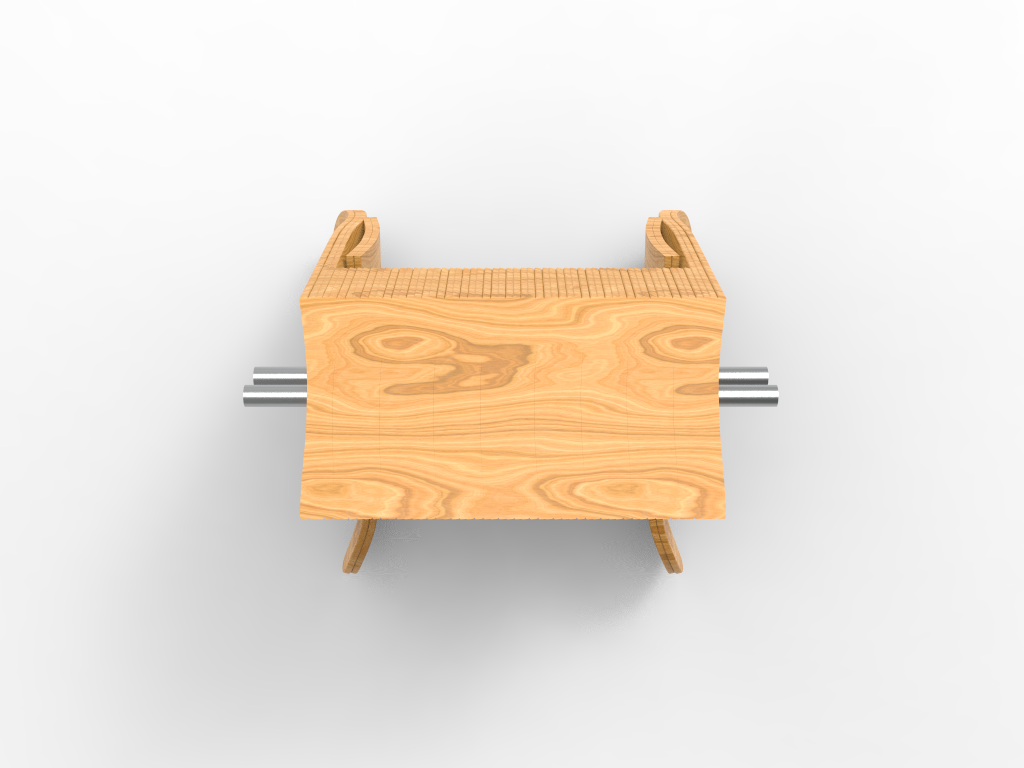
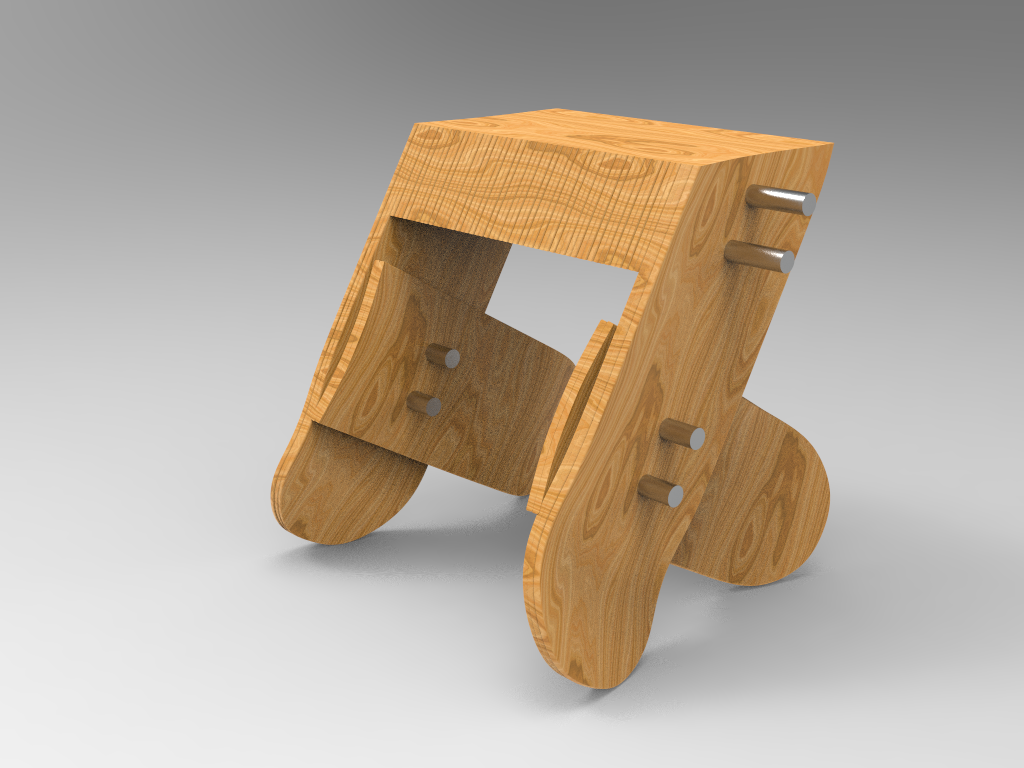
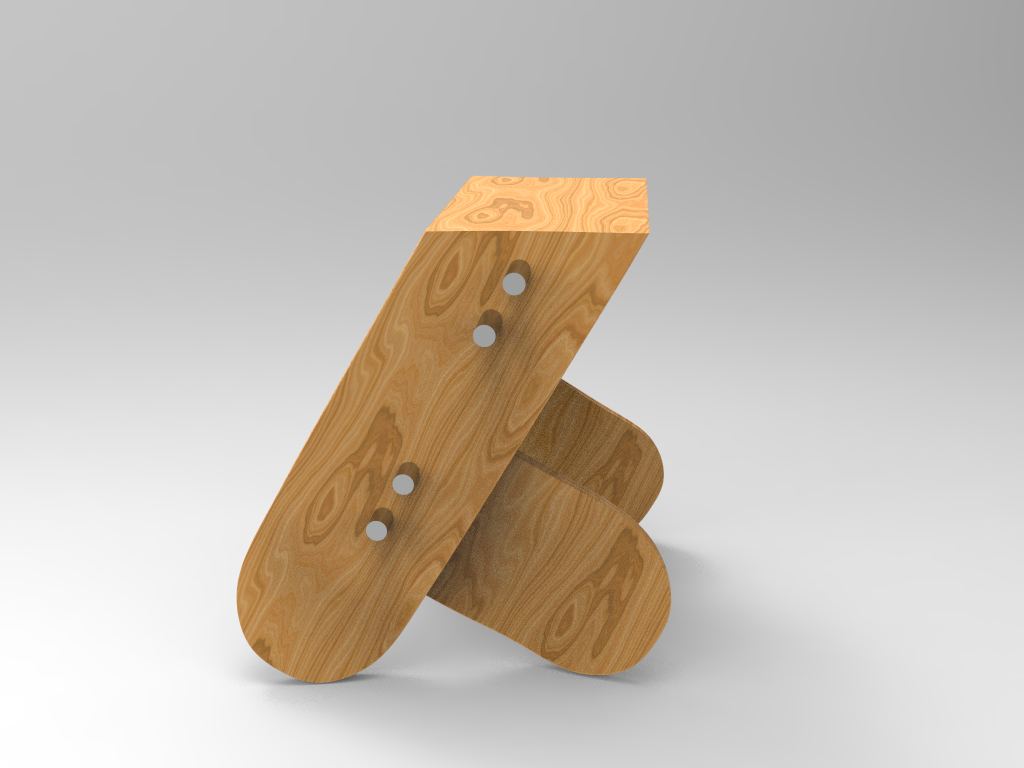
- Reverse Grind table
![]()
Yusen
Info
Previous works by Yusen have delved deeply into themes of functionality, sustainability, and humanization. Yusen’s practice highlights a curiosity about cultural influences and their potential to inform modern design approaches, blending cultural resonance with innovative environmental solutions.

This work was inspired by Sedia E
Sgabello. In the previous practice, I used glue to form a beautiful texture,
but I was not very satisfied with it because it was not very strong. Secondly,
in sustainable design, the less adhesive, the better. So I wanted to use
threaded bars to connect and see what kind of furniture the skateboards could
form. I originally wanted to make a small table next to the chair, but I found
that the width might not be enough, so I changed to a stool. When I made the
first small model, I found that it was not stable and could easily fall forward
or backward. So in order to increase stability, I made the base larger. This
also made it more interesting visually. After testing the feasibility of the
connection, I did not start to make this work immediately because I felt that
it lacked a certain context.


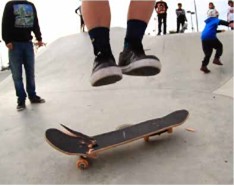
Then I got the idea for this chair.
The inspiration came from a broken board. Broken boards are often caused by
skaters being very happy when they do a great trick or being very angry when
they can't do a trick they have been trying for a long time. I find that this
is essentially an emotional release, and a broken board gives people this
strong feeling, so I applied it to the bottom of the stool and let people see
and feel it intuitively.
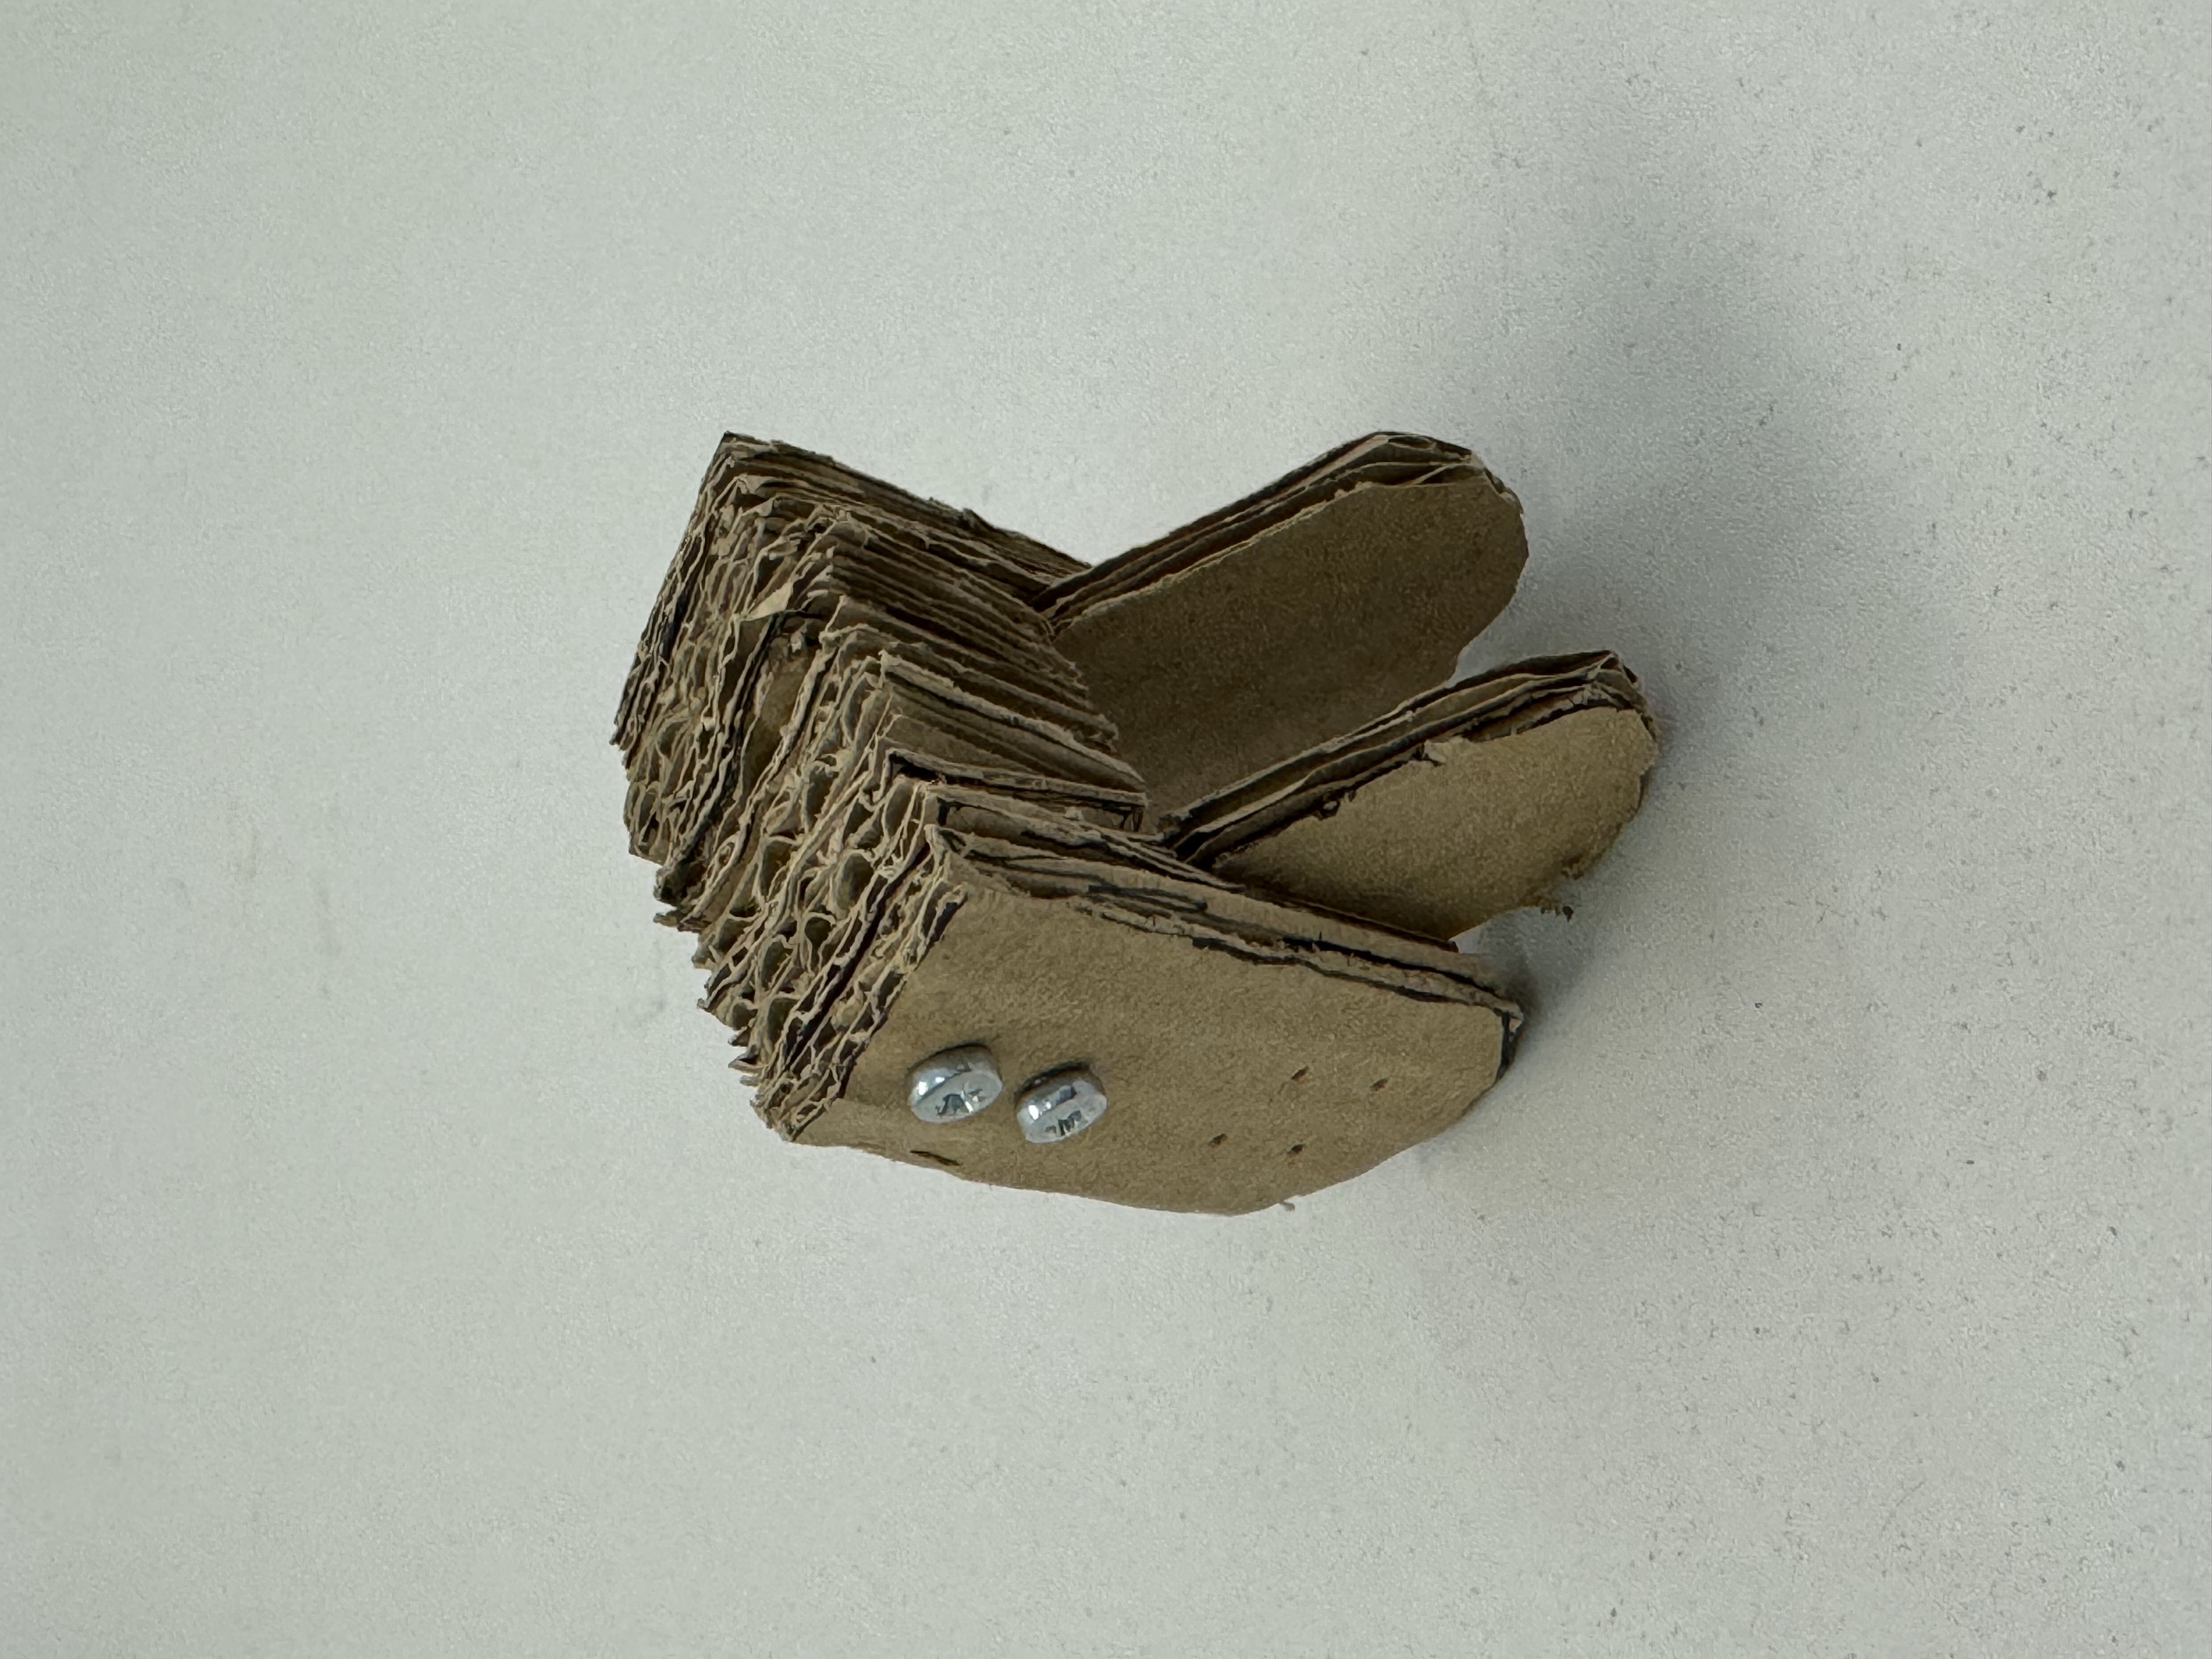
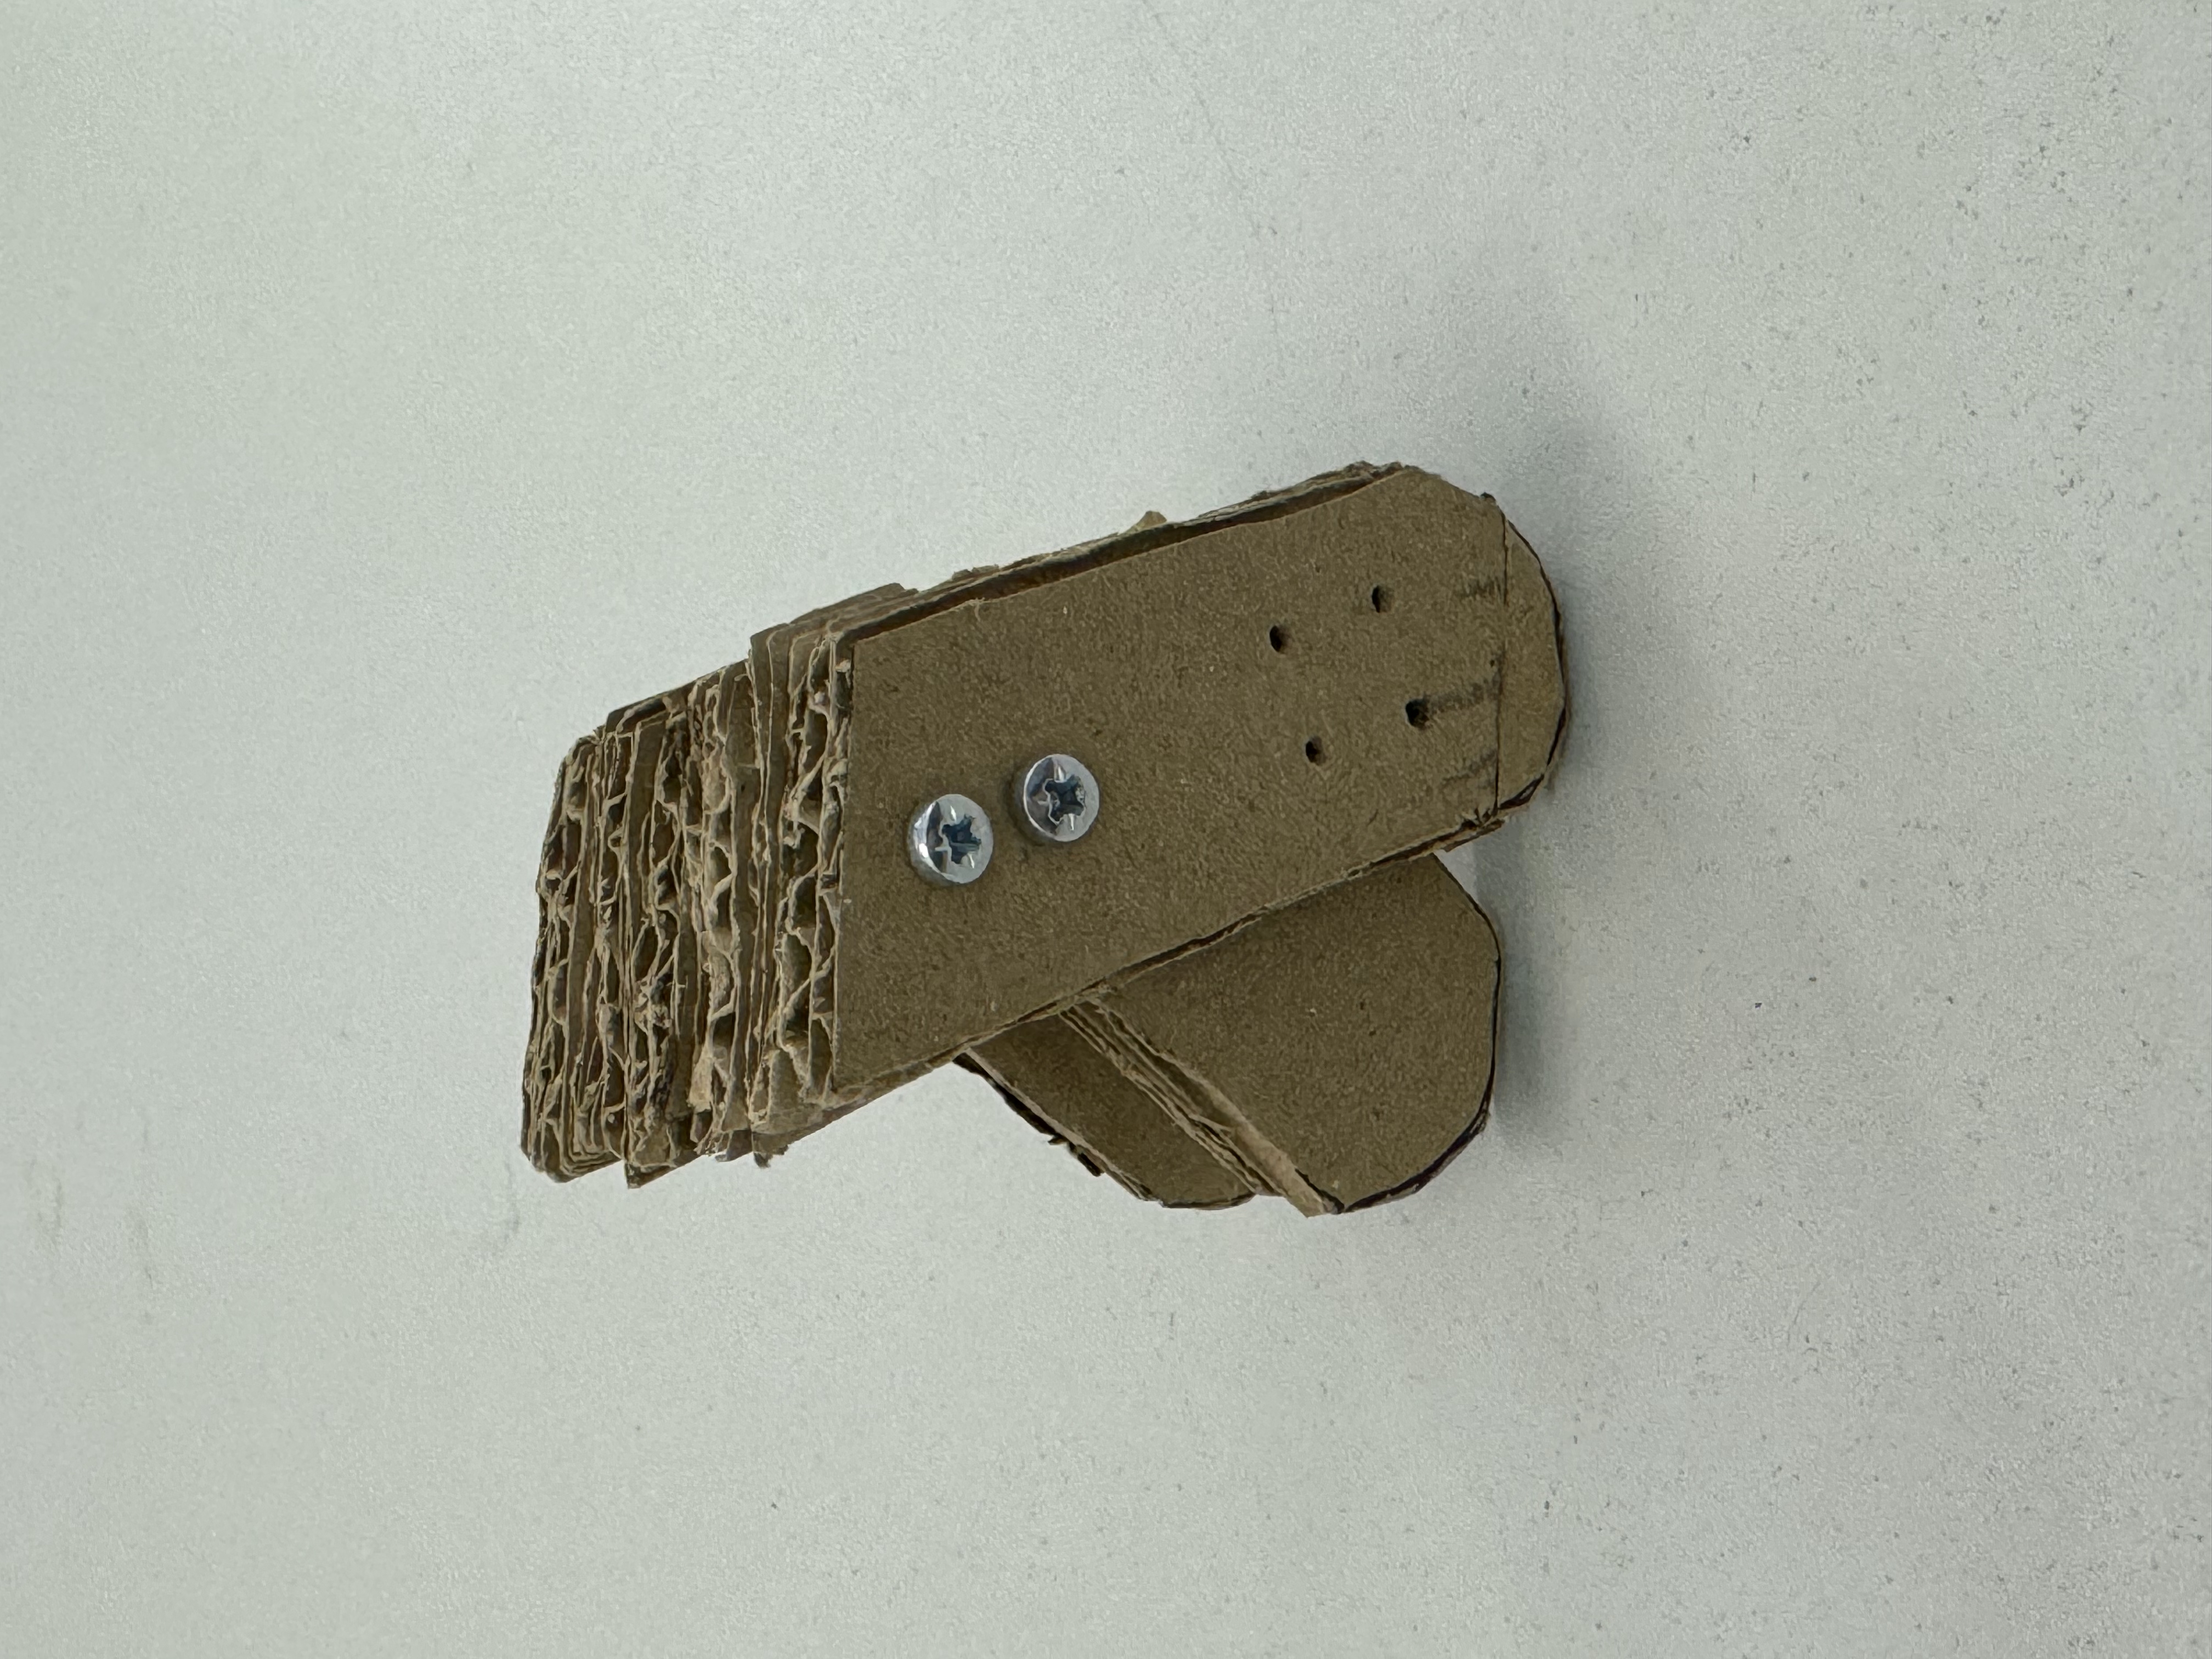
I also built a model to see how many pieces of skateboard were needed to make a stool. At first I wanted to make a side table, but I found that I had to cut it at a large angle to reach the length of the table, and the broken surface would not look harmonious.
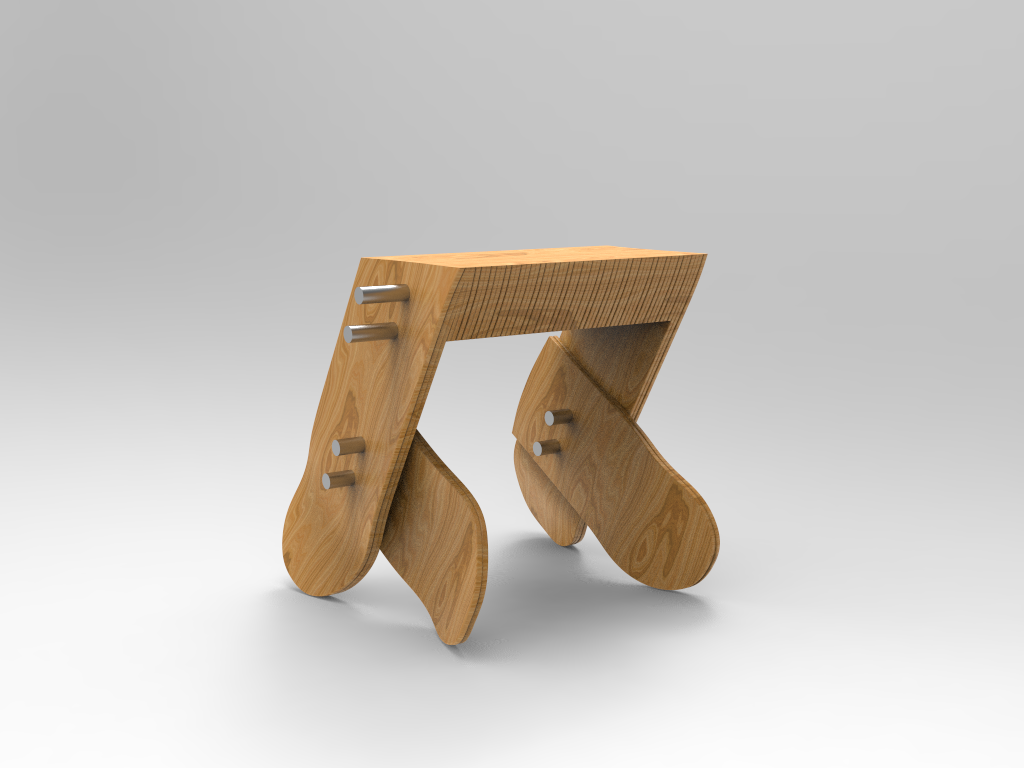


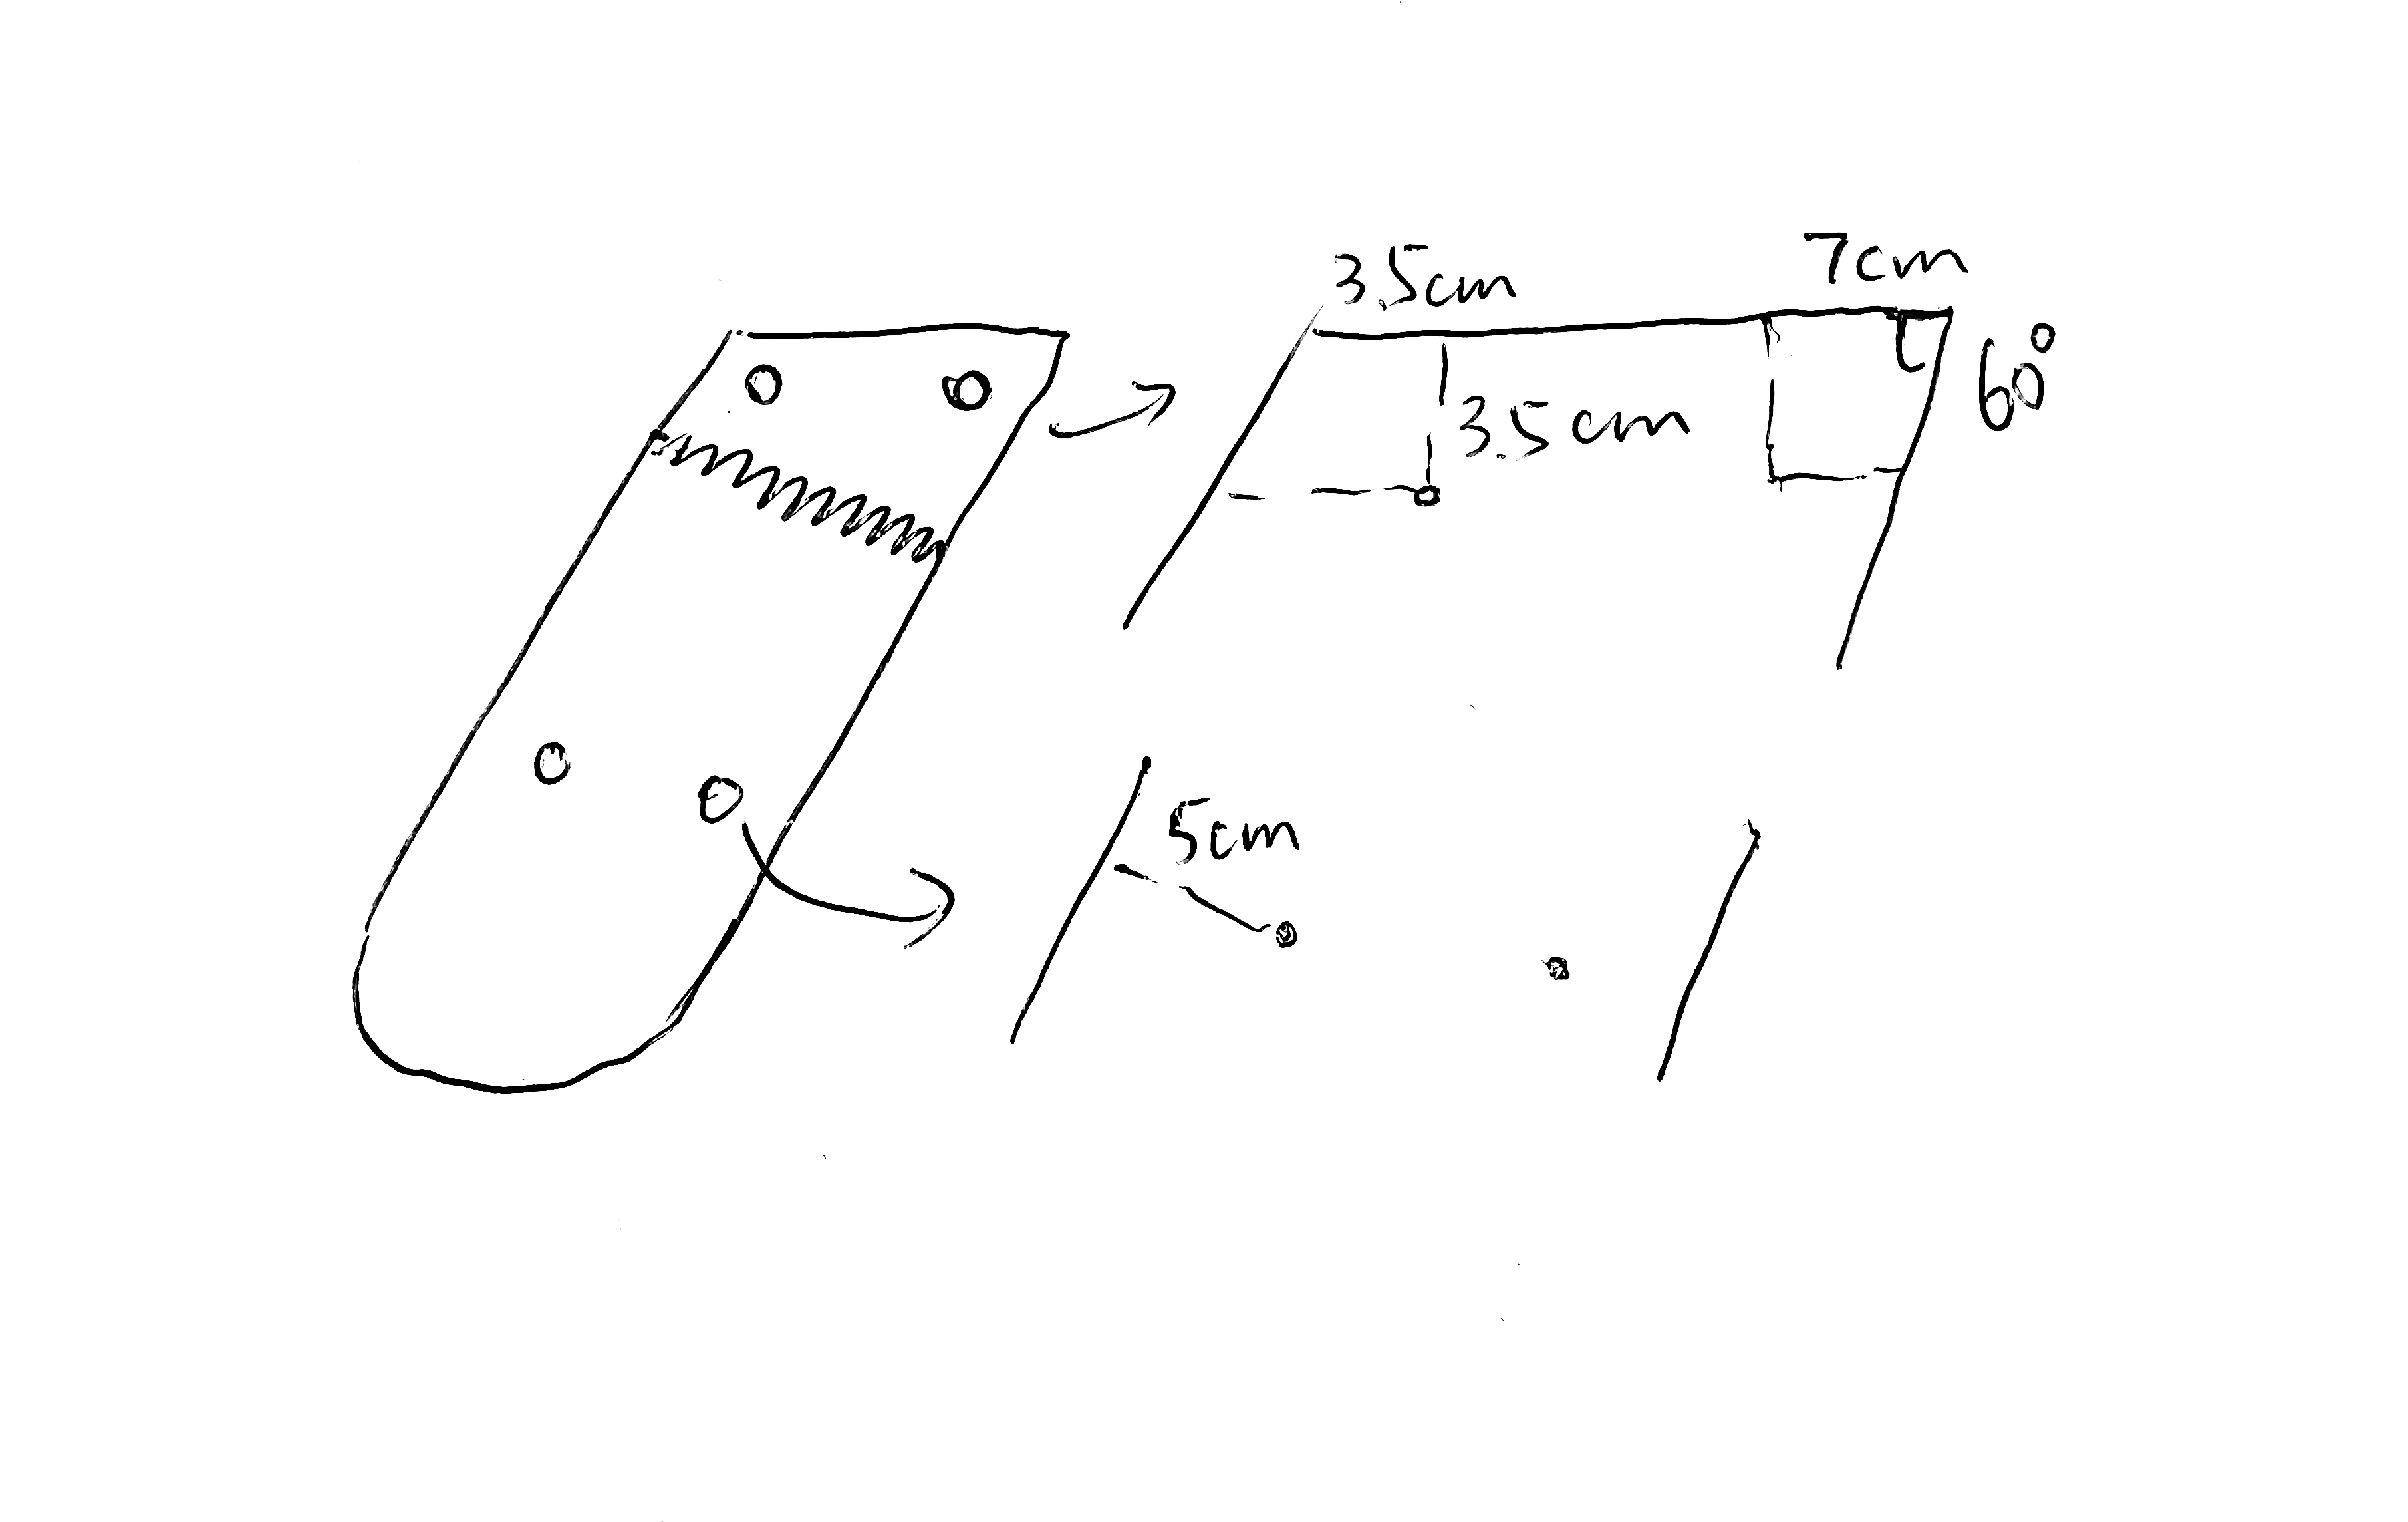
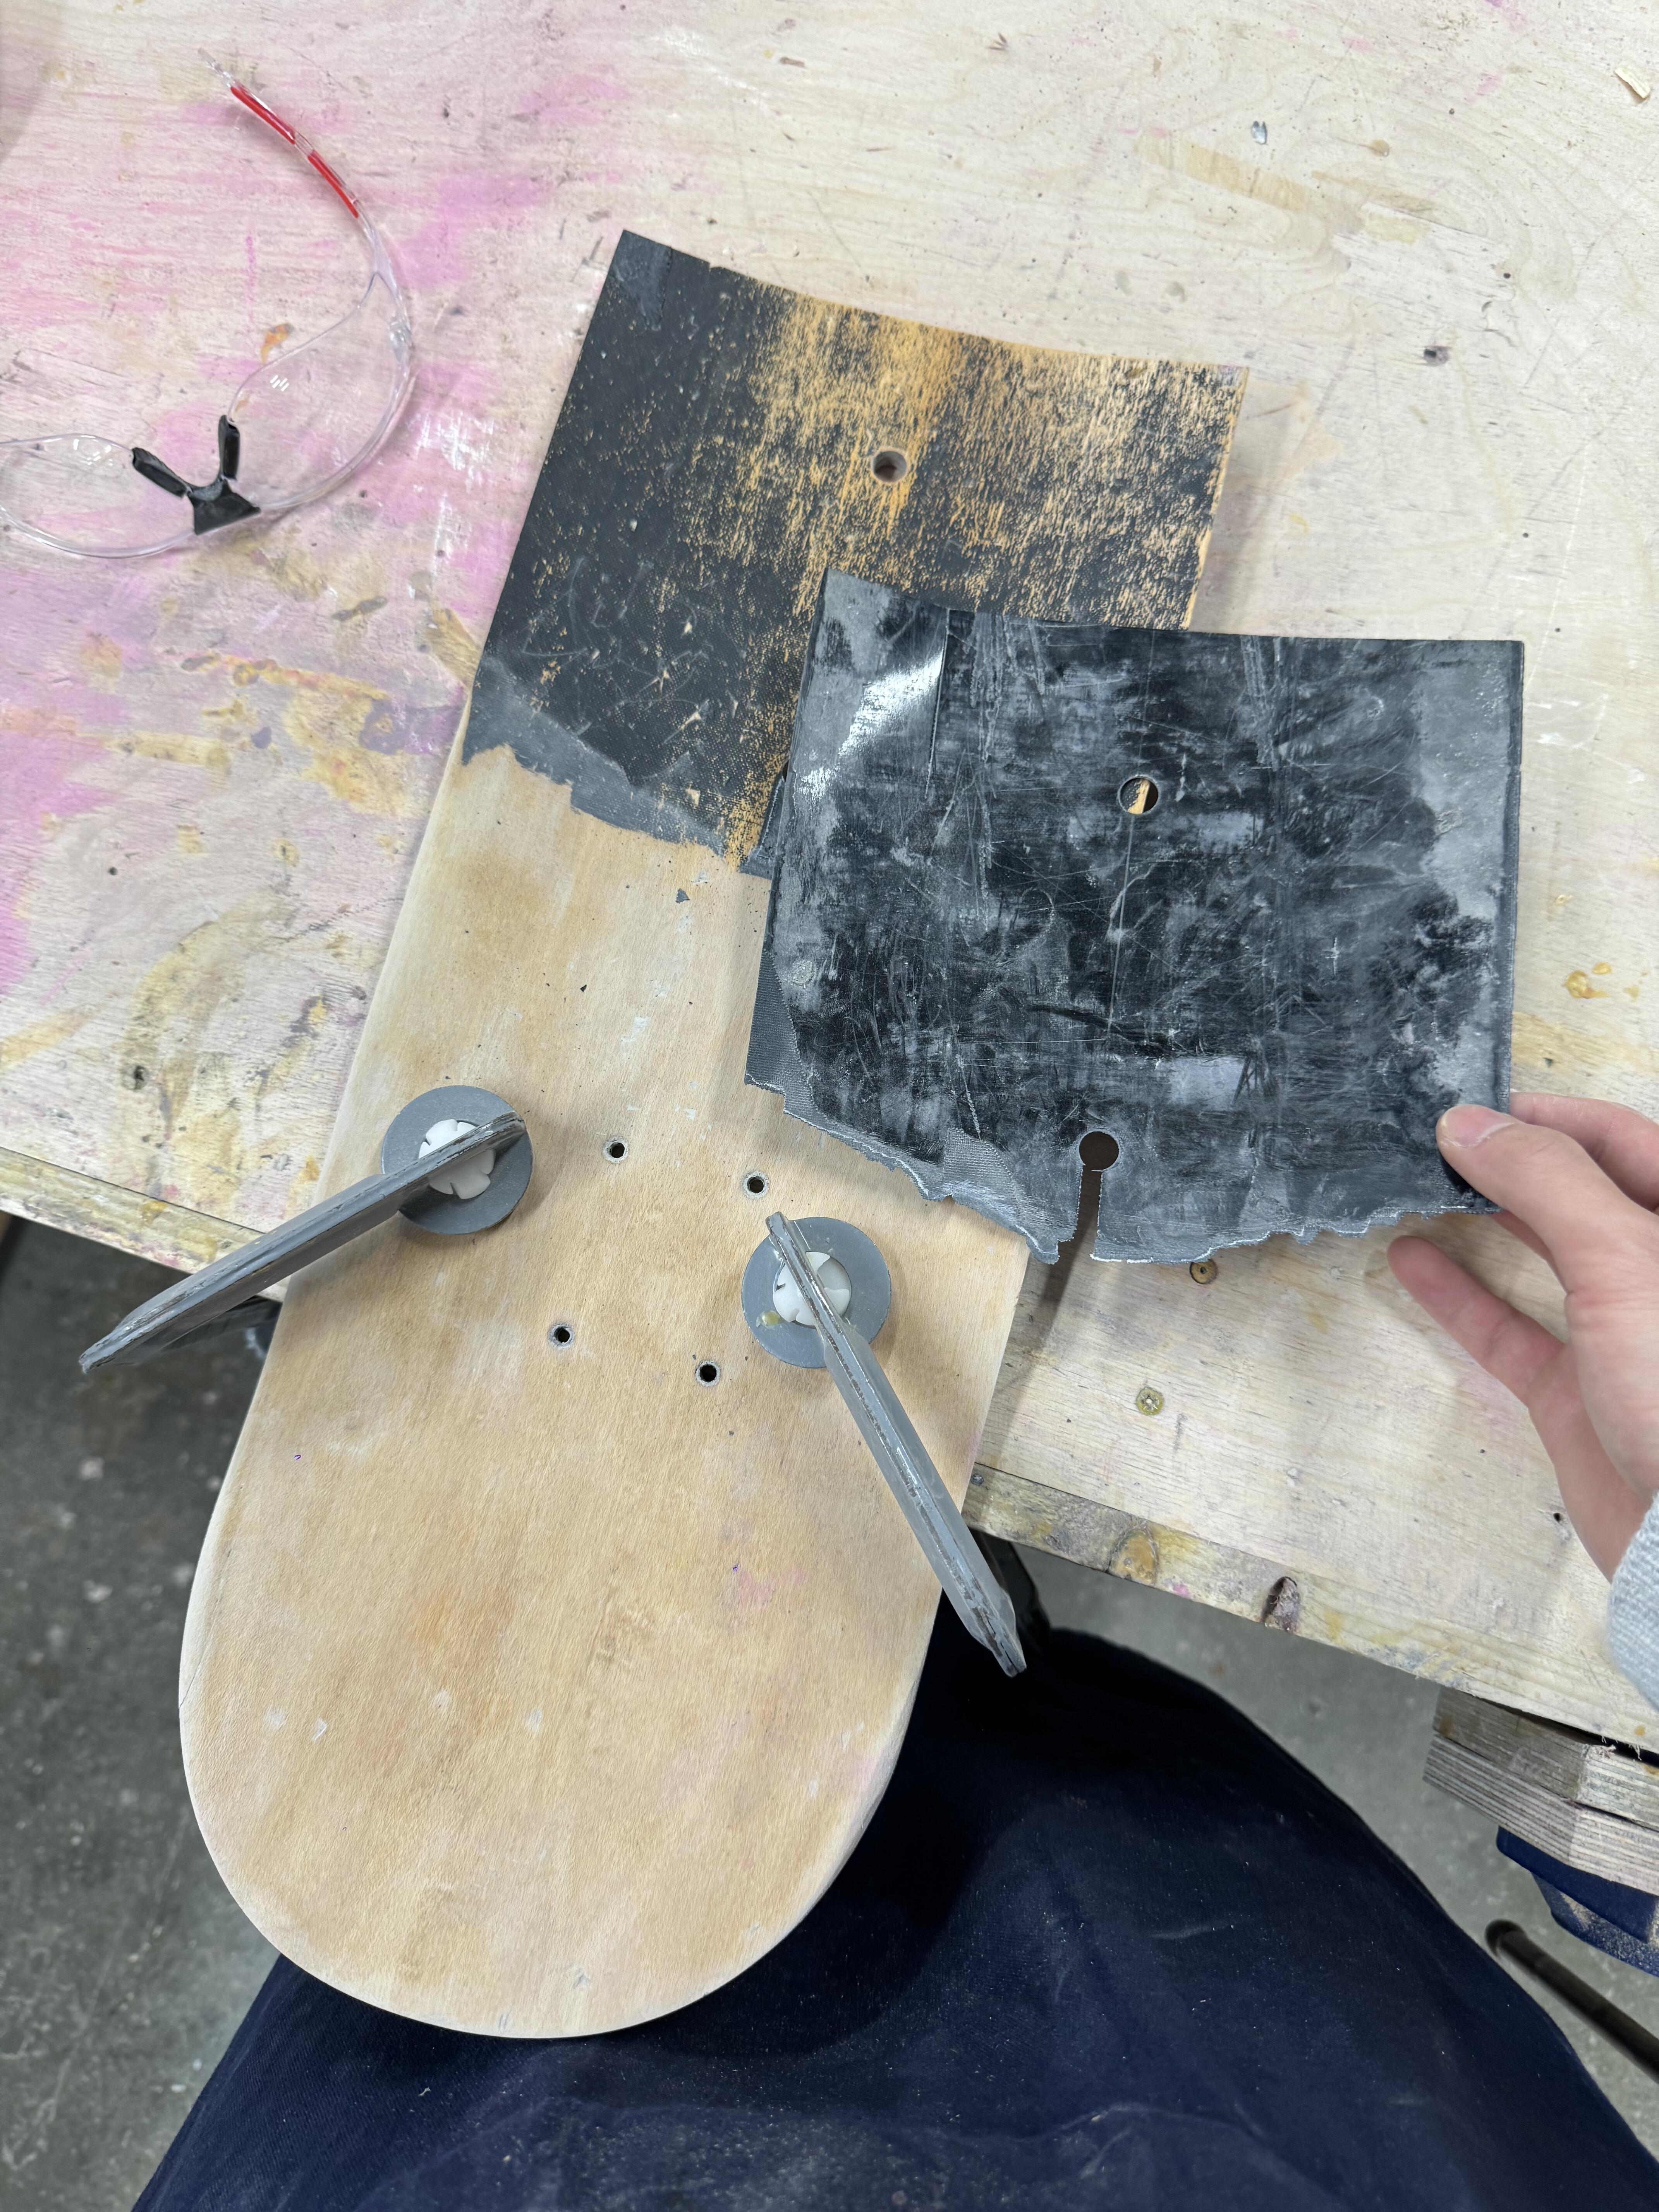
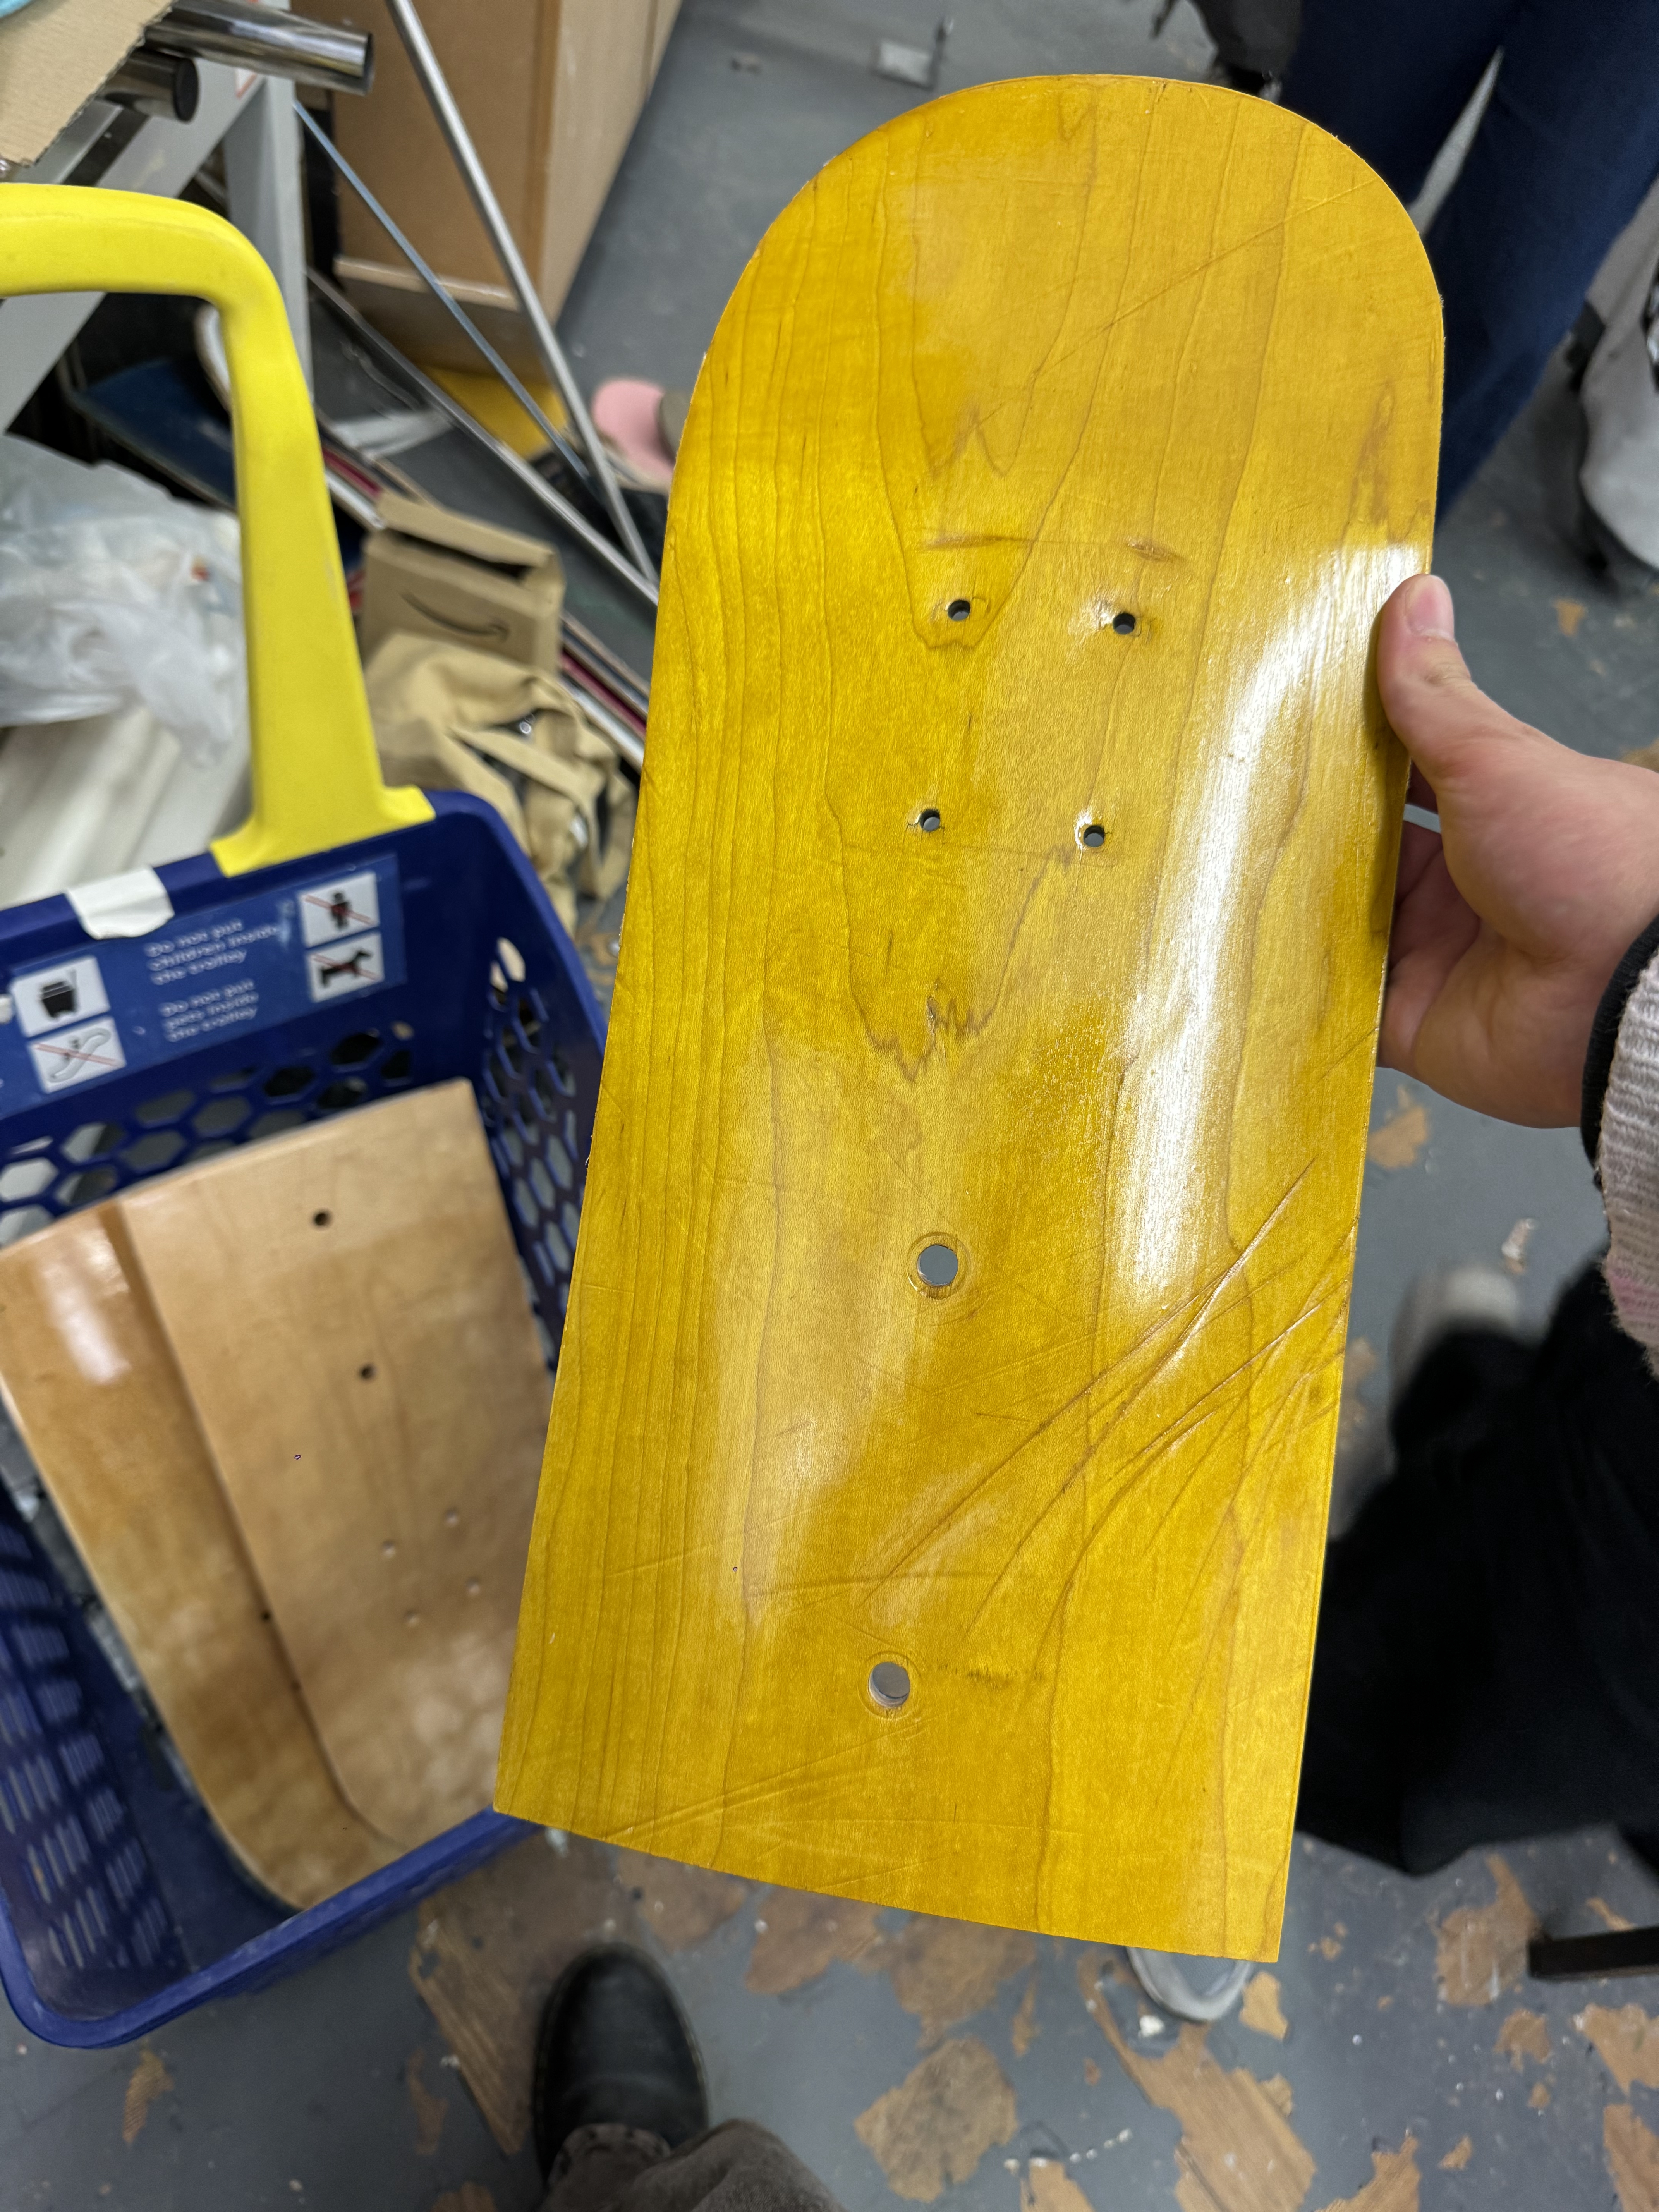
After tearing off the sandpaper, all that's left is cutting and drilling. Before cutting, I sorted the broken skateboards into left and right, because the sizes of the broken skateboards vary, and some may have more damage on the left side, which will affect the later drilling. When drilling, I changed the holes of the skateboard from the vertical in the original rendering to the horizontal, mainly because this can compress the bent skateboard. And the hole position is on the top, because this will make the seat surface flatter.
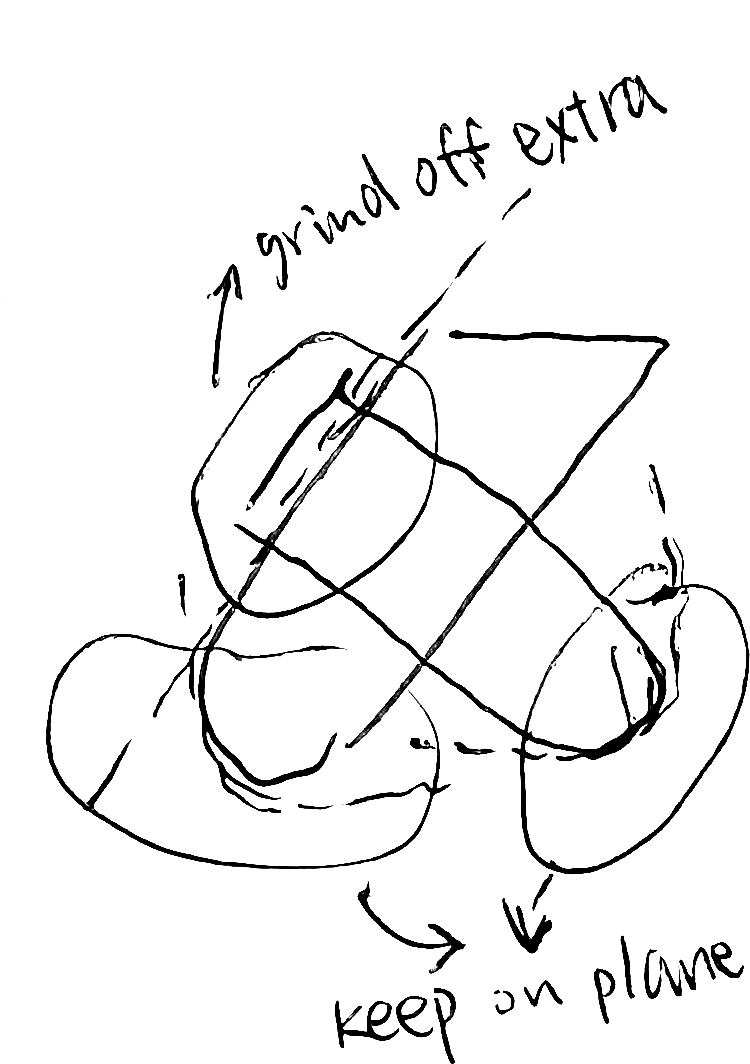
It is also very important to mark the hole position of the lower part. As shown in the sketching, adjust the up, down, left, and right parts to make the right proportion and the two legs on the same plane.


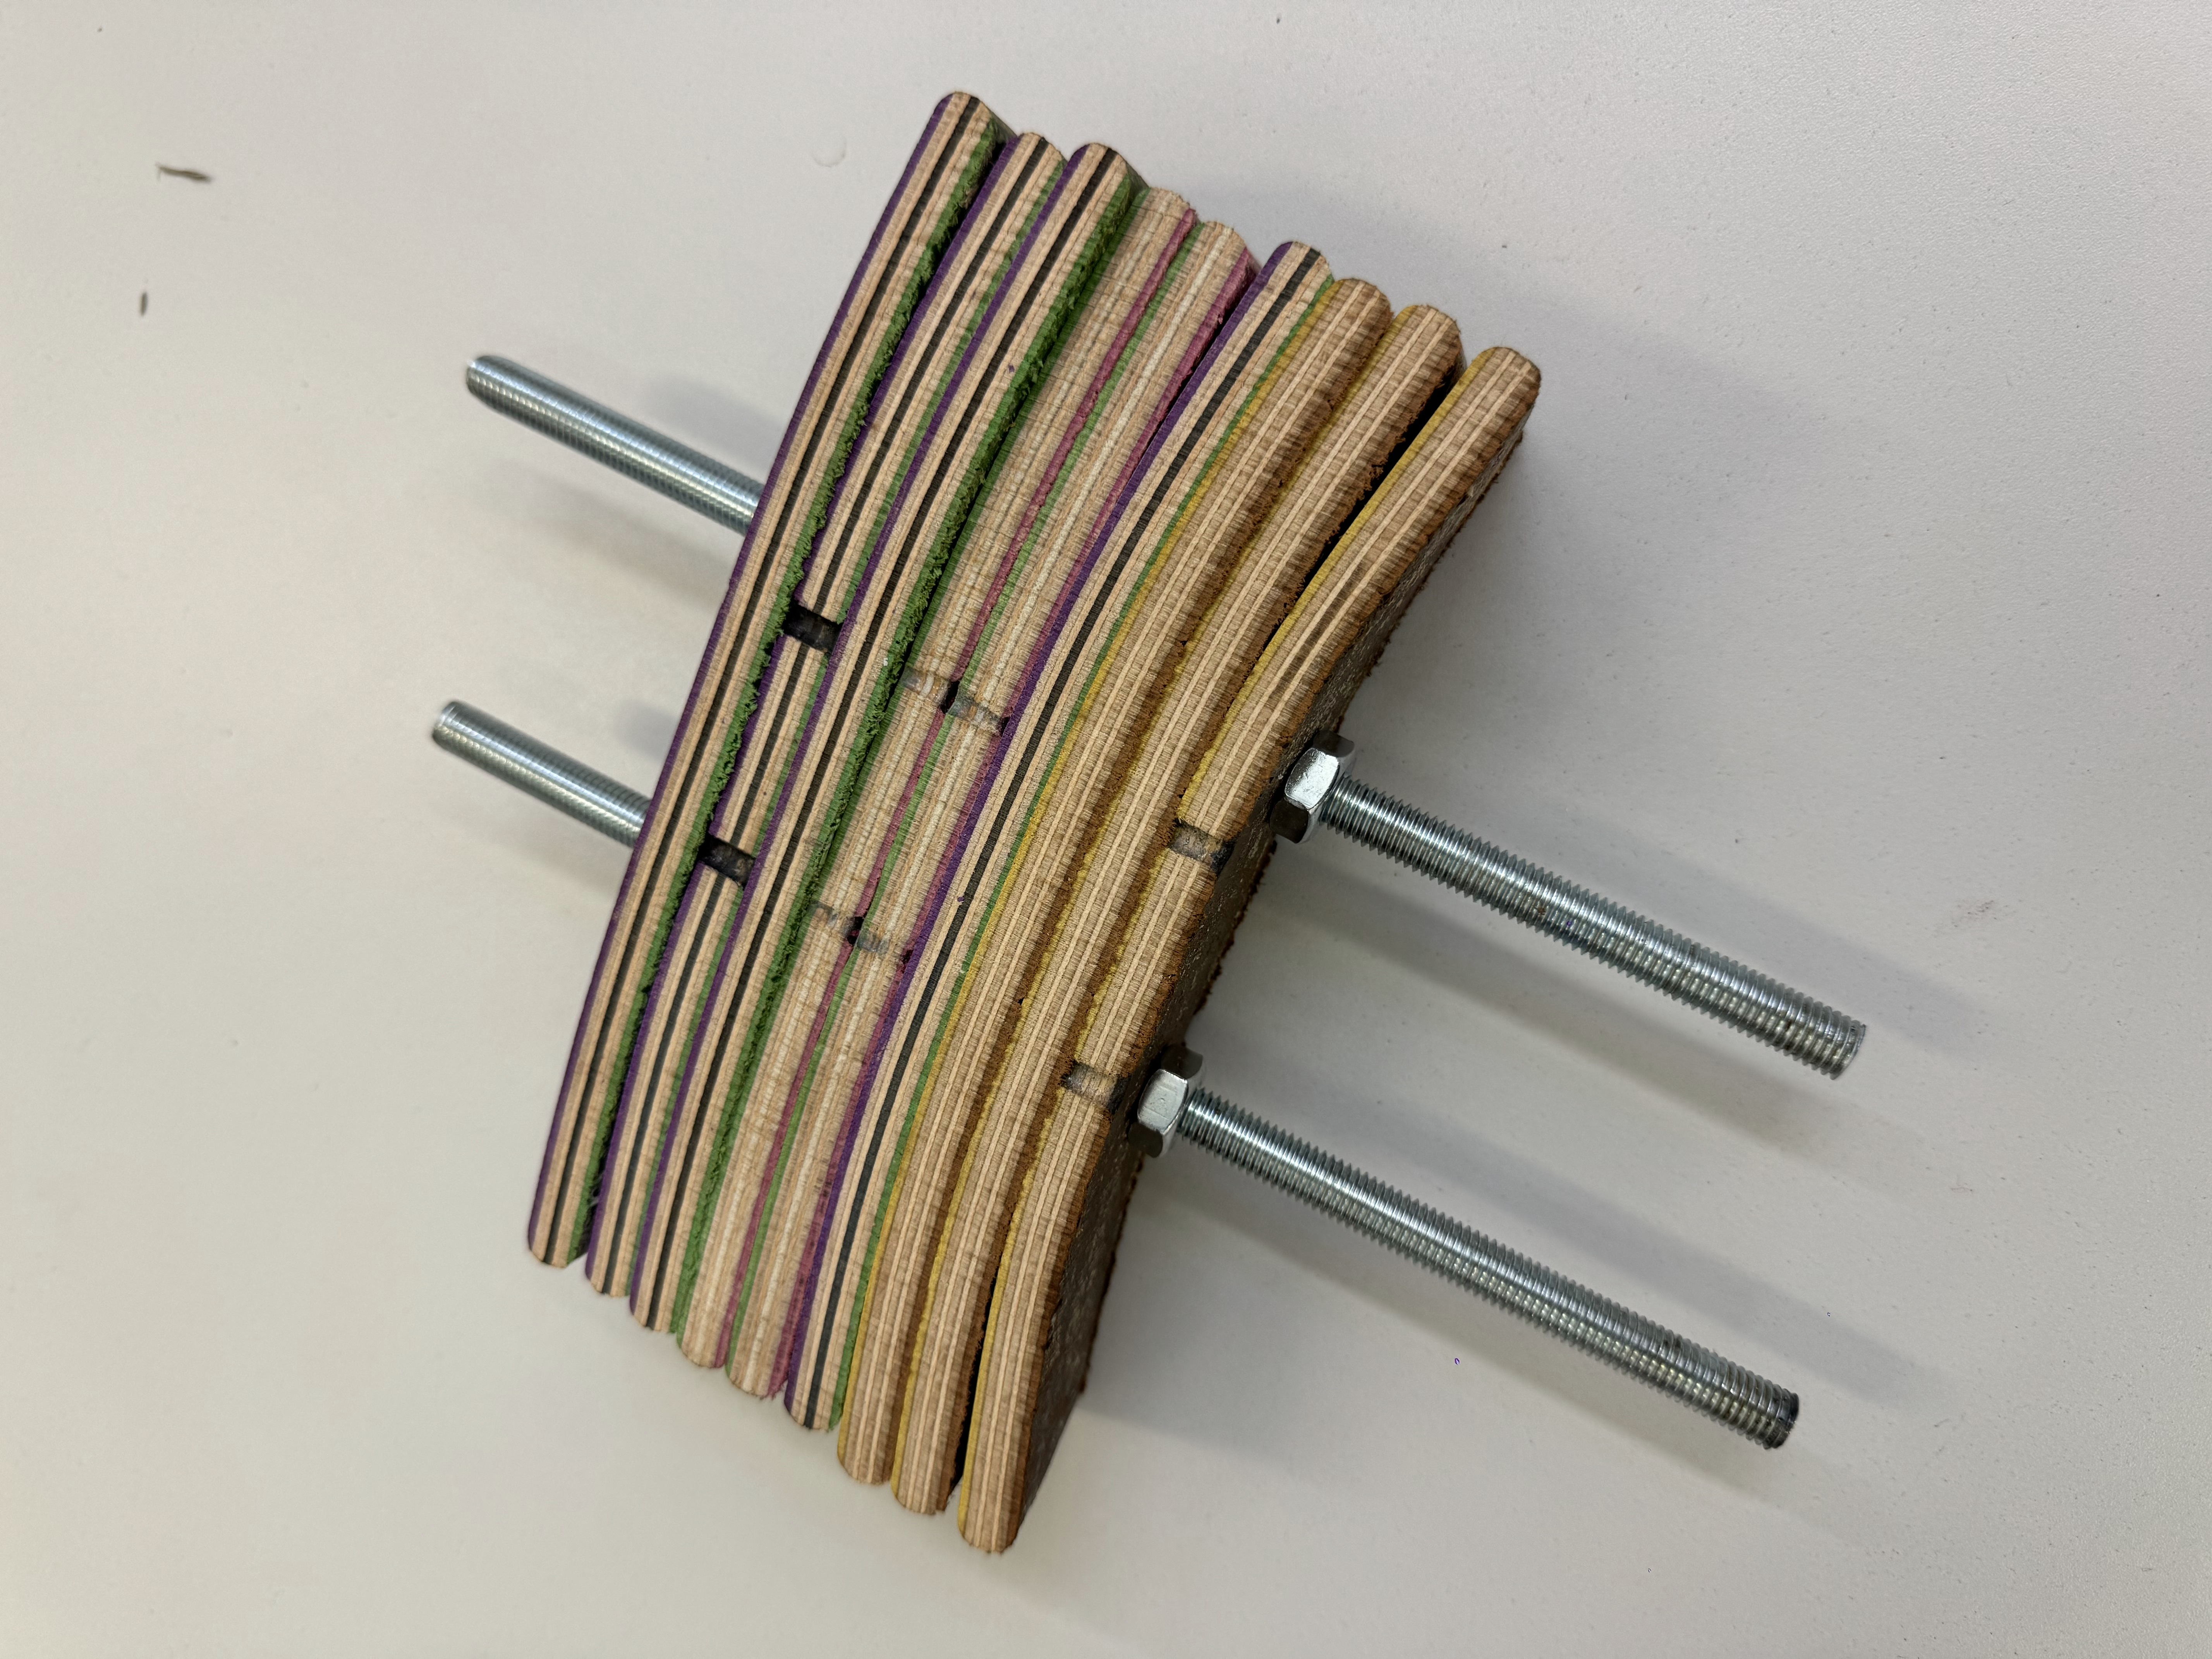
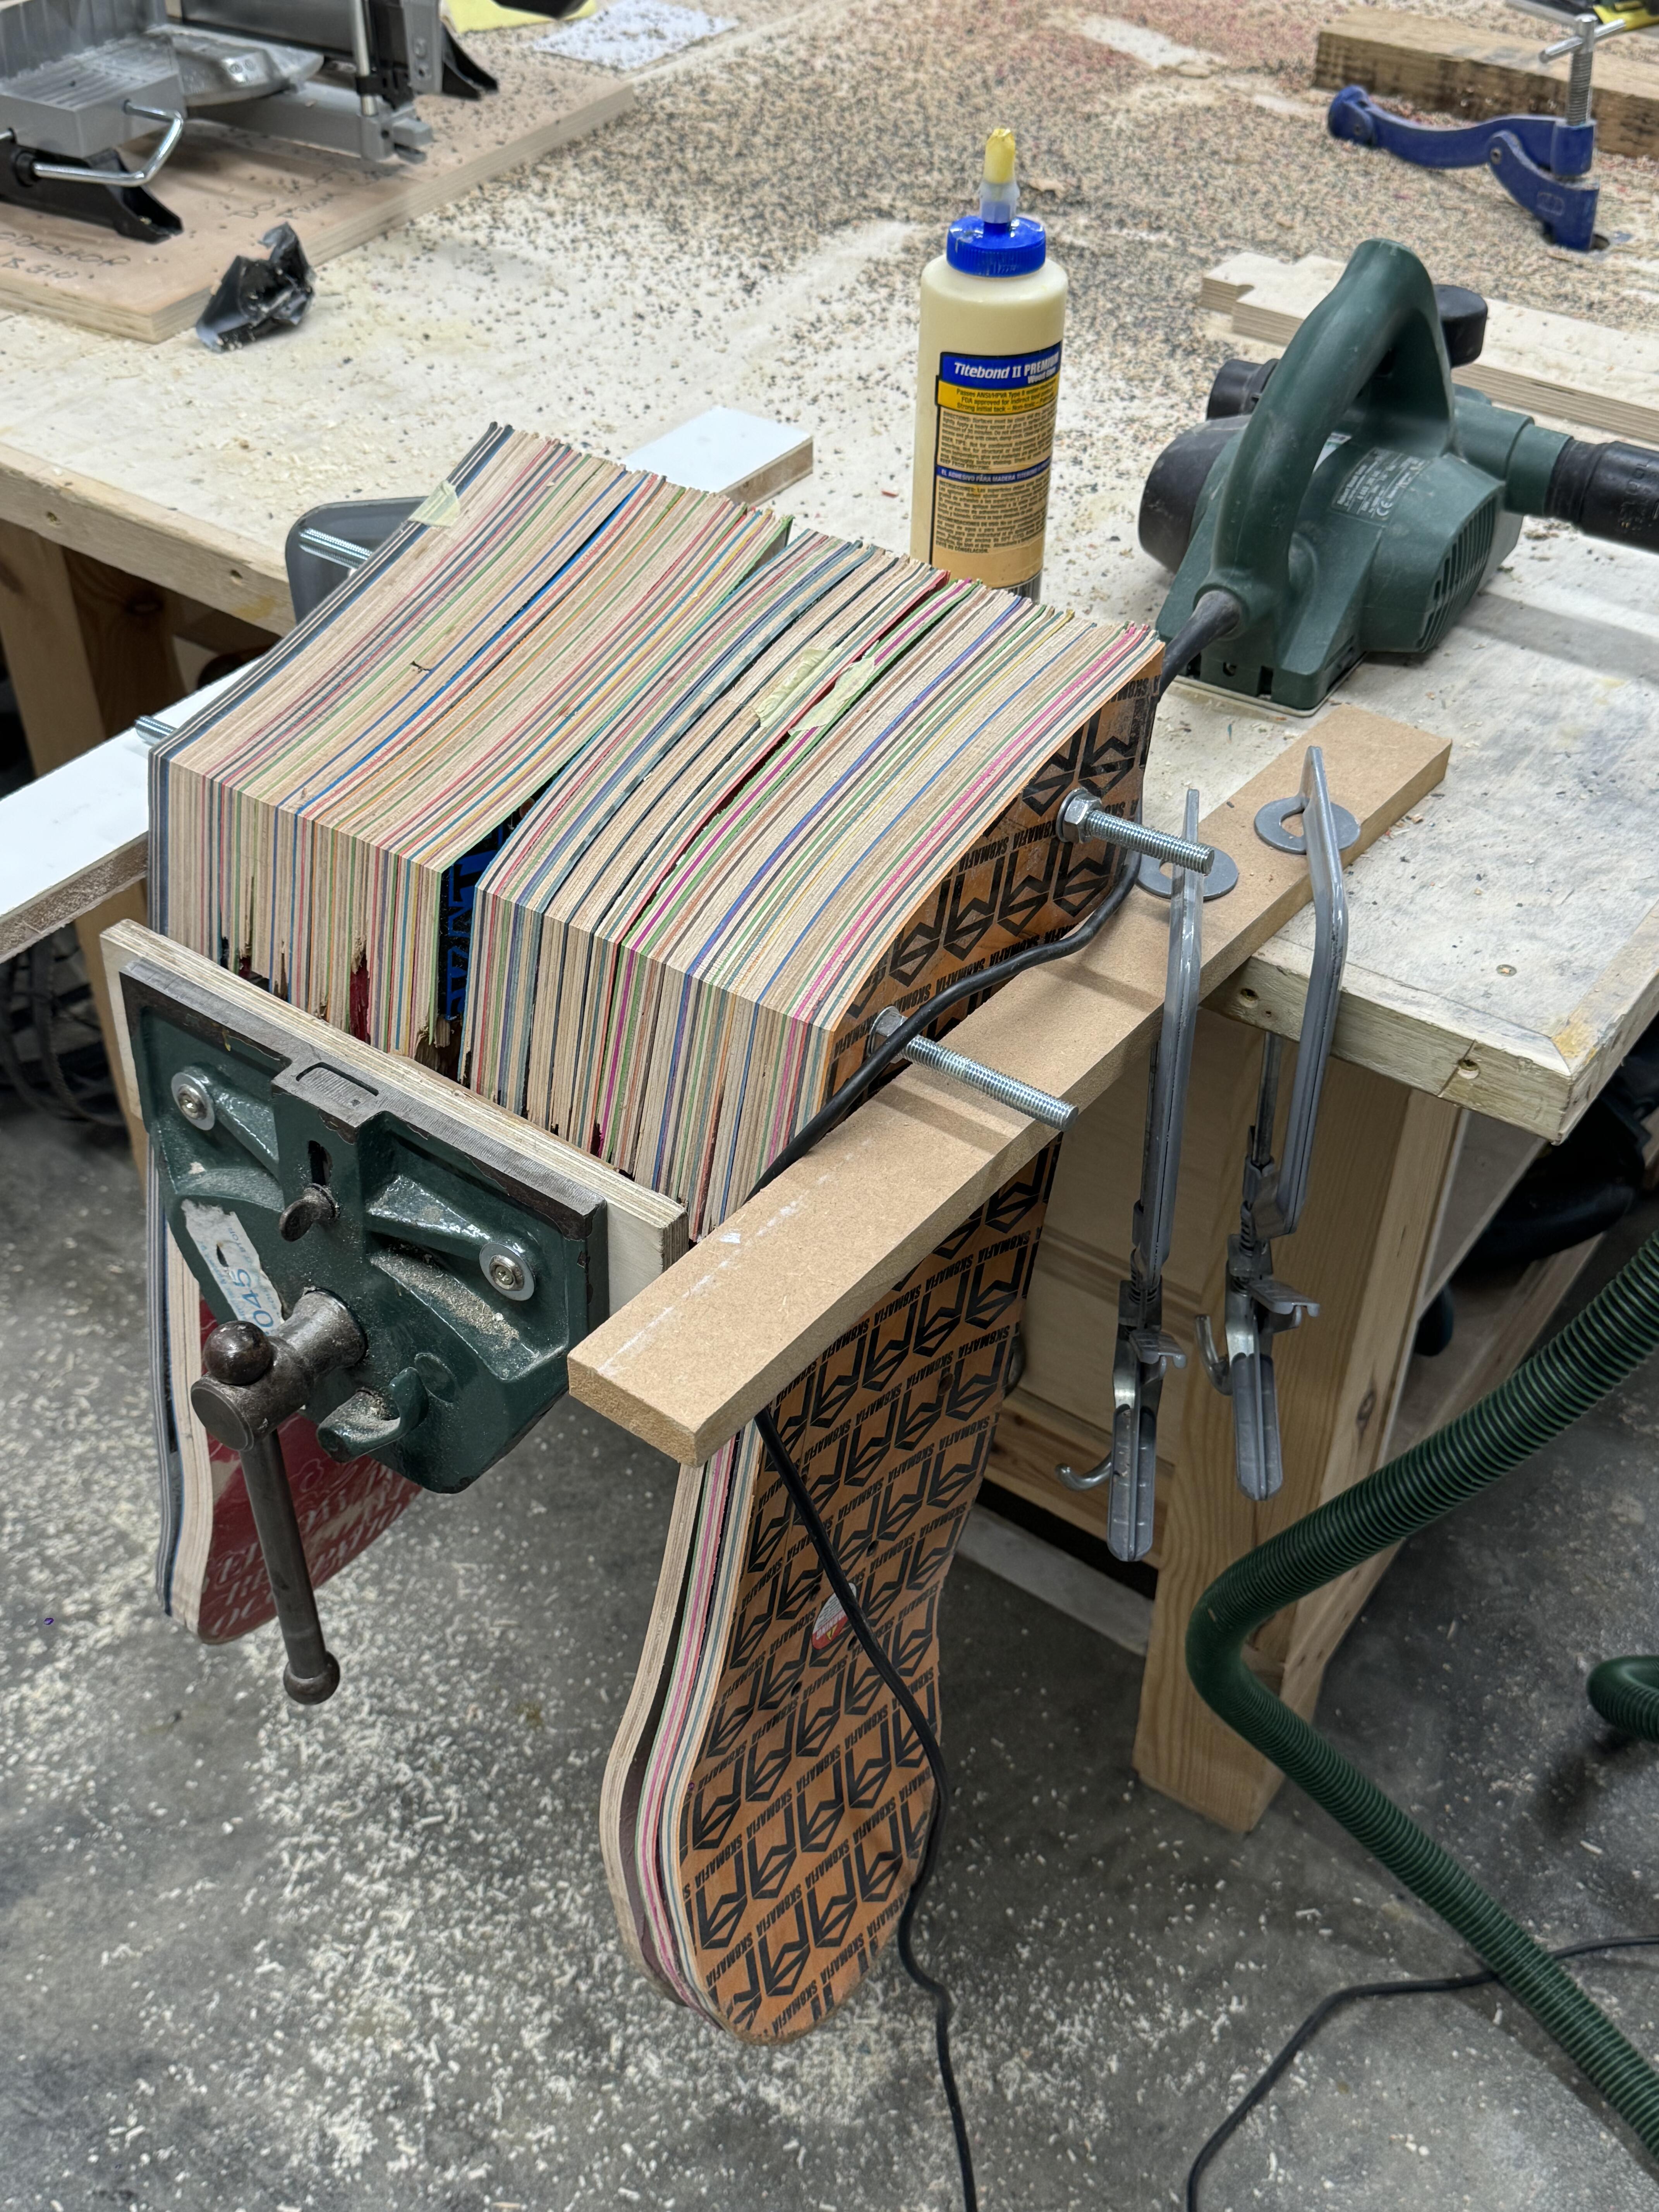
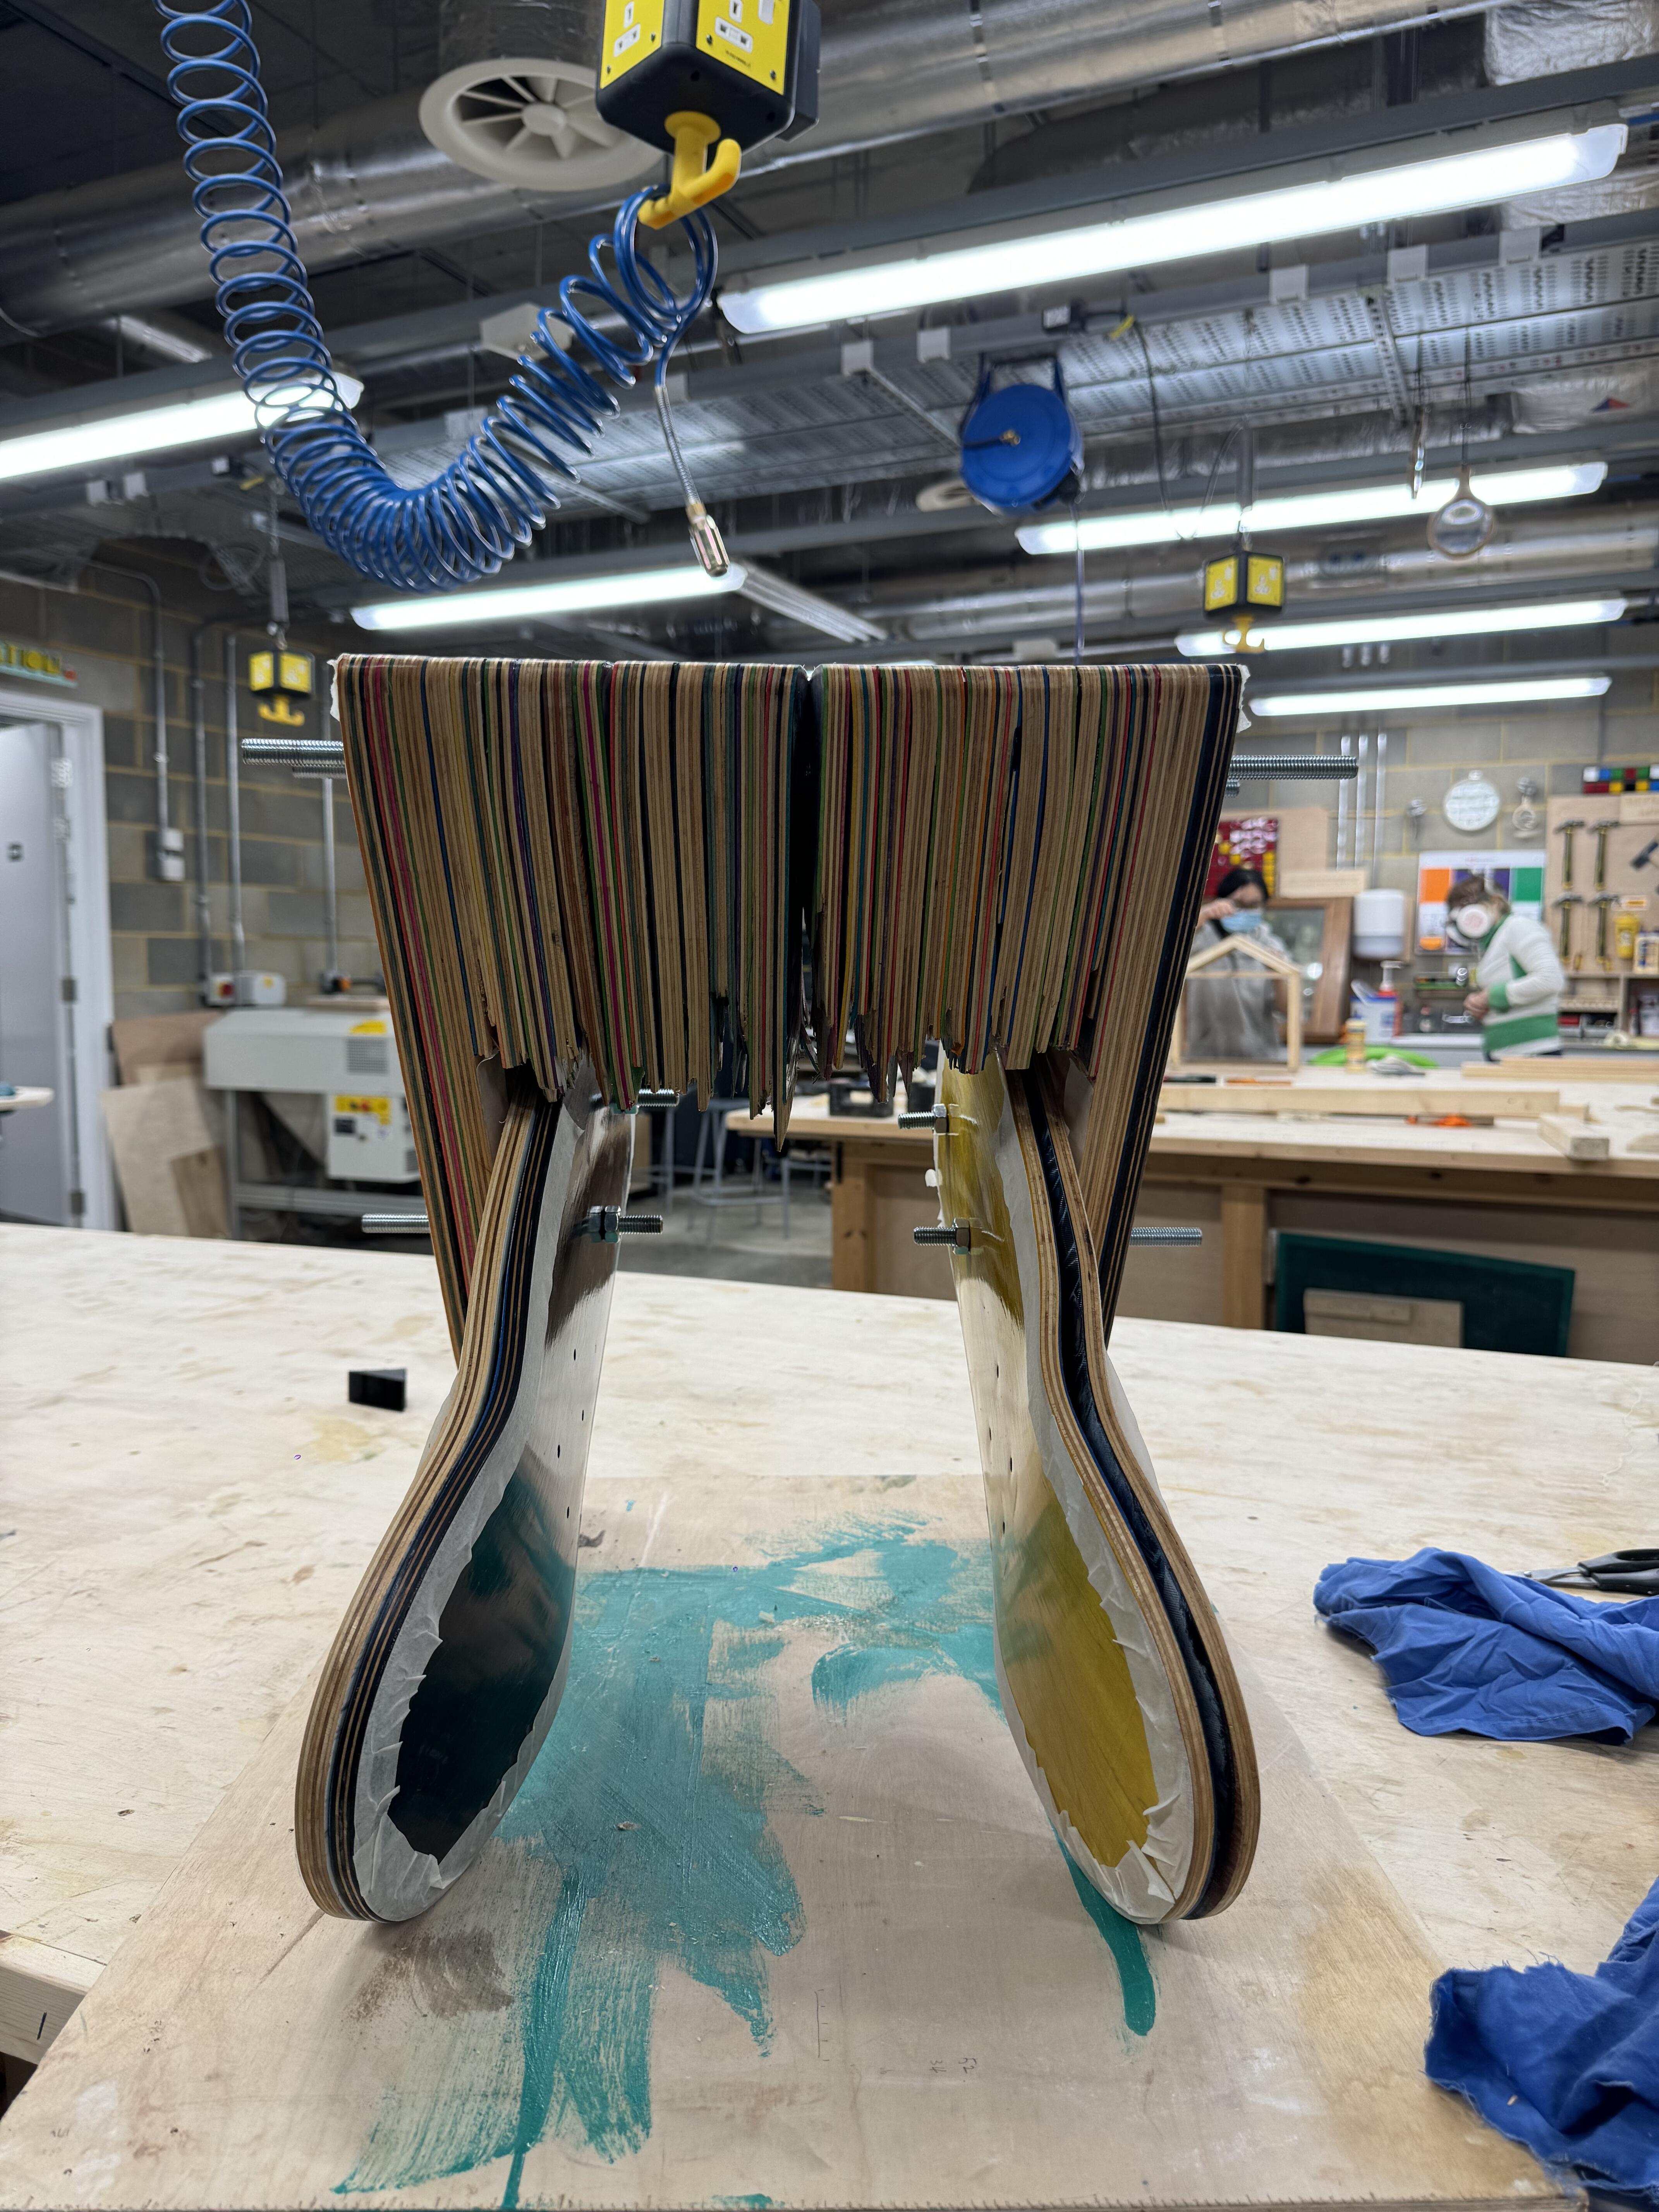
When I hammer the board into bars. I found that I impossibly take them out because the friction is too big. The holes have human inaccuracy which causes the deformation of bars. When I hammer more and more deck pieces, the bars were forced to be parallel. if I drill the holes bigger, it might be easy to take out but every time I assemble them, they cannot be a flat plane. I made a mistake, that is I should hammer every pieces tight to each other unless the gaps would exist forever.

Assemble test is to make sure that the feet fit well.
I used the electrical planer to make the surface flat. When planning on this surface, I should go along with the texture first to make the front and the behind flat and then with a small angle obliquely to make the right and the left flat. I cannot plane it with a big angle because the board would probably break. Additionally, when doing the first step, I should remove the highest part first.


The sharp corners of the chair seat were damaged and very sharp, which could easily cause injury to the user. So, I polished this part into a rounded corner.
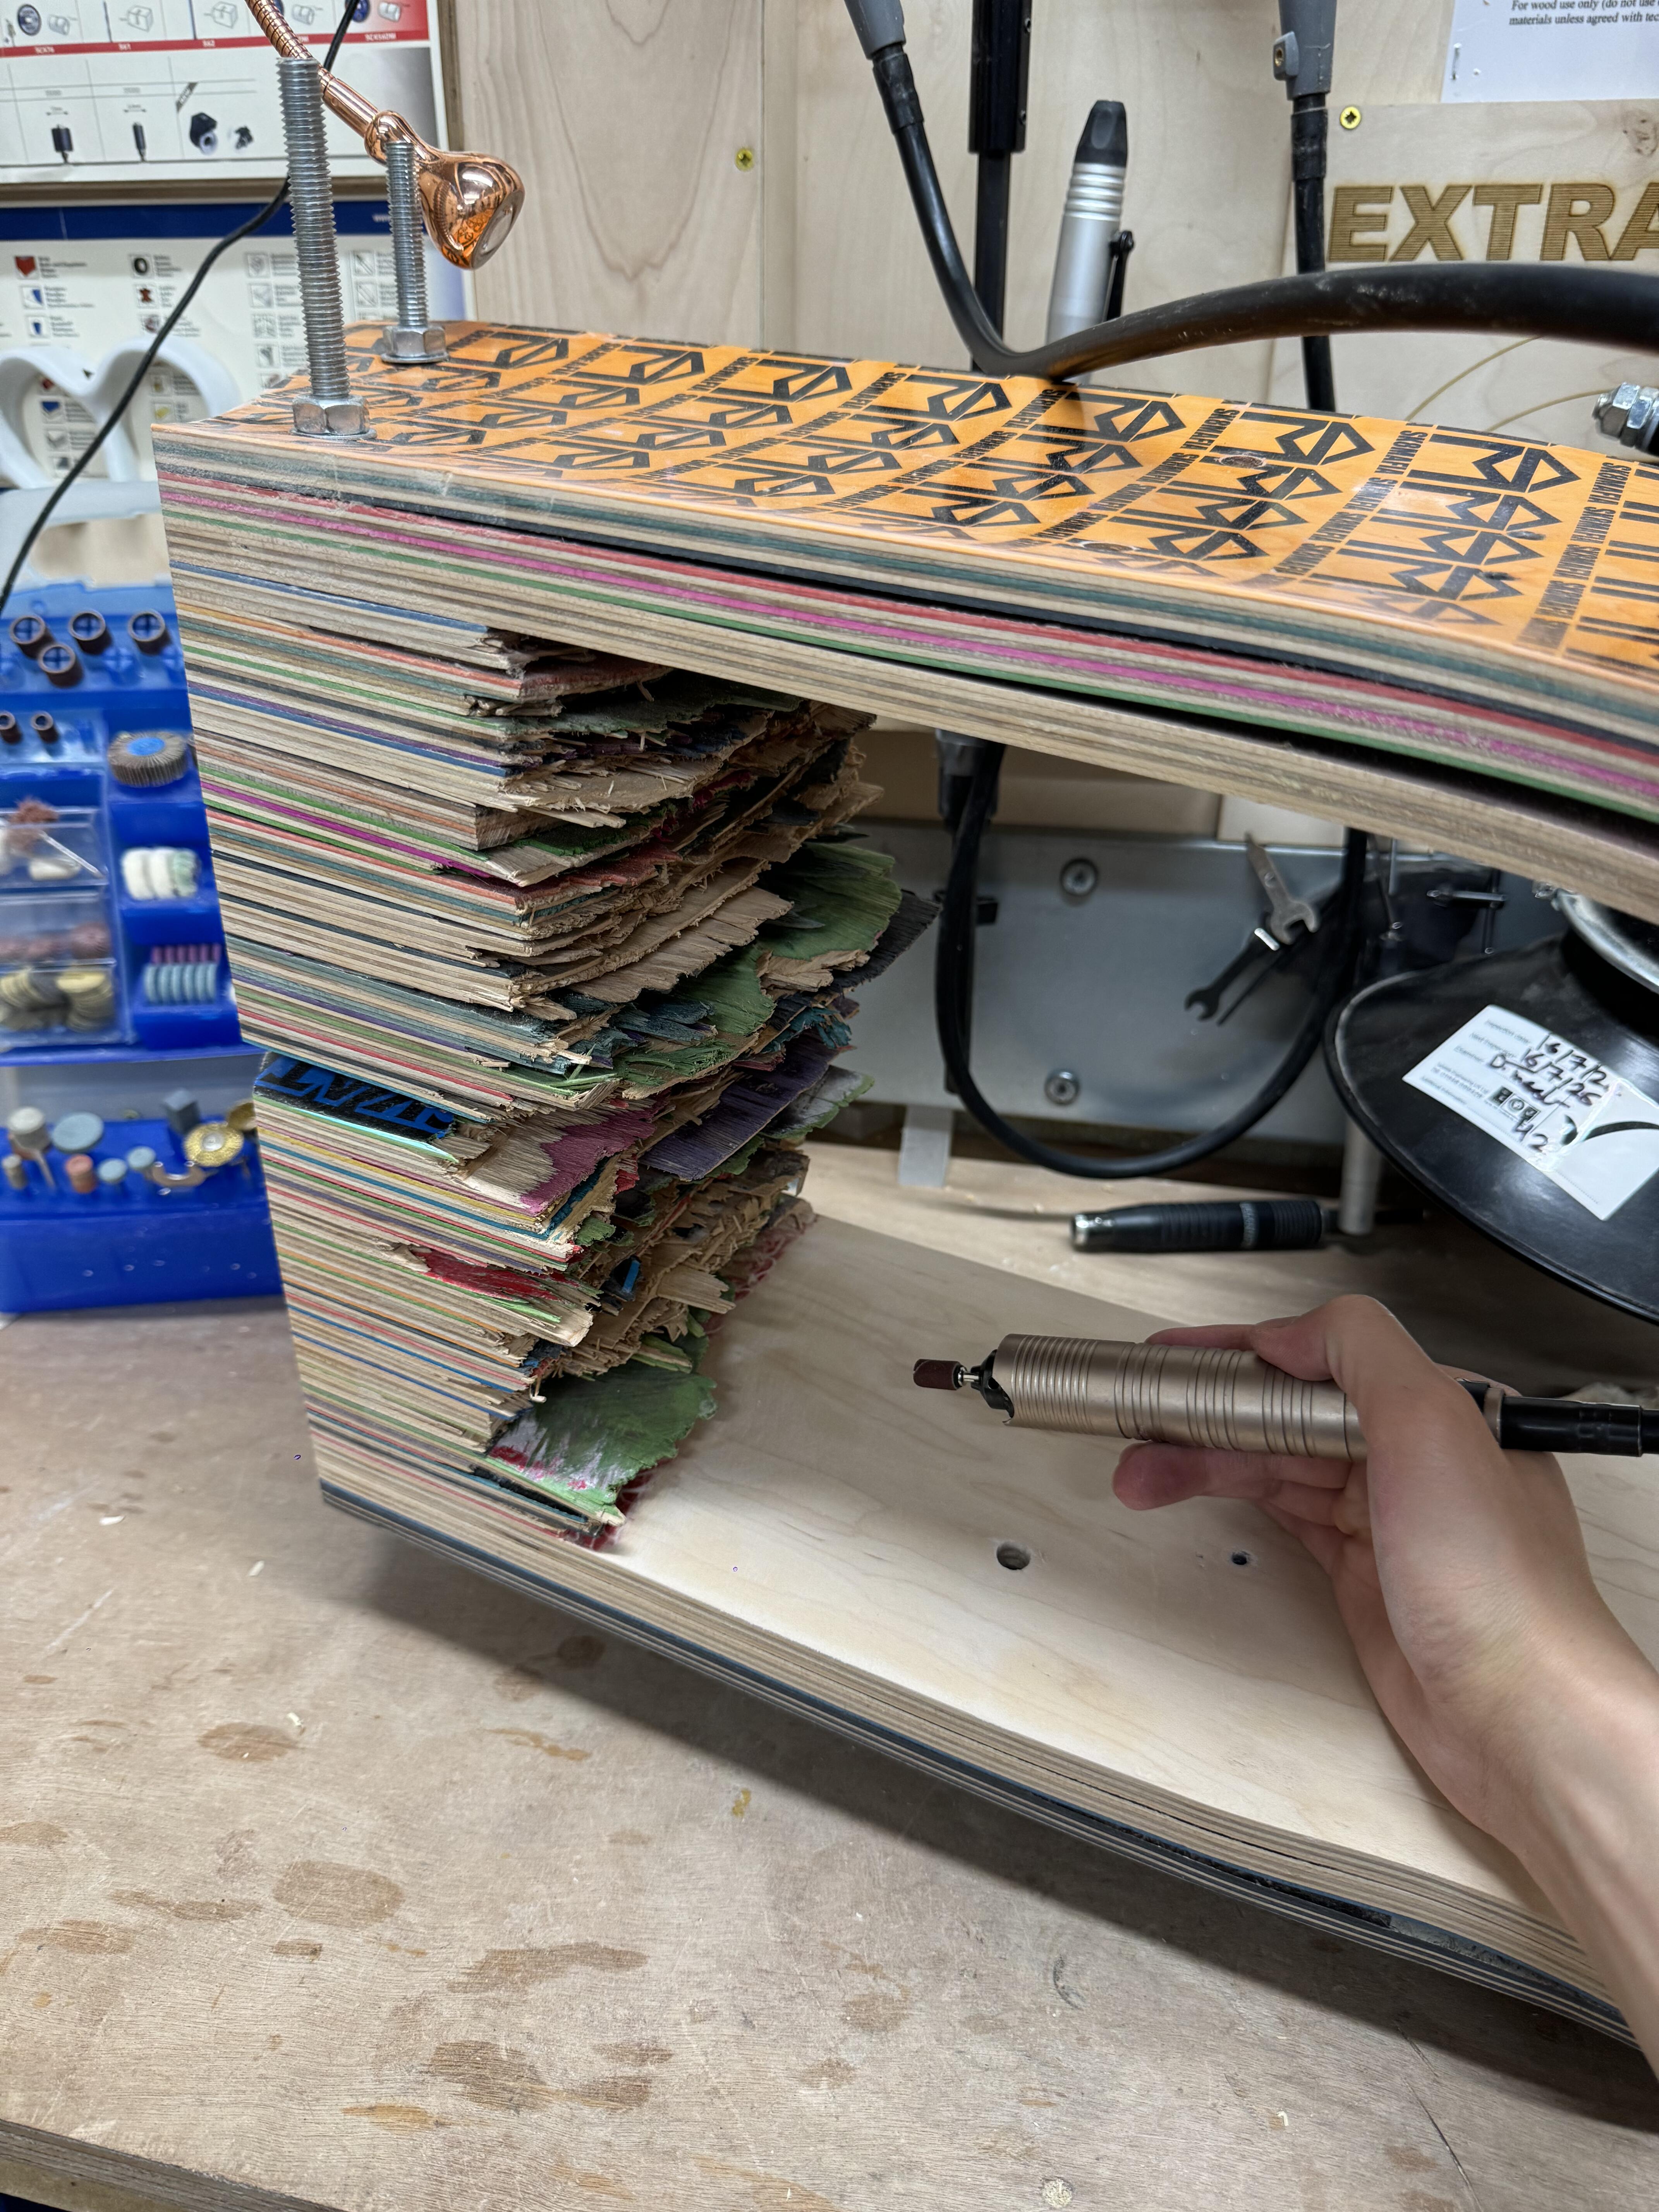
Some skateboards need to scrape off the carbon fiber or glass fiber layer on the surface first. Then use 80-320 grit sandpaper to polish. I used sheet orbital sander and rotary tool for polishing.

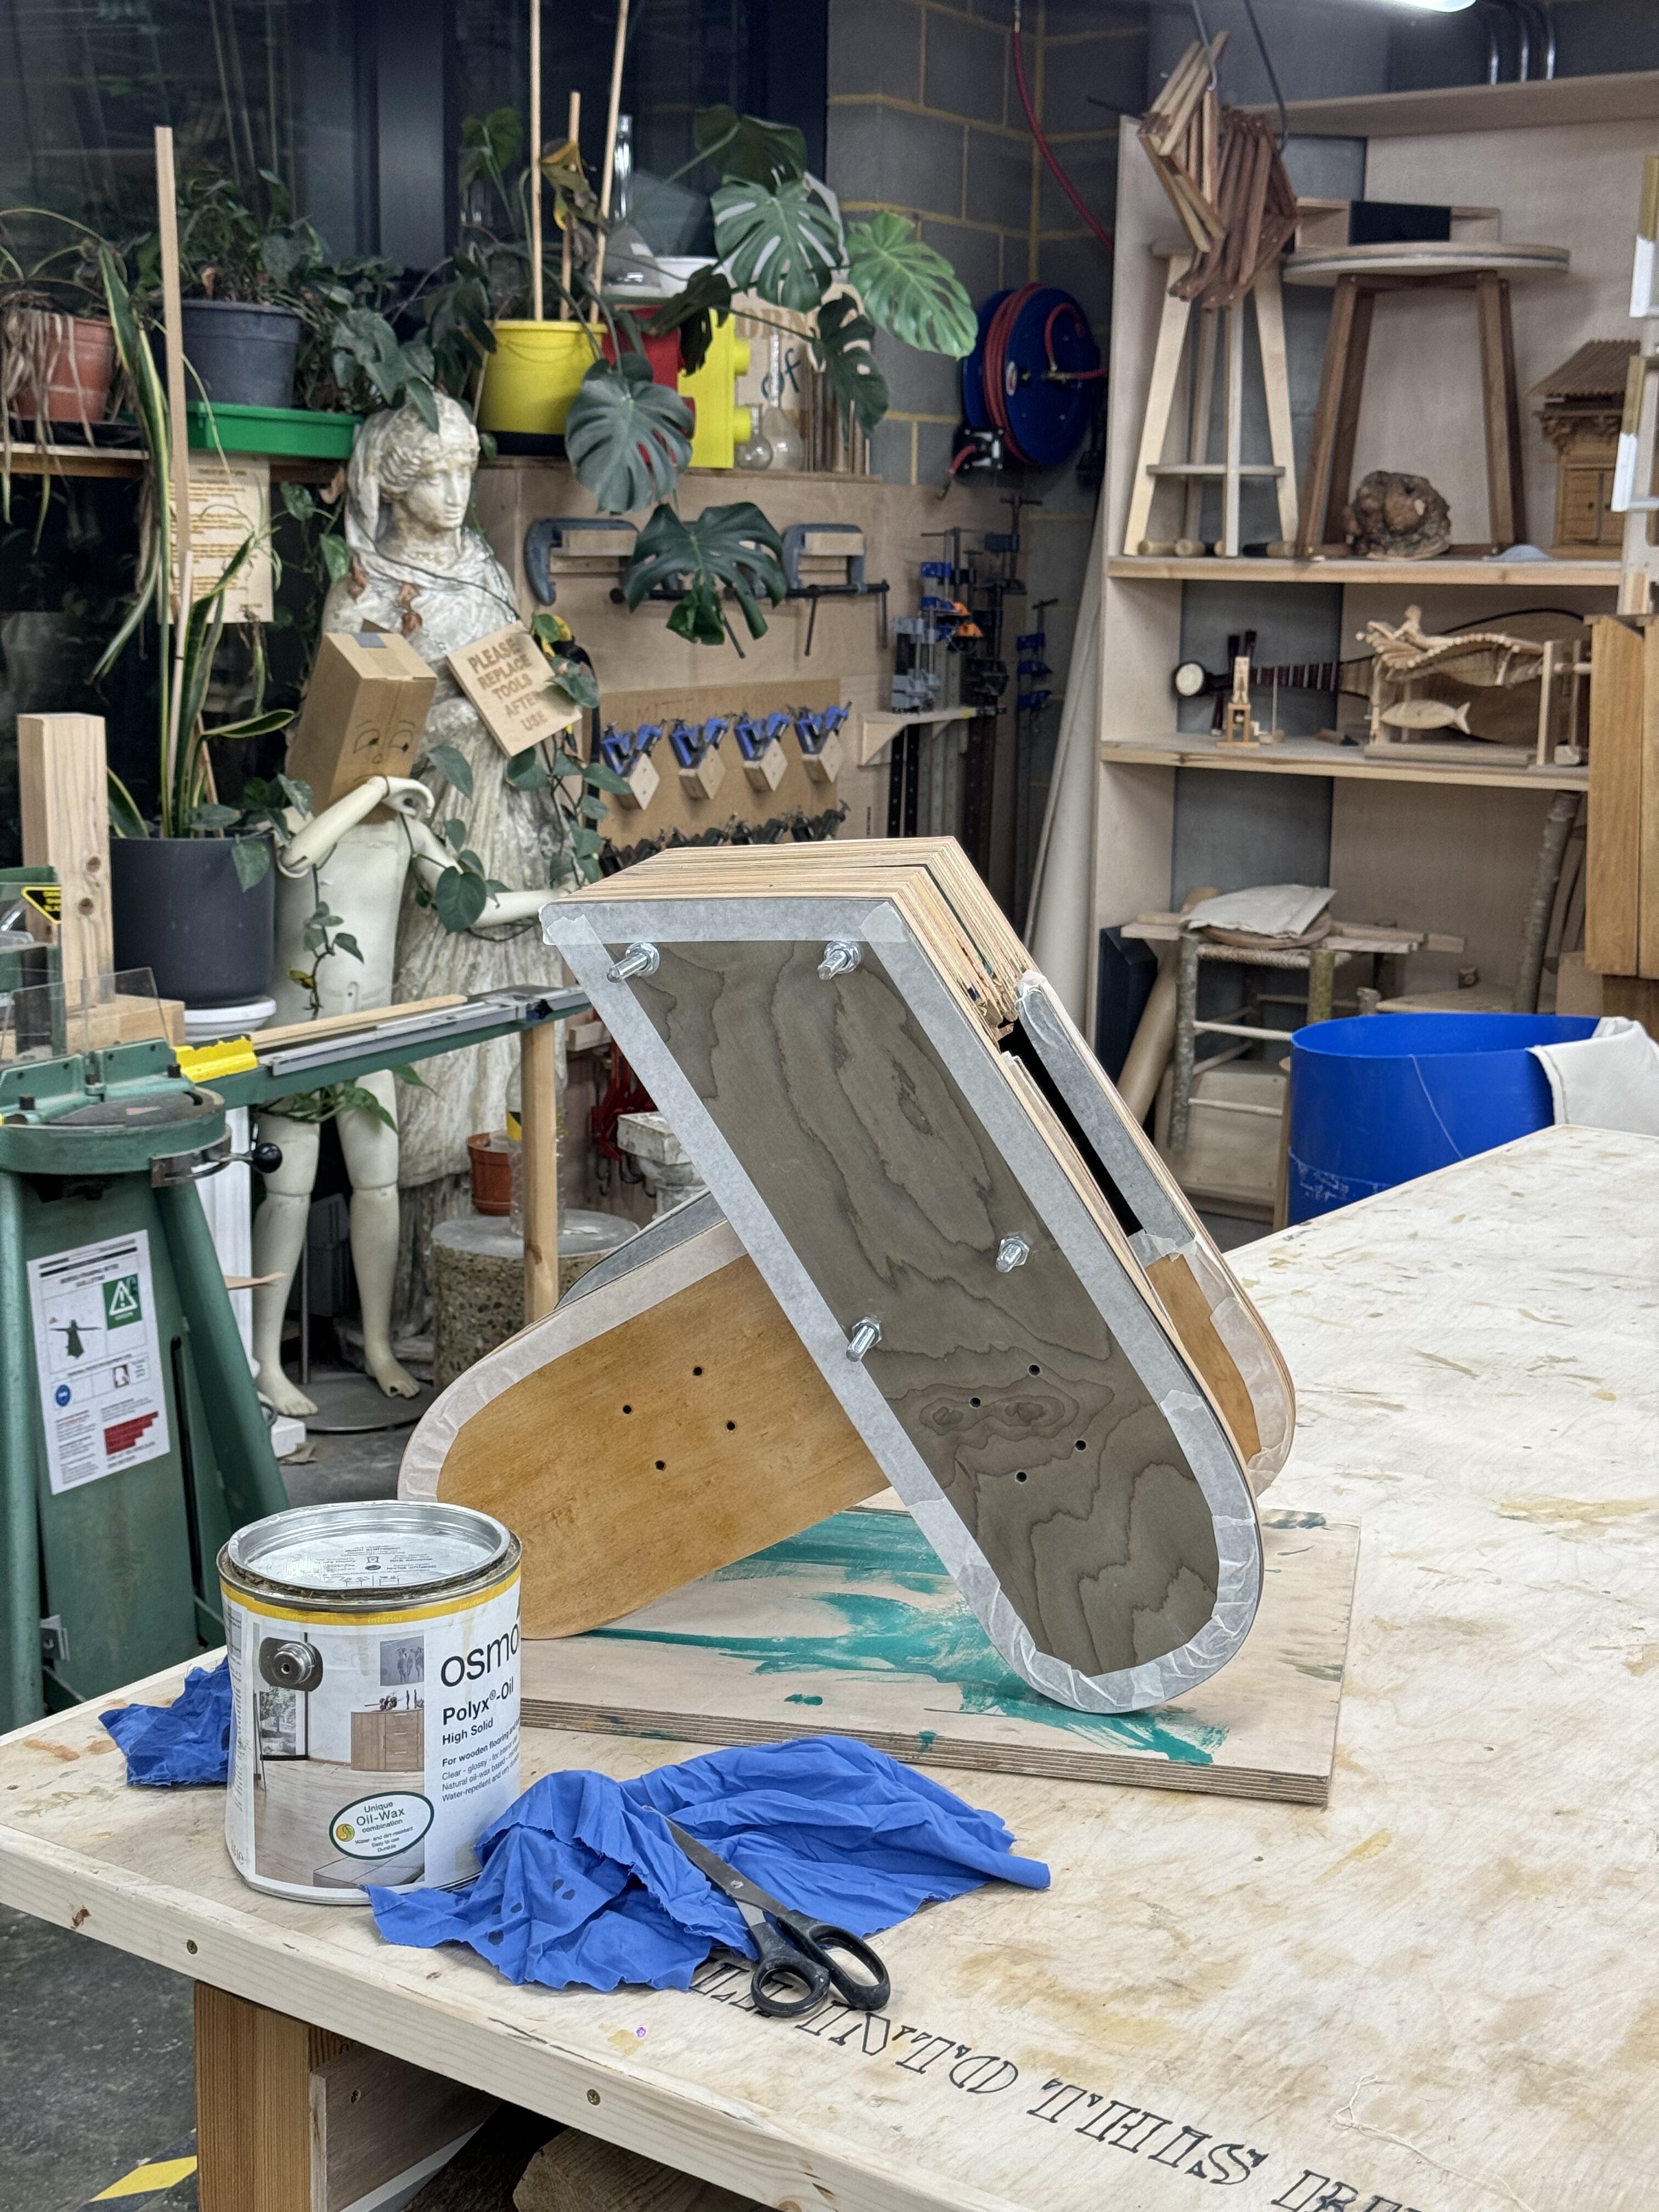
I tried two different vanishes. The Osmo Polyx-oil dries slower and with more bubbles compared to melamine lacquer. The mid one is Osmo Polyx-oil and the right one is melamine lacquer.


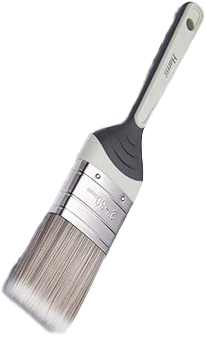
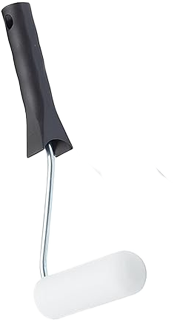
The technician told me I should cover the first vanish, fine sand it and cover the second one and repeat for 3-5 times. But during the process, when I covered it with the 3rd layer, there were still bubbles and I found that after sanding, the vanish finally,. Then I started to think if it was the problem of application. I tried softer and more dense brush and sponge roller. I found that finer brush does cause less bubbles and sponge roller too. Additionally, sponge roller creates a matter effect like what I expected. But the bad quality sponge roller would leave it self's particles. So finally, I just used the finer brush to do the job.
Before and after assembling, I need to grind the board edges to keep them on same plane and adjust the 4 feet on plane.


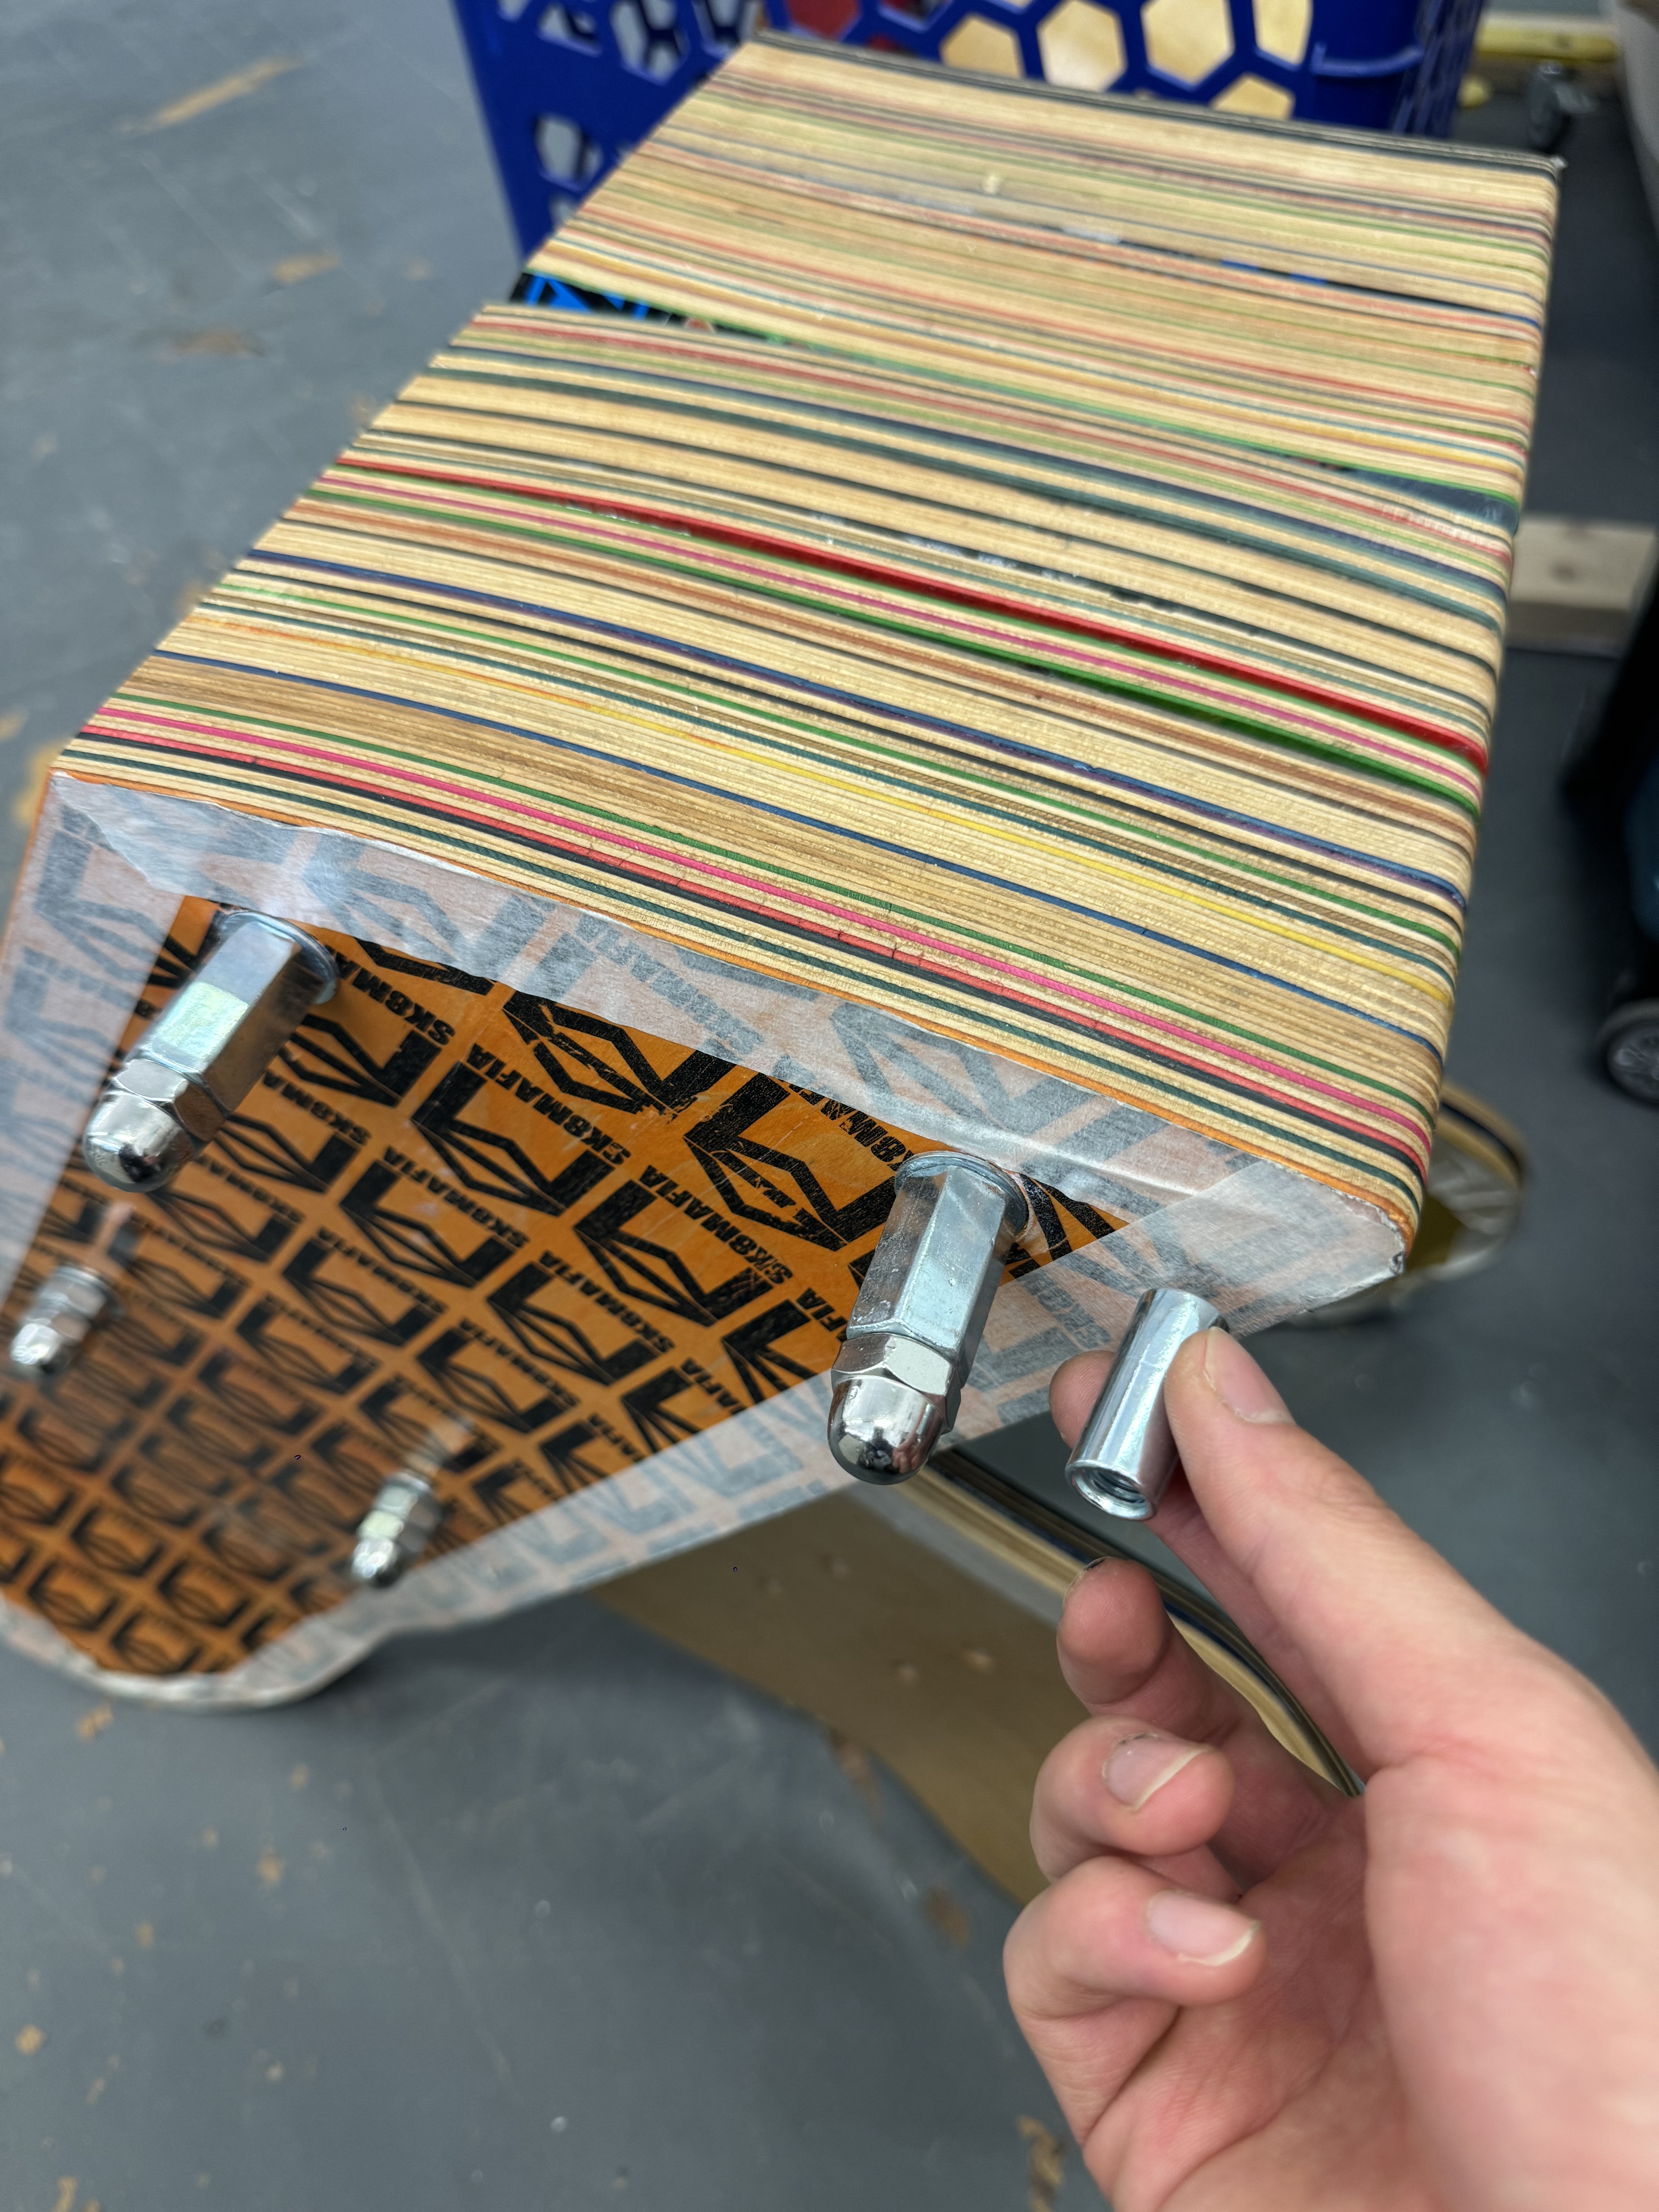
I tried using a Cylindrical Connector Nut, but I found that it was not easy to tighten and left ugly scratches on the surface if I used a vise. There is no special accessory for the head cap, so I need to make it myself, which is very time-consuming.
So, I chose the regular Hexagonal Connector Nut and Cap, which are very easy to buy.